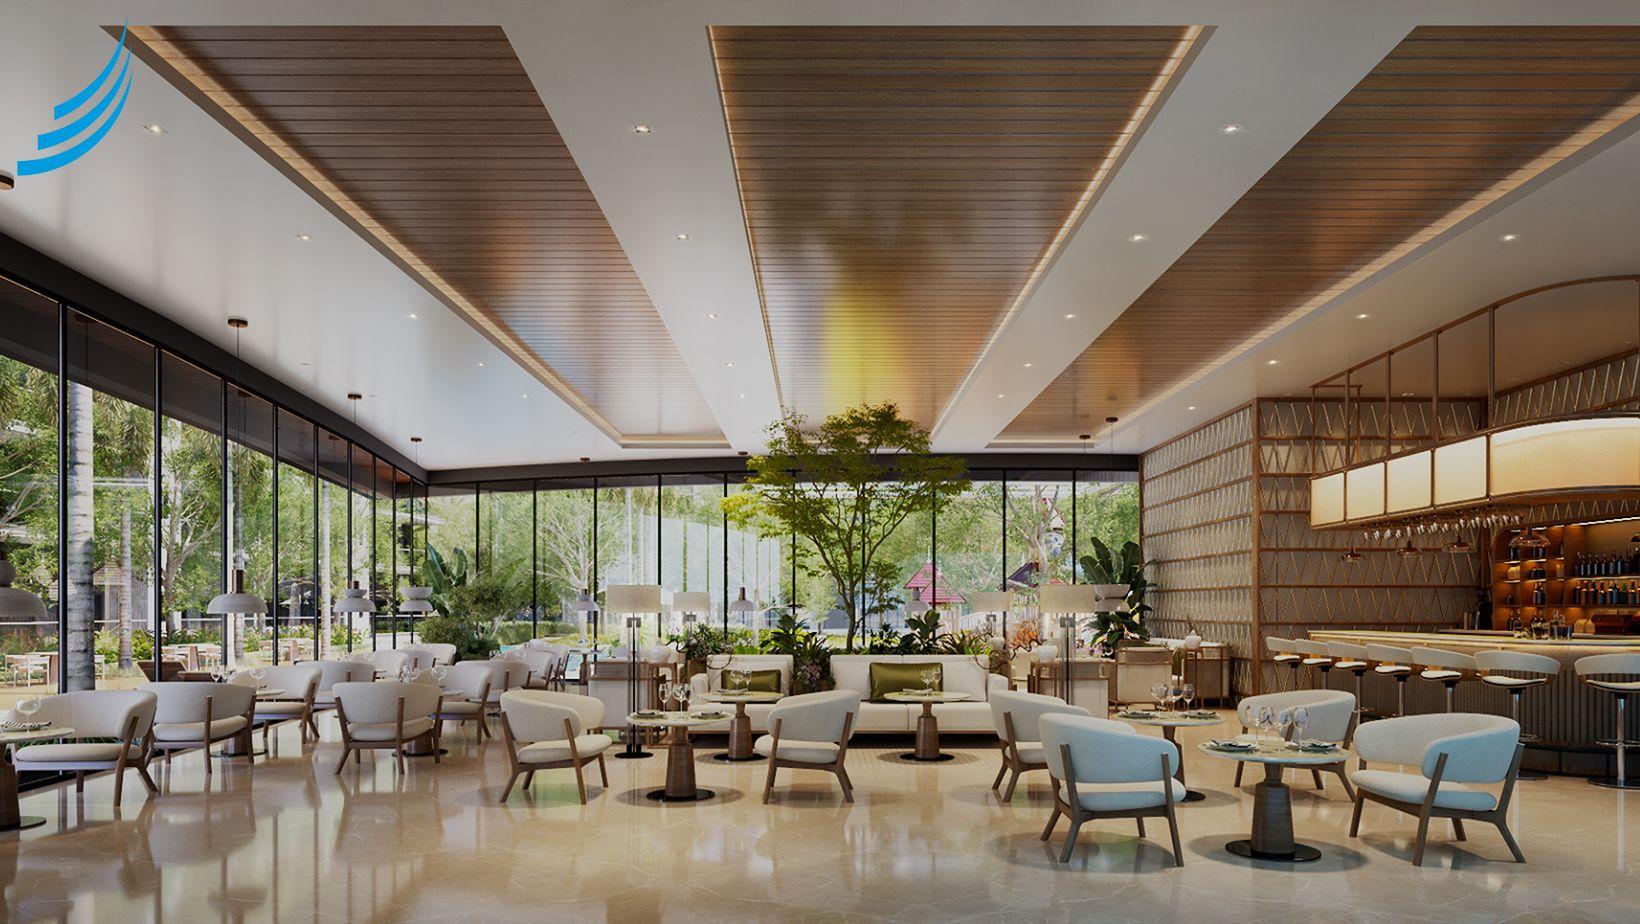
3D rendering is a technique to develop realistic images out of static lifeless images. Whether it is an elevation, outdoor amenities, or landscape, 3D rendering ensures that every detail is brought to life with minute precision that captivates the attention of future homebuyers. As a 3D visualization service provider, we, at Mayabious Group, follow a few steps that finally end up in developing stunning 3D rendered images.
Understanding the Project's Vision:
The first and foremost step in the 3D rendering process is to understand the client's vision. This involves a detailed discussion with the architects and designers to understand their design intent, the target audience, and the desired outcome.
Creating a Detailed 3D Model:
Once the vision is clear, the next step is to create a detailed 3D model of the architectural design. This involves using specialized 3D modeling software to create accurate representations of the building's geometry, materials, and textures. The level of detail in the 3D model will directly impact the quality of the final rendered images.
Choosing the Right Rendering Engine:
The choice of a rendering engine is critical to the quality and efficiency of the 3D rendering process. Different rendering engines offer different capabilities and strengths. Some engines are better suited for real-time rendering, while others are optimized for high-quality, photorealistic images.
Setting Up the Scene:
Before rendering, it is essential to set up the scene, which includes lighting, camera angles, and materials. The lighting setup is crucial as it can significantly impact the mood and atmosphere of the rendered images. Proper camera angles can help showcase the design's best features, while realistic materials can add depth and realism to the scene.
Rendering the Images:
Once the scene is set up, the actual rendering process can begin. Rendering time can vary from minutes to hours, depending on scene complexity and desired detail.
Post-Production and Final Touches:
After rendering, the images may require some post-production work to enhance their visual appeal. This can include color correction, contrast adjustment, and adding special effects. The final step is to deliver the high-quality rendered images to the client, who can then use them for marketing, presentations, and other purposes.
Tips for Effective 3D Rendering
- Use High-Quality Textures and Materials: High-quality textures and materials can significantly improve the realism of your 3D renderings. For example, using a high-resolution texture for a brick wall will make the wall look more realistic than using a low-resolution texture. Additionally, using realistic materials, such as wood, metal, and glass, can help to create a more believable scene.
- Pay Attention to Lighting: Proper lighting can create a dramatic and visually appealing scene. For example, using a warm light can create a cozy and inviting feeling, while using a cool light can create a more modern and sleek feeling.
- Use Realistic Camera Angles: Choose camera angles that showcase the design's best features. Avoid using extreme angles or distorted perspectives, as these can make the rendering look unrealistic. Instead, use camera angles that are similar to how a person would view the building in real life.
- Optimize Your 3D Models: Optimize your 3D models to reduce rendering time and improve performance. This can be done by simplifying the geometry of your models, using fewer polygons, and optimizing the materials and textures. By optimizing your models, you can render high-quality images in a shorter amount of time.
- Use a Good Rendering Engine: A good rendering engine can produce high-quality images with minimal effort. There are many different rendering engines available, so it is important to choose one that is suitable for your needs. Some factors to consider when choosing a rendering engine include the quality of the images, the speed of the rendering process, and the ease of use.
- Post-Production is Key: Post-production can help you refine your images and add the final touches. This can include color correction, contrast adjustment, and adding special effects. By taking the time to post-produce your images, you can create stunning 3D renderings that will impress your clients.
By following these tips and best practices, you can create stunning 3D renderings that will captivate your audience and help you achieve your design goals. Your renderings can be used for a variety of purposes, including marketing, presentations, and client approval. By investing in high-quality 3D renderings, you can elevate your architectural designs and create a lasting impression.