Learn How To Install a Shingle Roof
Ever wondered ditching your roofing contractor and handling most of the job yourself? Might seem frightening at first but trust me, it is not as complicated as you think. In this guide, I shall be covering the necessary fundamental steps to guide you through the majority of Shingle roofing by GAF in Boston process. Let's begin!
- Safety is the priority
For shingling your roof, you shall need to work at extreme heights depending on your house. Take a quick trip to the supermarket industrial sector and purchase some harnesses for yourself. Abide by the instructions and put them on before beginning work.
2- Understand the shingling concept
According to the dictionary, shingling means to 'arrange in an overlapping manner.' Make sure you get this down. For your shingles to successfully shed water, arrangements need to be tailored to perfection. The following steps will make it more clear about how to ensure this.
3- Preparing the deck
Ensure the floor of the roof is smooth, free from imperfections such as gaps and cracks. A blemished bottom surface shall also result in uneven shingle arrangements, which is the last thing you need!
4- Start from the bottom and work your way to the top
It's what under the Shingle roofing by GAF in Boston is that counts. The first component to install is the drip edge. With a drip edge installed, the water will not be able to rise back up after reaching the side of the roof, defying gravity. You are looking for a sharp and clean edge which shall protect the roof's edge from water damage.
5- Install ice protection
With the ice and water protector, your roof will be able to survive rough weather conditions. Install the protector over your drip edges installed in the previous step. The protection should overhang the root surface of your roof by at least half an inch. An ice and water protector has rubberized asphalt membranes which seal around the fasteners. This further adds a layer of protection.
6- Underlay the secondary protection
This protection layer should overlap the ice protection layer mentioned in the last step by 4 inches and the flashing by at least 6". This layer has several benefits; among them, the most significant would be wind upliftment resistance.
To ensure this work best, install the secondary protection under the drip edge. This may seem to contradict the 'overlapping' principle. But in return, you get a clean side of the roof without sacrificing protection.
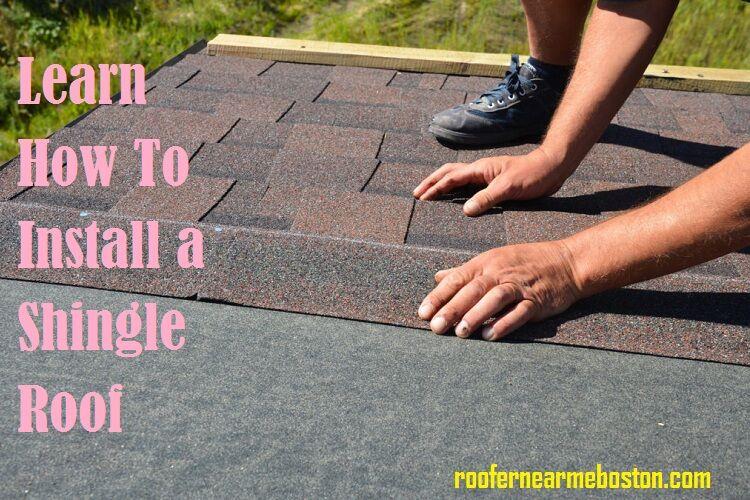
7- Install the shingles
The final step would be to install the shingles. Before doing this, however, check that there are no joints or valleys uncovered. This shall defeat the purpose of water-shedding. Cut your shingles to size. After this, you may want to consider calling your contractor for some help. Contractors will not likely charge much as you did most of the installation on your own.
With a contractor, you can ensure the Shingle roofing by GAF in Boston is done correctly to the last inch.
For those looking to save money, you may take upon most of the construction process on your own. Follow the steps mentioned meticulously, and you shall realize you much you saved doing most of the work on your own. For the final stages, however, I advise you to hire a contractor as it requires expertise and knowledge one is less likely possess.