Process of Micrometer Calibration-
Micrometers are precision tools widely used in industries like manufacturing, engineering, and automotive repair to measure small distances with incredible accuracy. However, even the best micrometers can drift over time due to wear, environmental factors, or mishandling. That’s where calibration comes in—it ensures your micrometer remains reliable and delivers trustworthy measurements. If you’ve ever wondered how to calibrate a micrometer properly, this article will walk you through the process in a clear and practical way.
Why Micrometer Calibration Matters-
Before diving into the steps, let’s talk about why calibration is so important. A micrometer that’s slightly off can lead to costly mistakes—think of parts that don’t fit together or quality checks that fail. Regular calibration keeps your measurements accurate, maintains consistency, and ensures compliance with industry standards. Plus, it’s a simple process that anyone can learn with a bit of patience and the right tools.
Tools You’ll Need-
To calibrate a micrometer, you don’t need a fancy lab—just a few essentials:
- A clean micrometer (free of dirt or grease)
- Calibration standards (like gauge blocks or a micrometer standard rod)
- A lint-free cloth
- A stable, flat surface
- A notepad (optional, for recording results)
Calibration standards are critical because they provide a known measurement to compare against. For example, a 25 mm gauge block is perfect for calibrating a 0-25 mm micrometer.
Step-by-Step Micrometer Calibration Process-
Here’s how to calibrate a micrometer effectively. Follow these steps carefully for the best results.
Step 1: Clean the Micrometer
Start by wiping down the micrometer with a lint-free cloth. Dust, oil, or debris on the anvil or spindle can throw off your readings. Gently turn the thimble to close the micrometer and check that the measuring faces are spotless. A clean tool is the foundation of accurate calibration.
Step 2: Inspect for Damage
Take a close look at the micrometer. Are there any nicks, scratches, or dents on the anvil or spindle? Is the thimble turning smoothly? If something looks off, the micrometer might need repair before calibration. A damaged tool won’t give reliable results, no matter how well you calibrate it.
Step 3: Zero the Micrometer
Close the micrometer fully by turning the thimble until the spindle touches the anvil. Check the reading—it should be exactly 0. On a digital micrometer, this might show as 0.000 mm; on an analog one, the zero mark on the thimble should align with the reference line on the sleeve. If it’s not zero, use the wrench (usually provided with the micrometer) to adjust the sleeve until it is. This step ensures your starting point is correct.
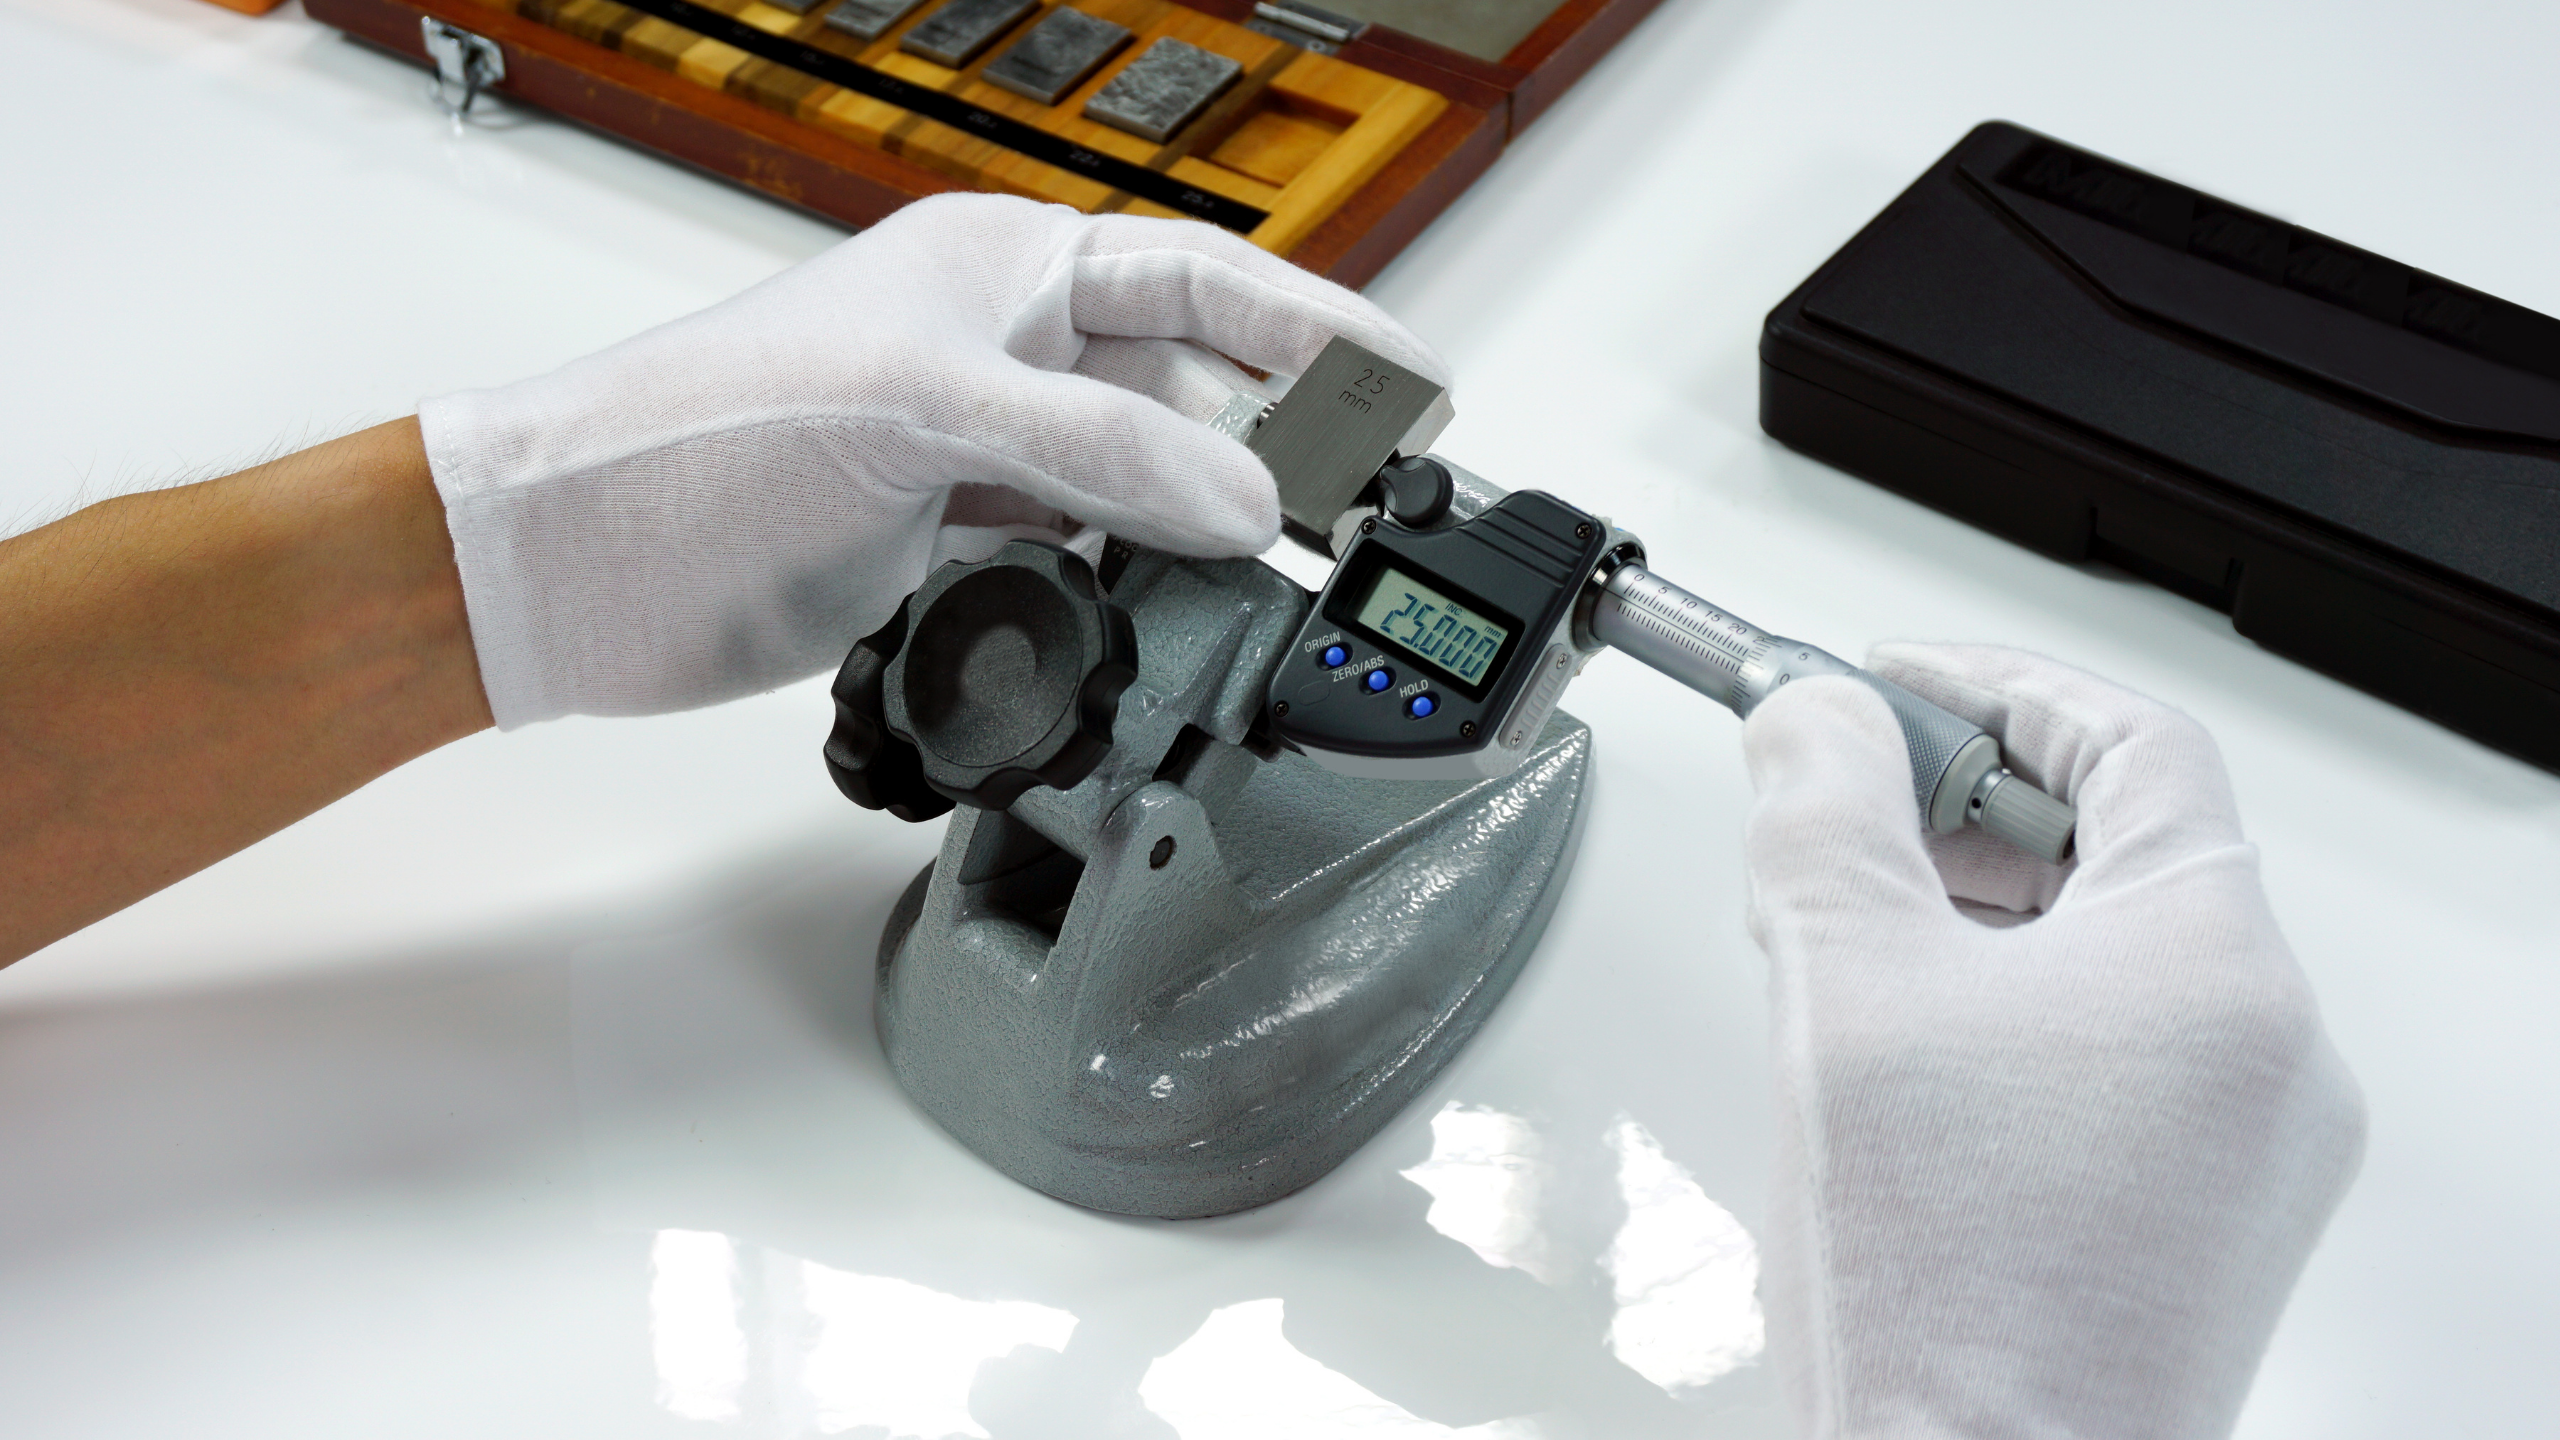
Step 4: Test with a Calibration Standard
Now, open the micrometer and place your calibration standard—like a gauge block—between the anvil and spindle. Let’s say you’re using a 25 mm standard. Close the micrometer gently until it contacts the standard (don’t overtighten, as this can skew the reading). Check the measurement:
- For a digital micrometer, the display should read 25.000 mm (or very close, depending on tolerance).
- For an analog micrometer, the sleeve and thimble should indicate 25 mm when aligned.
If the reading matches the standard, your micrometer is spot on. If not, move to the next step.
Step 5: Adjust as Needed
If the micrometer’s reading is off—say it shows 25.02 mm instead of 25 mm—you’ll need to adjust it. Some micrometers have a small adjustment nut near the sleeve or a calibration feature on the digital display. Use the wrench or reset button (refer to your micrometer’s manual) to tweak it until the reading matches the standard. Test again to confirm the adjustment worked.
Step 6: Verify at Multiple Points
For extra confidence, test the micrometer at different ranges if it’s adjustable (e.g., 0-25 mm, 25-50 mm). Use corresponding standards—like a 10 mm and 20 mm block—to ensure accuracy across its full range. This step is especially useful for micrometers used in varied applications.
Step 7: Record and Repeat
Once calibrated, jot down the date and results if you’re keeping a log (a good habit for professional settings). Calibration isn’t a one-time task—repeat it regularly, depending on how often you use the micrometer. Monthly checks are common in heavy-use environments, while occasional users might calibrate every six months.
Tips for Successful Calibration-
- Work in a stable environment—extreme heat, cold, or humidity can affect measurements.
- Handle the micrometer and standards with care to avoid scratches or drops.
- If you’re unsure about adjustments, consult the manufacturer’s manual—it’s your best friend here.
Calibrating a micrometer might sound technical, but it’s a straightforward process that pays off in reliable measurements. By keeping your tool in check, you’re ensuring quality work and avoiding headaches down the line. So, grab your micrometer, a standard, and a cloth, and give it a try—you’ll be amazed at how simple it is to keep your measurements on point.
Get More Information - Click Here