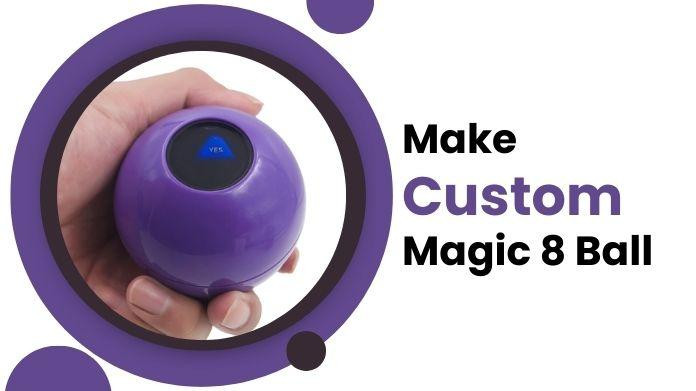
Creating a custom Magic 8 Ball is a fun and creative project that allows you to personalize a classic toy. Whether you want to make it for yourself, as a unique gift, or as a novelty item, the process is straightforward and enjoyable.
Following a few simple steps, you can design and build your Magic 8 Ball with customized answers and a personalized exterior.
This guide will walk you through the materials needed, the step-by-step instructions, and some tips and considerations to help you create a one-of-a-kind Magic 8 Ball that reflects your personality and creativity.
Materials Needed
Basic Supplies
- A standard Magic 8 Ball or a spherical container
- Plastic die or custom answer cube
- Waterproof ink or stickers for answers
- Clear liquid (water, glycerin, or baby oil)
- Glue and sealant
- Tools: small screwdriver, craft knife, tweezers
Optional Customization Supplies
- Paints and brushes
- Decorative stickers or decals
- Waterproof markers
- Glitter or small decorative items (optional)
Step-by-Step Instructions
Step 1: Disassemble the Magic 8 Ball
Remove the Outer Shell
- Locate the Seam: Find the seam where the two halves of the Magic 8 Ball meet.
- Carefully Pry Open: Use a small screwdriver or craft knife to open the seam carefully. Be gentle to avoid damaging the ball.
Extract the Inner Components
- Remove the Liquid Chamber: Inside, you'll find a liquid-filled chamber containing the answer die. Carefully remove this chamber.
- Drain the Liquid: Using tweezers, carefully extract the answer die and drain the liquid from the chamber.
Step 2: Create Custom Answers
Design Your Answers
- Choose Your Messages: Decide on the custom answers you want to include. These can be traditional responses, personalized messages, or fun phrases.
- Write or Print: Write or print these answers onto a plastic die or a custom answer cube using waterproof ink or stickers.
Attach the Answers
- Secure the Answers: Ensure the answers are securely attached and won't dissolve or fade in liquid. Use waterproof materials and allow them to dry completely.
Step 3: Reassemble the Liquid Chamber
Fill with Liquid
- Choose Your Liquid: Decide on the liquid to fill the chamber. Water, glycerin, or baby oil are common choices.
- Add Custom Elements: For a unique touch, add glitter or small decorative items to the liquid.
Insert the Answer Die
- Place the Die: Carefully place the answer die back into the liquid chamber.
- Seal the Chamber: To prevent leaks, ensure the chamber is properly sealed. Use waterproof glue and sealant around the edges.
Step 4: Reassemble the Magic 8 Ball
Secure the Liquid Chamber
- Replace the Chamber: Insert the liquid-filled chamber into the Magic 8 Ball shell.
- Seal the Ball: Carefully reassemble the two halves of the Magic 8 Ball. Use glue to seal the seam securely.
Step 5: Customize the Exterior
Decorate the Ball
- Paint and Stickers: Use paints, waterproof markers, or stickers to decorate the exterior of the Magic 8 Ball. You can personalize it with names, designs, or themes.
- Final Touches: Add final decorative touches, ensuring all materials are waterproof and securely attached.
Step 6: Test Your Custom Magic 8 Ball
Shake and Test
- Shake: Once the glue and sealant have dried, give your custom Magic 8 Ball a good shake.
- Check Responses: Ensure the custom answers appear clearly and that the ball is sealed correctly without any leaks.
Tips and Considerations
Safety Precautions
- Handle Tools Carefully: Use sharp tools like craft knives and screwdrivers cautiously.
- Use Waterproof Materials: Ensure all materials are waterproof to prevent damage to your custom Magic 8 Ball.
Customization Ideas
- Theme-Based Answers: Create answers based on a specific theme, such as motivational quotes, jokes, or personal advice.
- Unique Designs: Paint or decorate the exterior with distinctive designs, patterns, or colors to make it unique.
Troubleshooting
- Leaking: If your Magic 8 Ball leaks, check the seals and apply additional glue or sealant as needed.
- Blurry Answers: Ensure the answers are clearly written, printed, and securely attached to avoid floating or dissolving issues.
Conclusion
Creating a custom Magic 8 Ball is a fun and rewarding project that allows you to infuse your personality and creativity into a classic toy.
Following these steps, you can craft a unique Magic 8 Ball that provides personalized answers and adds a touch of whimsy to any setting.
Enjoy the process and have fun with your custom creation!

