Facing any issue with your laptop motherboard or power jack? If yes, you have to repair or replace the motherboard immediately, because this can cause issues in your laptop.
Laptops go outdated with time resulting in numerous faults – defect in jack, connector, or cable. Some problems are easy to repair/resolve but others cannot be resolved easily.
Check out the blog to gather information regarding laptop motherboard and power jack repair. You will get to know how to resolve the issue with your laptop.
Generally, most laptops have a short life – that is around 4-5 years or some hardly cross 6 years. Laptop parts are really expensive and are not easy to replace if you are not a laptop repair pro.
However, if you follow the correct steps, you can repair/replace the laptop parts on your own.
Laptop Power Jack Repair – The Procedure
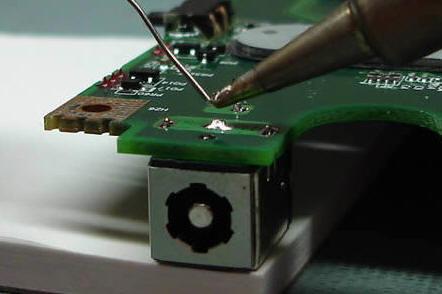
The power jack of the laptop is a soft and delicate component. It should be taken care of properly. If the part has stopped working, then you have to remove and replace it immediately. Otherwise, it can cause some serious issues to the laptop.
You can replace or repair power jack of laptop by following the right instructions. Here are some instructions to assist you in replacing the laptop power jack.
- Turn off the laptop and remove the battery. Removing the battery should always be the first step when replacing any component in a laptop.
- Unscrew the screws from the bottom of the laptop to remove the hardware.
- Pull out the RAM card and hard disk.
- Pull the keyboard screw to remove it. Removing these parts is necessary so that nothing gets damaged during the process and you get enough space.
- Watch out for the screws near the DVD drive and remove them.
- Pull out the top plate by removing the screws and take out the old power jack. In most laptops, it is soldered. Ensure to check it before removing or else you will damage the plate.
- Connect new power jack from where the old is removed.
- Screw the power jack to the motherboard.
- Place the motherboard in place inside the laptop chassis.
- Reconnect all the cords to the motherboard.
- Plug in everything you have removed earlier – keyboard, DVD drive, RAM card, and hard drive.
- Cover the RAM card and hard drive with top plate. Tighten up the screws, insert the battery, and check if it is working fine.
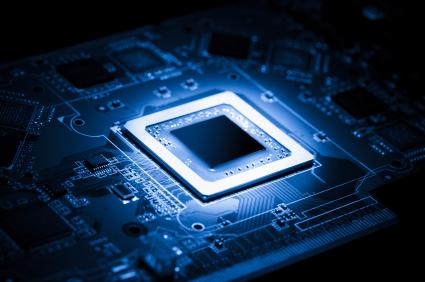
Laptop Motherboard Repair – The Procedure
Motherboard is an important part of the laptop. As long as the motherboard of a computer on a laptop is working, a system will run smoothly. Motherboard replacement can be a costly process as it is a major ingredient.
You might require several tools to replace the motherboard in a laptop. There are few steps to replace the motherboard and you have to follow a level-based technique.
Following are some instructions to assist you with laptop motherboard repair.
Level 1: Replace the power jack
Level 2: Power IC replacement
Level 3: Controller IC replacement
Level 4: BGA reliability
Laptop motherboard repair is a skilled job; you might not have the right tools or technique to carry out the process. So, visit an expert and let them replace/repair the motherboard for you.