Clear out any obstacles near the garage door opening. Use a level to check if the floor and walls are even, ensuring smooth installation.
Step 2: Install the Door Panels
-
Start by placing the bottom panel in the garage door frame.
-
Secure it with hinges and brackets.
-
Stack and align the next panels one by one, fastening them with screws.
Step 3: Attach the Tracks
-
Install the vertical tracks on both sides of the door.
-
Ensure they are aligned properly before securing them.
-
Attach the horizontal tracks to guide the door's movement.
Step 4: Set Up the Springs and Cables
-
Carefully install the torsion springs above the door.
-
Connect the lift cables to balance the weight of the door.
-
Tighten the springs evenly to ensure smooth operation.
Step 5: Install the Garage Door Opener (Optional but recommended)
-
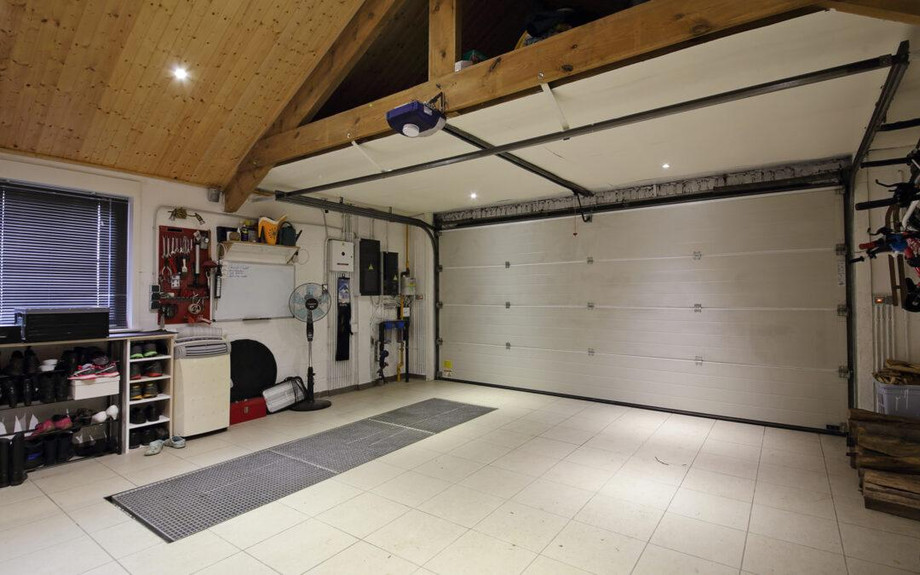
Mount the garage door opener securely on the ceiling.
-
Connect it to the door using the drive mechanism.
-
Test the opener to ensure smooth opening and closing.
Step 6: Test the Door for Proper Functionality
-
Slowly open and close the door manually to check alignment.
-
Adjust any misaligned tracks or springs.
-
Secure all bolts and screws to prevent movement.
Safety Tips:
-
Always follow manufacturer instructions.
-
Use protective gear while handling heavy parts.
-
If unsure, consult a professional to avoid potential hazards.
Final Thoughts
Installing a garage door requires precision and patience, but with the right steps, you can achieve a smooth and secure setup. If the process seems overwhelming, hiring a professional garage door installation service ensures a safe and efficient installation.
Need help? Contact a local expert for a hassle-free garage door installation today!