Crafting homemade soap is a fun and rewarding hobby that lets you customize every detail of your soap, from scent to design. One of the easiest ways to dive into soap-making is by using a melt and pour soap base. Whether you’re a beginner or looking for a quick and creative project, this method is ideal for crafting soaps that are both beautiful and functional.
What Is Melt and Pour Soap Base?
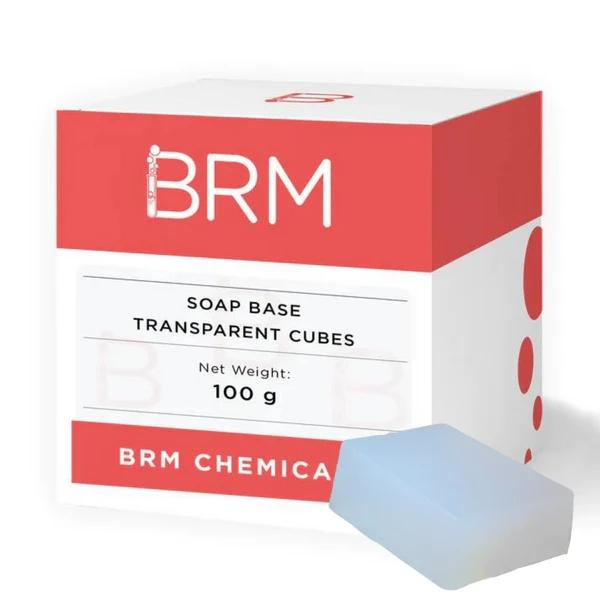
A melt and pour soap base is a pre-made soap block that can be melted, customized, and poured into molds. It eliminates the need for handling lye, making the process safe and beginner-friendly. Soap bases are available in various types, including glycerin, goat’s milk, shea butter, and aloe vera, catering to different skin types and preferences.
Why Choose Melt and Pour Soap Base?
- Ease of Use
Perfect for beginners, the melt-and-pour method allows you to focus on creativity without worrying about complicated measurements. - Customizable
Add your favorite essential oils, colorants, and exfoliants like oatmeal or dried herbs to make unique soap bars. - Skin-Friendly Options
Choose from bases enriched with natural ingredients like shea butter or aloe vera, ideal for sensitive or dry skin.
Getting Started: Supplies You’ll Need
To create your own soaps, gather these essentials:
- Melt and pour soap base
- Heat-safe container (microwave-safe or for double boiling)
- Soap molds
- Essential oils for fragrance
- Natural colorants (mica powders, clays, or food-grade colors)
- Optional additives like dried flowers, exfoliants, or glitter
How to Make Melt and Pour Soap: Step-by-Step
- Cut and Melt the Soap Base
- Chop the soap base into small cubes for even melting.
- Melt it in the microwave or using a double boiler. Heat in short intervals, stirring frequently to avoid overheating.
- Customize Your Soap
- Add a few drops of essential oil for fragrance.
- Mix in colorants or exfoliants to create visually appealing designs.
- Pour Into Molds
- Carefully pour the melted soap into molds.
- Tap the molds gently to remove air bubbles.
- Let It Set
- Allow the soap to cool and harden completely, usually for 1–2 hours.
- Once set, pop the soap out of the molds.
Tips for Success
- Choose High-Quality Bases
Opt for a premium melt and pour soap base to ensure a smooth finish and nourishing properties. - Work Quickly
Melted soap cools fast, so have your additives ready before pouring. - Experiment Freely
Try layering colors or swirling designs for more artistic soaps.
Popular Types of Melt and Pour Soap Bases
- Glycerin Soap Base: Clear and perfect for embedding decorative items.
- Goat’s Milk Soap Base: Creamy and moisturizing, ideal for sensitive skin.
- Shea Butter Soap Base: Rich and nourishing, great for dry skin.
- Aloe Vera Soap Base: Soothing and gentle, perfect for irritated skin.
Why Try Soap-Making?
Creating your own soap is a satisfying way to personalize your skincare routine and even make thoughtful gifts. With a melt and pour soap base,