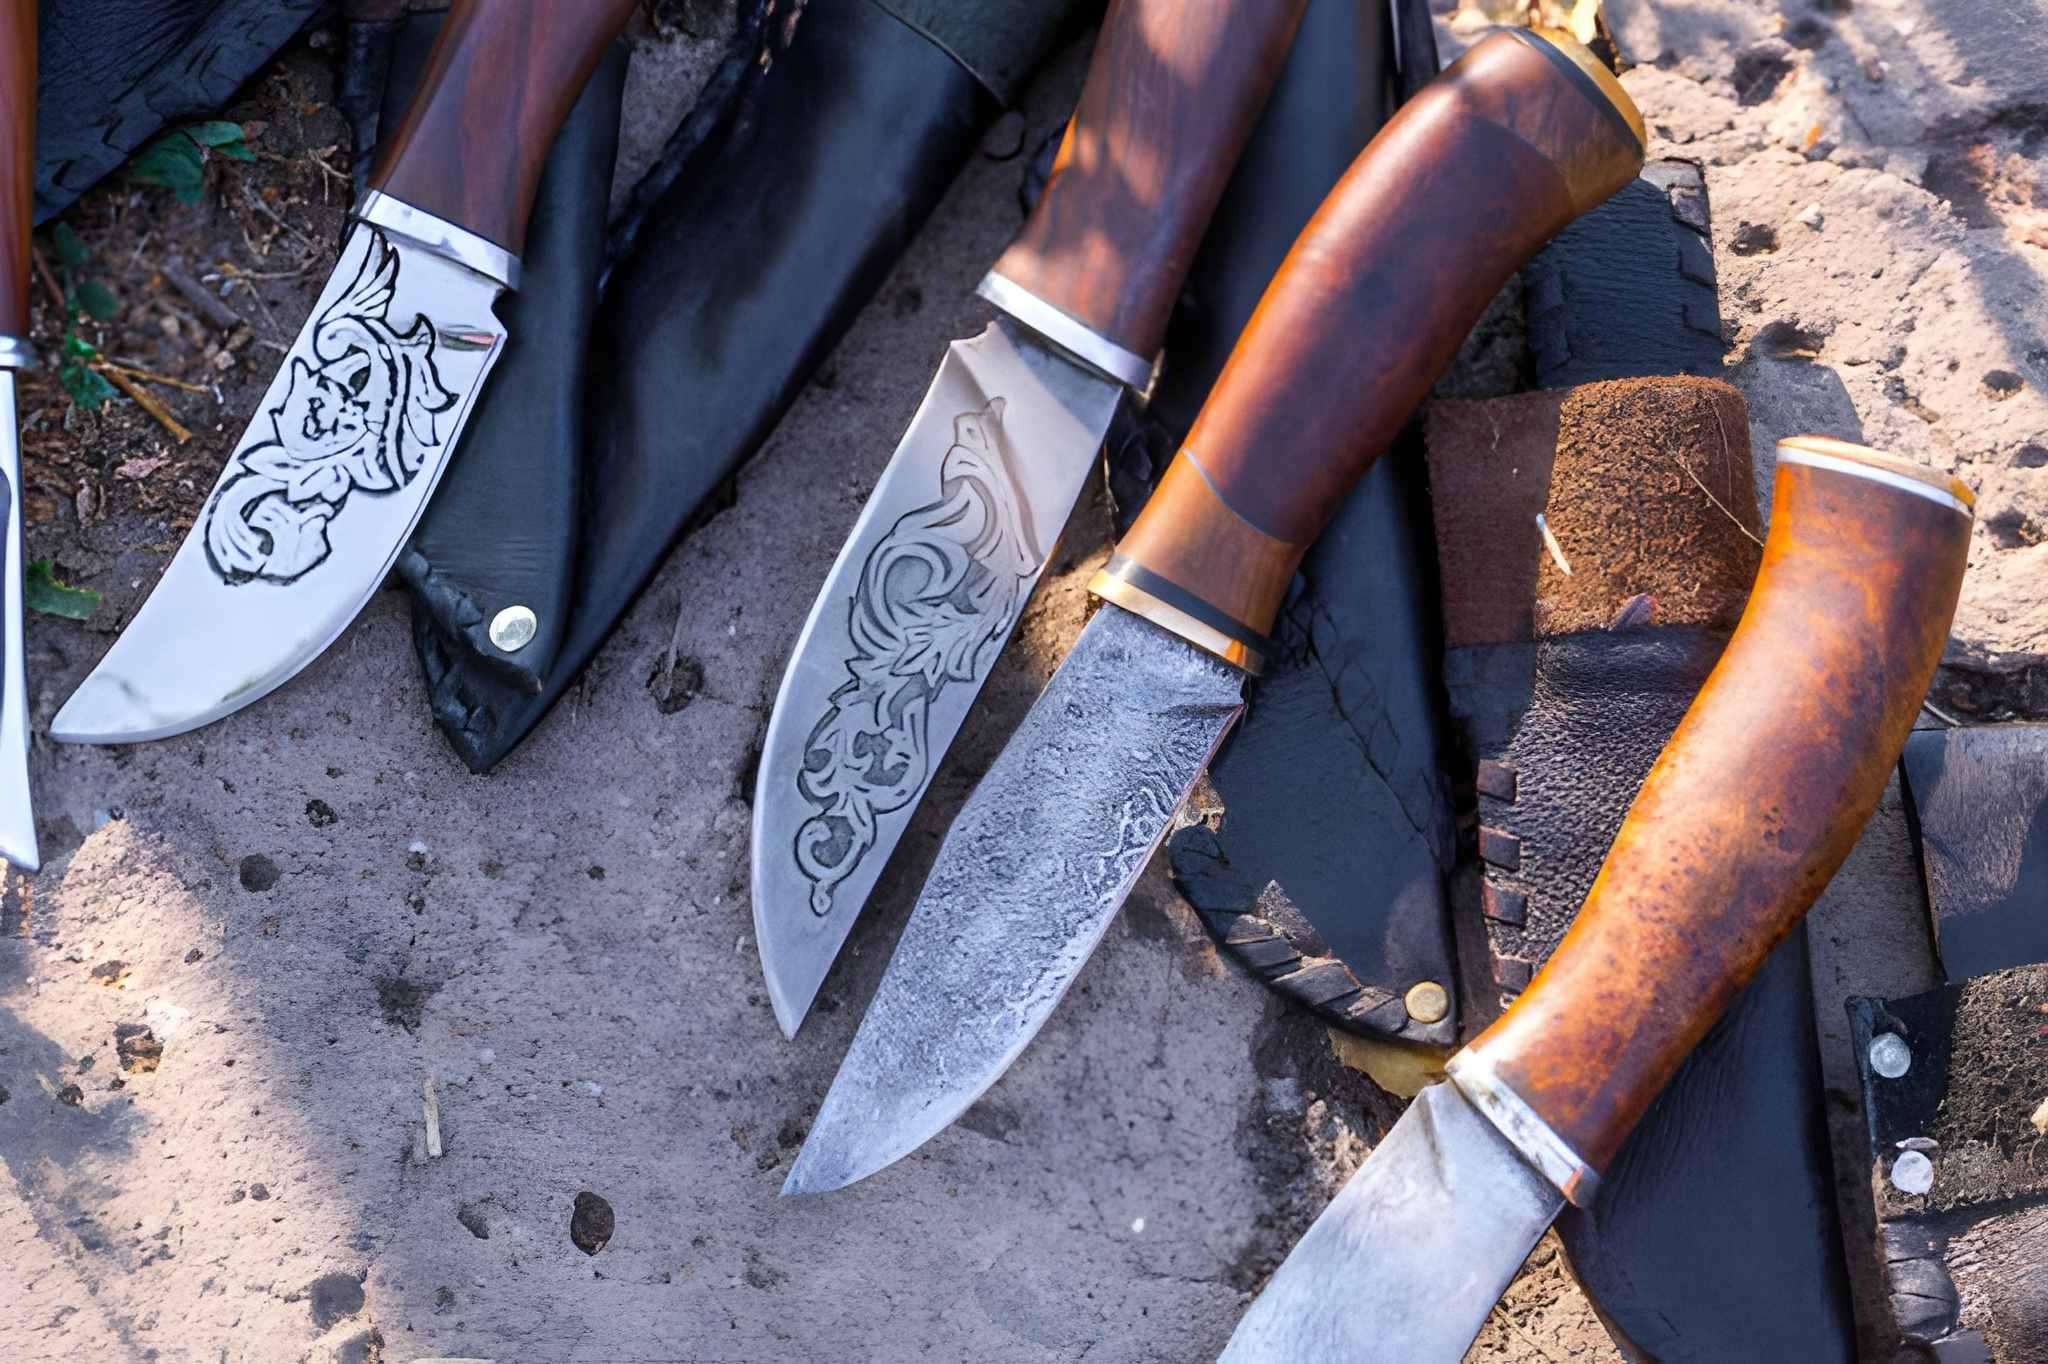
A Look Into the Craft Behind Damascus Pocket Knives
Damascus steel pocket knives are famous for their swirling, flowing, or geometric patterns that look almost like art trapped inside metal. Many people assume these patterns are printed or etched on the surface, but they are actually built deep within the steel itself. When you hold a damascus pocket knife, you’re seeing the result of layered steel that has been forged, twisted, and shaped with precision. Understanding how these designs are created helps you appreciate the craftsmanship, time, and skill that go into every blade.
Below, we break down how Damascus steel patterns take shape, from raw metal to a finished pocket knife, and how simple tools can still produce amazing results.
Understanding Pattern-Welded Steel
Before a knife can display those iconic waves or twists, a smith first creates pattern-welded steel. It’s made by stacking different types of steel, usually one high-carbon and one low-carbon, and bonding them through heat and pressure. When these layers are folded, stretched, or twisted, the contrasting metals eventually reveal eye-catching designs once etched.
Choosing the Right Metals for Damascus
To start, a bladesmith selects steels that bond well together. Common choices include 1084 and 15N20. These two react differently during etching, making the pattern visible. After cleaning each piece so no dirt or oil interferes, the steels are stacked like a layered sandwich.
Heating and Welding the Layered Stack
Once the stack is ready, it goes into the forge and is heated until glowing bright. At this stage, the smith hammers or presses the metals together until they fuse into one solid block called a billet. This step requires careful temperature control so the steels bond without overheating or crumbling.
Stretching the Billet and Twisting for Design
After welding, the billet is elongated with a hammer or press. Some patterns require twisting the long bar like a rope. A twist helps create spiral designs once the blade is shaped. The direction and tightness of the twist determine how bold or subtle the final pattern looks.
Continuing to Shape the Steel
The forged bar is stretched again to the size needed for the knife. Each time the steel is worked, the layers inside also shift, stretch, or tighten, adding detail to the eventual pattern.
Cleaning the Blade Profile
After forging the metal, the smith grinds off the rough surface to reveal a cleaner shape. This step is important because it removes the outer scale so the steel layers beneath can be seen later during etching.
Transferring the Knife Design
Next, the maker traces a paper or metal template onto the steel. This outline ensures the blade shape is balanced and consistent before cutting.
Cutting Out the Knife Shape
Using a saw or grinder, the knife blank is cut from the billet. This raw shape doesn’t look polished yet, but all major lines are already defined.
Smoothing Surfaces and Making Holes
After cutting, the blade is sanded to remove sharp edges. Holes for pins or screws are drilled now, especially for folding pocket knife designs where parts must fit together perfectly.
Hardening the Blade Through Heat Treatment
To give the blade strength, it is heated again and quenched (usually in oil). This step hardens the steel. A follow-up tempering cycle reduces brittleness so the knife can flex slightly without breaking.
Revealing the Hidden Pattern
Etching is the moment the Damascus pattern finally appears. The blade is dipped into an acid solution, which darkens some layers and leaves others lighter. The contrast exposes the twists, waves, dots, or ladders hidden in the steel.
Selecting Handle Material and Preparing It
Once the blade is ready, the maker chooses a handle material such as wood, bone, resin, or metal. The material is cut to shape so it will sit comfortably in the hand.
Fitting the Handle and Testing the Pieces
Pilot holes are drilled, and the parts are temporarily assembled to ensure everything aligns correctly. This step is especially important for pocket knives with moving parts.
Engineering the Folding Mechanism
The pivot, washers, and stop pin must all be placed accurately so the blade opens and closes smoothly. A well-fitted mechanism makes the knife safer and more enjoyable to use.
Shaping the Handle Scales
Handle pieces are trimmed to match the knife’s profile. They must be the right size before gluing or pinning them into place.
Adding the Inner Liner
Many pocket knives include a metal liner beneath the handle for strength. This liner is cut and shaped so it fits tightly without sticking out.
Securing the Handle Pieces
Glue or epoxy joins the handle scales to the liner or tang. Once dried, the handle becomes a permanent part of the knife.
Final Sizing and Detailing
The handle is sanded until the transitions are smooth. This step helps the knife feel comfortable and balanced when held.
Final Shaping and Surface Finish
More sanding helps round edges and refine the handle’s style. The blade also gets polished to prepare for the final assembly.
Adding the Stop Pin
The stop pin controls how far the blade swings open. Installing it ensures the knife doesn't open too far or close incorrectly.
Completing the Handle Finish
Oil, wax, or polish is added to protect and beautify the handle material. Wood becomes richer in color, and synthetic materials take on a glossy sheen.
Final Assembly of the Pocket Knife
Now all parts come together: the blade, pivot, liners, scales, screws, and pins. The mechanism is checked to make sure the blade locks and moves correctly.
Sharpening the Blade Edge
The last working step is sharpening. Using stones or belts, the edge is honed until it’s razor sharp and ready for use.
The Knife Is Complete
The final product is a durable, attractive pocket knife with patterns formed deep within the steel, not printed, not painted, but created through heat, pressure, and skill.
Final Thoughts
Damascus steel patterns look mysterious, but they come from a very real and hands-on process. Every twist, fold, and layer adds life to the metal, turning a simple blade into something almost artistic. Whether you’re a collector, a maker, or just curious, understanding how these patterns form gives you a deeper appreciation for the craft behind every Damascus pocket knife, and how those details help define what many consider a true pocket knife.