
Some time ago I saw a chocolate bar made with Adobe Photoshop somewhere on the Internet. I thought that Gimp can’t do worse than and I got myself to work. It seemed to be quite easy and here is the result in 28 steps.
Author: Kifer71
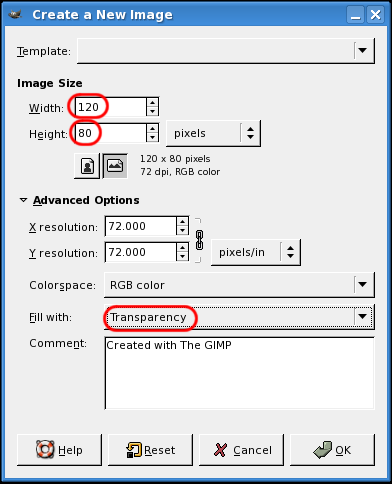
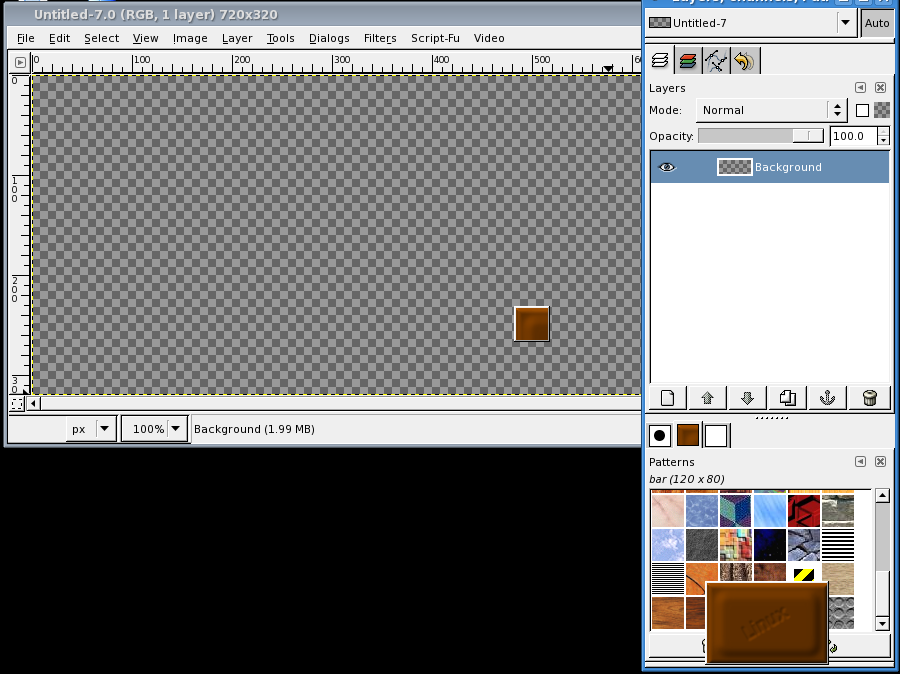
- Create a transparent (advanced options > fill with: transparency) picture 120×80 pixels in size.
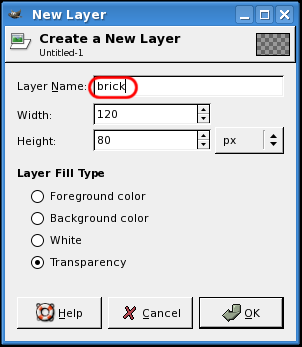
Pic.1 Creating new image - Add two new layers and name them “projection” and “brick”.
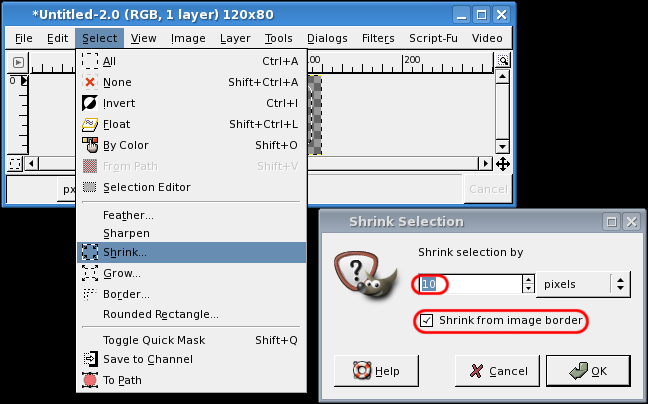
Pic.2 Adding new layer with a name - Select the whole layer “projection” by choosing All from the Select menu.
- Reduce the selection by about 10 pixels by using Select > Shrink

Pic.3 Shrinking selection - Next, from the Select menu choose Rounded Rectangle and set the slider to 25%.

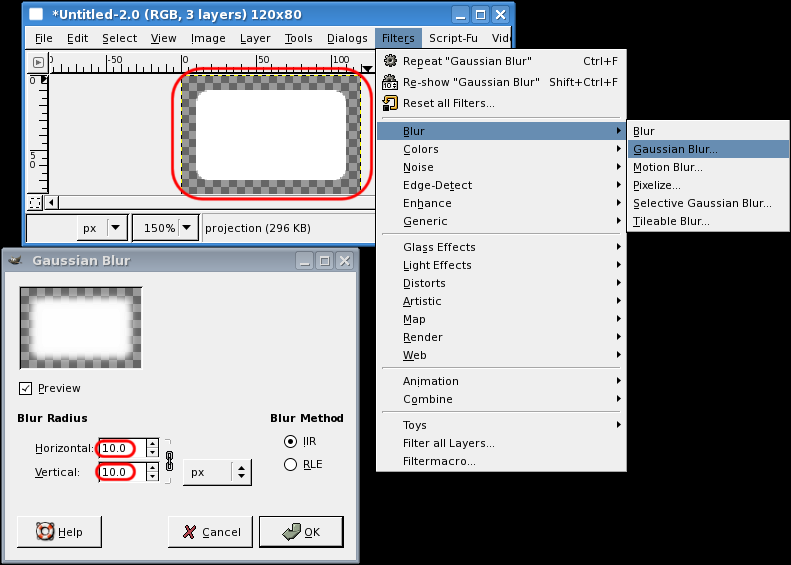
Pic.4 Selecting a rectangular area with rounded corners - Fill the selection with white, then select “None” and from the Filters menu choose Blur -> Gaussian blur. Set the blur radius to 10 pixels.

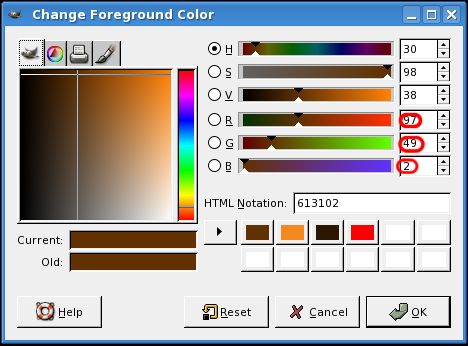
Pic.5 Adding some blur - Now fill the brick > layer with rgb(97,49,2).

Pic.6 Setting a color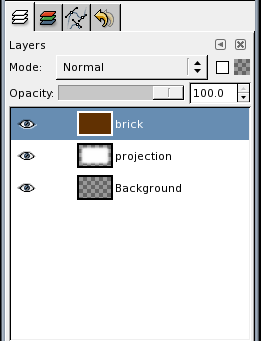
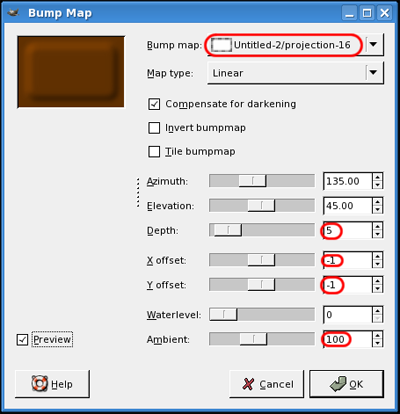
Pic.7 Layers, as they should look - From the Filters > Map menu choose Bump Map. In the mapping dialog set layer “projection” as bump map. Set the Depth slider to 5 and set X and Y offset to -1. Set Ambient to 100.
Pic.8 Mapping layers to get a nice bar - From the Script-Fu menu choose Decor -> Add bevel, uncheck Work on copy, set Thickness to 5.
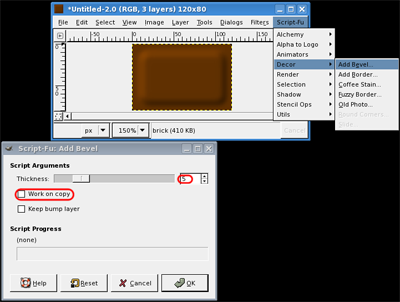
Pic.9 Using Script-Fu to make the bar look smoother - Repeat Add bevel.


A chocolate bar with some text engraved looks much better, so move on.
Add your text, preferably in white. Rotate the text layer about an arbitrary angle if you feel like it.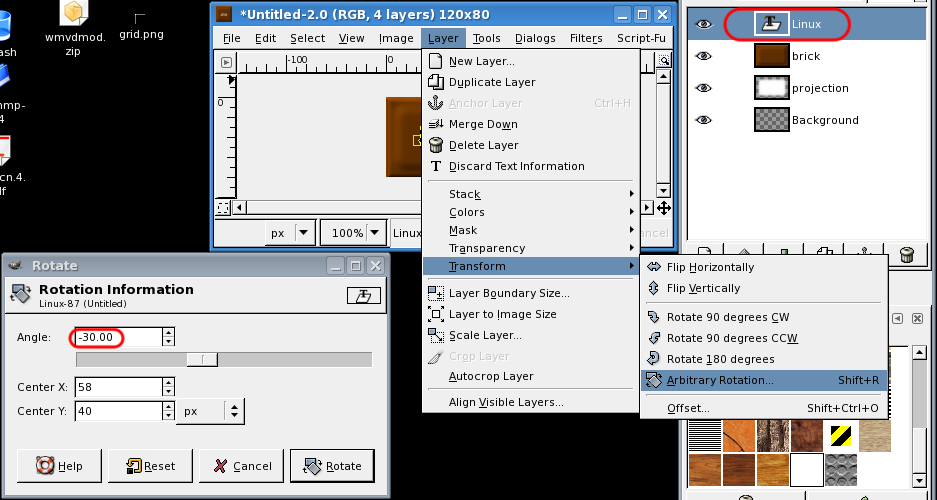
Pic.10 Rotating a layer
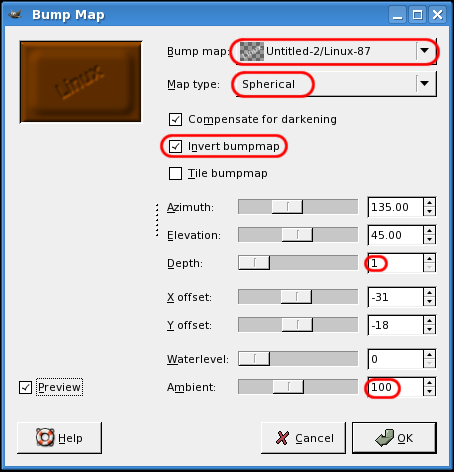
Pic.11 Mapping layers to get text on the bar
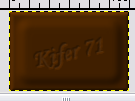
Pic.12 Brick with label “Kifer71″
Pic.13 The chocolate bar is ready. Yummy!
Modifications
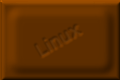
Pic.14 Linux is sweet!
Here comes a handy shortcut.
Starting from point 16 of this tutorial do the following:
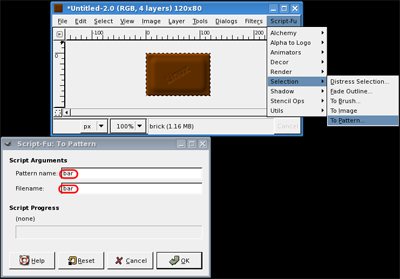
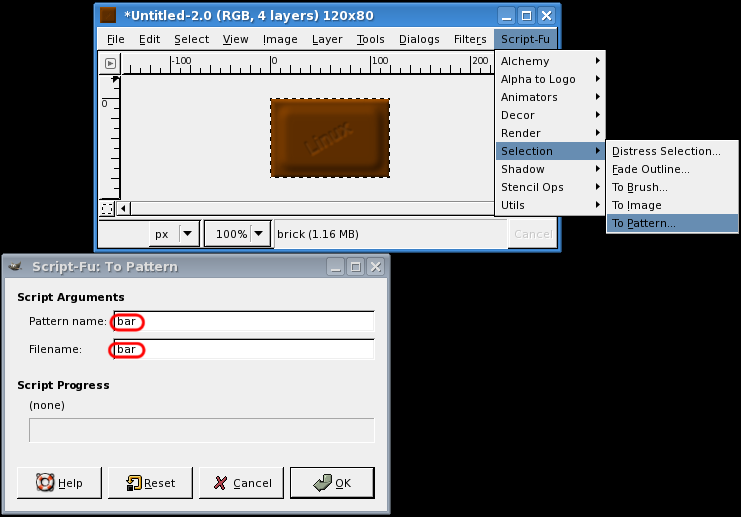
- Before you create a new image, make a pattern from your bar of chocolate. Select the whole image, by selecting layer brick and by Selection -> All. Then from menu choose Script-Fu -> Selection -> To Pattern….
- Name your pattern “bar” for example.
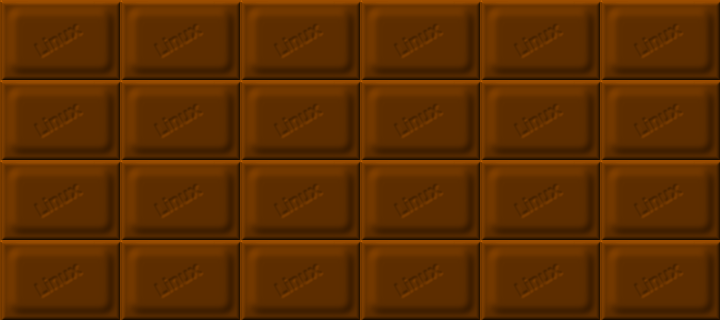
Pic.15 Creating a pattern - Create a new image as it was in the 17th step of this tutorial. The size can be different but still the best effect is when it is a multiplication of bar’s size. For example 600 x 240px
- Find the pattern and drag&drop it over the new image.
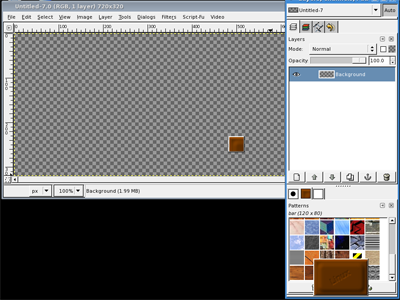
Pic.16 Using drag&drop with the pattern - And that’s it!!

This work is licensed under a Creative Commons License.
This text is based on the article by Kifer71 published in Dragonia Magazine nr 8 [in Polish]. Dragonia Magazine, a Polish online magazine about Free and Open-Source Software. You can download the latest Dragonia issue (first one in English from our mirror). The article has been slightly modified compared with the original version by the PolishLinux team .
Author: Kifer71
License: Creative Commons