Best Art Techniques for Drawing Aircraft involve precision, perspective, and attention to detail. Start with basic geometric shapes to outline the aircraft’s structure. Use one-point or two-point perspective for accurate proportions. Fine-tipped pencils help achieve sharp edges, while shading techniques like hatching and cross-hatching add depth. Reference images ensure realism, while digital tools enhance precision. Layering colors and blending improve textures for a polished look. Study aerodynamics to understand airflow effects on surfaces. Whether sketching vintage planes or modern jets, mastering these best art techniques for drawing aircraft enhances realism, making your artwork visually striking and technically accurate.
Best Art Techniques for Drawing Aircraft
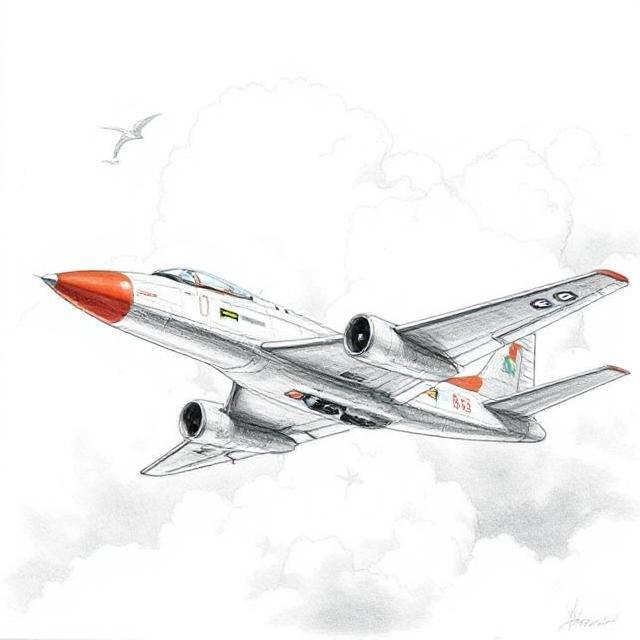
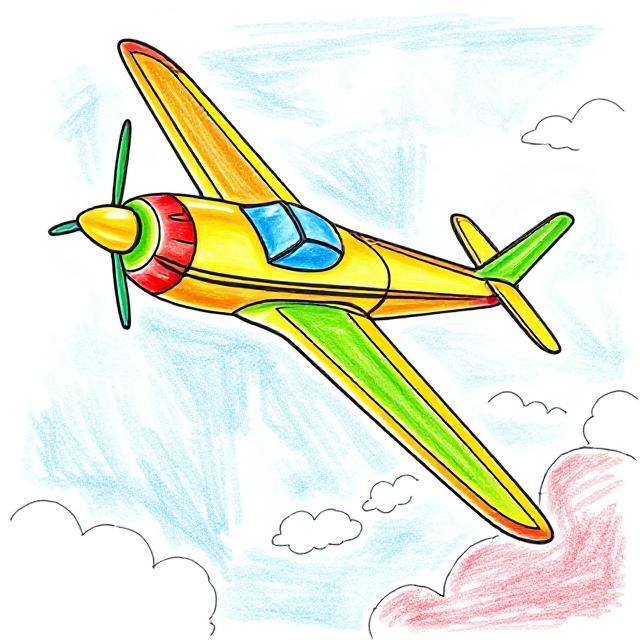
Drawing aircraft requires a combination of technical precision and artistic skill to capture their intricate details, proportions, and aerodynamic forms. Whether you're sketching fighter jets, commercial airliners, or vintage warbirds, these techniques will help you achieve accuracy and realism in your artwork.
1. Understanding Aircraft Anatomy
Before drawing, study the basic structure of aircraft:
-
Fuselage – The main body, which houses the cockpit, payload, and engines.
-
Wings – Provide lift; their shape varies (swept, delta, straight).
-
Empennage (Tail Section) – Includes the vertical stabilizer (fin) and horizontal stabilizers.
-
Engines – Mounted on wings (jets) or fuselage (propellers).
-
Landing Gear – Wheels and struts for takeoff/landing.
Tip: Use reference images (blueprints, photographs) to understand different aircraft designs.
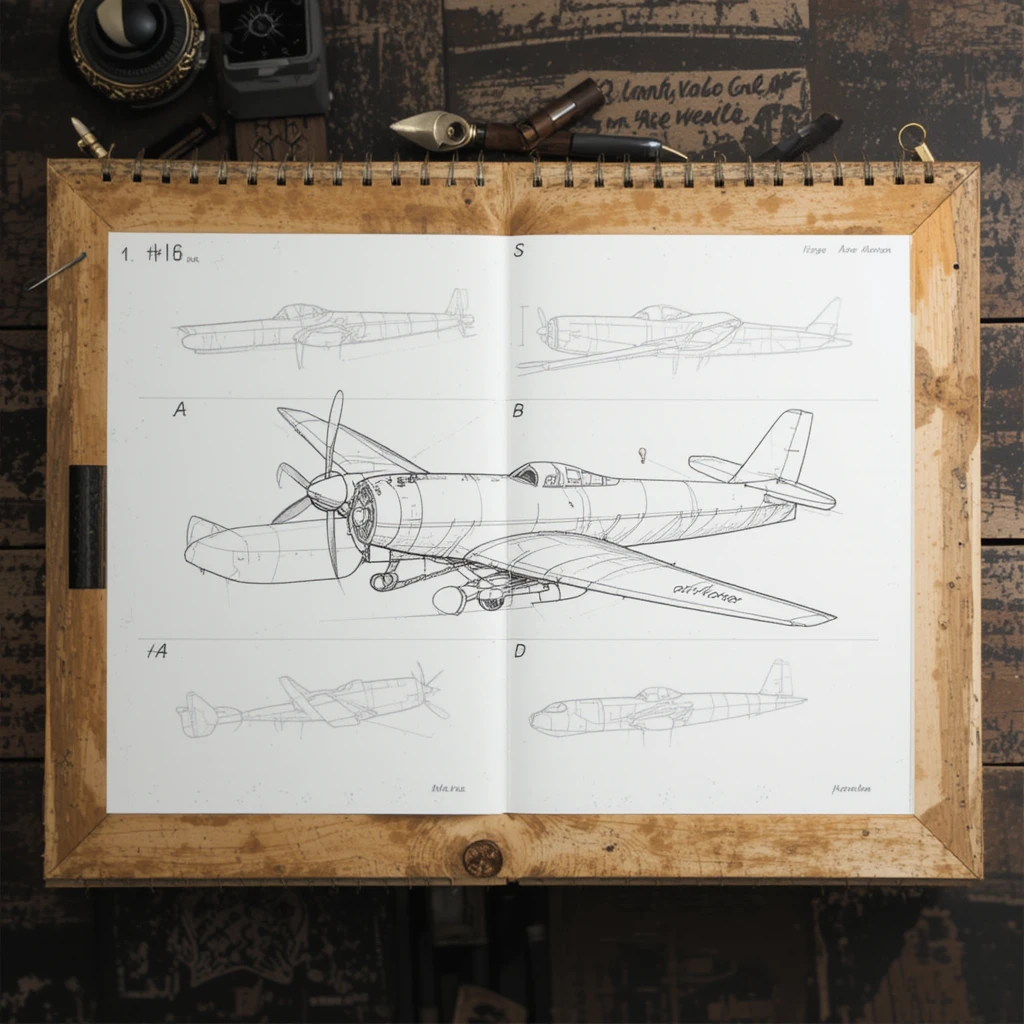
2. Start with Basic Shapes & Proportions
-
Use geometric shapes (cylinders, rectangles, ellipses) to block out the aircraft’s form.
-
Break down complex parts (e.g., wings as trapezoids, engines as tubes).
-
Use centerlines to maintain symmetry, especially for the fuselage and wings.
Example Steps:
-
Sketch a light guideline for the aircraft’s axis.
-
Draw the fuselage as a tapered cylinder.
-
Add wings using simple trapezoidal shapes.
-
Place the tail section proportionally (usually 1/3 from the rear).
3. Perspective & Foreshortening
Aircraft often appear at angles, so mastering perspective is crucial:
-
1-Point Perspective – For head-on or tail-on views.
-
2-Point Perspective – For side angles (common in dynamic sketches).
-
3-Point Perspective – For dramatic overhead or low-angle shots.
Tip: Use vanishing points to align wings, engines, and landing gear correctly.
4. Line Quality & Precision
-
Construction Lines – Light, thin lines for initial outlines.
-
Final Lines – Darker, confident strokes for edges and details.
-
Ellipses for Curves – Use guides for rounded sections (nose cones, engine intakes).
Tools:
-
Rulers & French Curves – For straight edges and smooth curves.
-
Compass – For circular components (e.g., propellers, radomes).
5. Detailing & Realism
-
Panel Lines – Lightly sketch seams, rivets, and access panels.
-
Shading & Highlights – Show metallic surfaces with gradients (darker undersides, shiny tops).
-
Aerodynamic Features – Add wing flaps, ailerons, and air intakes accurately.
Pro Tip: Use cross-hatching for shadows and white gel pens for glossy reflections.
6. Inking & Coloring Techniques
-
Inking: Use fine liners (0.1–0.5mm) for crisp outlines.
-
Digital Tools: Photoshop/Procreate layers for clean linework.
-
Color Schemes:
-
Military jets: Camouflage or gray tones.
-
Airliners: White base with colored stripes/logo decals.
-
-
Metallic Effects: Blend blues/greys for shiny surfaces.
7. Common Mistakes to Avoid
-
Misaligned Wings – Ensure symmetry by flipping your sketch digitally or using a mirror.
-
Overcrowded Details – Simplify smaller parts unless doing hyper-realism.
-
Flat Perspective – Use dynamic angles to add drama.
8. Practice Exercises
-
Orthographic Views – Draw top, side, and front blueprints.
-
Gesture Sketches – Quick 30-second sketches to capture proportions.
-
Silhouette Studies – Focus on recognizable shapes (e.g., F-16’s sharp nose).
Final Thoughts
Mastering aircraft drawing requires patience and observation. Combine technical drafting skills with artistic flair to bring your aviation illustrations to life. Use 3D models (like in Blender) for complex angles, and always keep refining proportions.