Candle making is an art form that requires precision, patience, and a touch of creativity. One of the key elements in achieving beautifully shaped candles is the use of molds. However, mastering the art of candle mold usage can be a challenge, especially for beginners. Fear not! In this comprehensive guide, we'll uncover a collection of candle mold hacks—tips and tricks to help you create perfectly shaped candles every time, regardless of your skill level or experience.
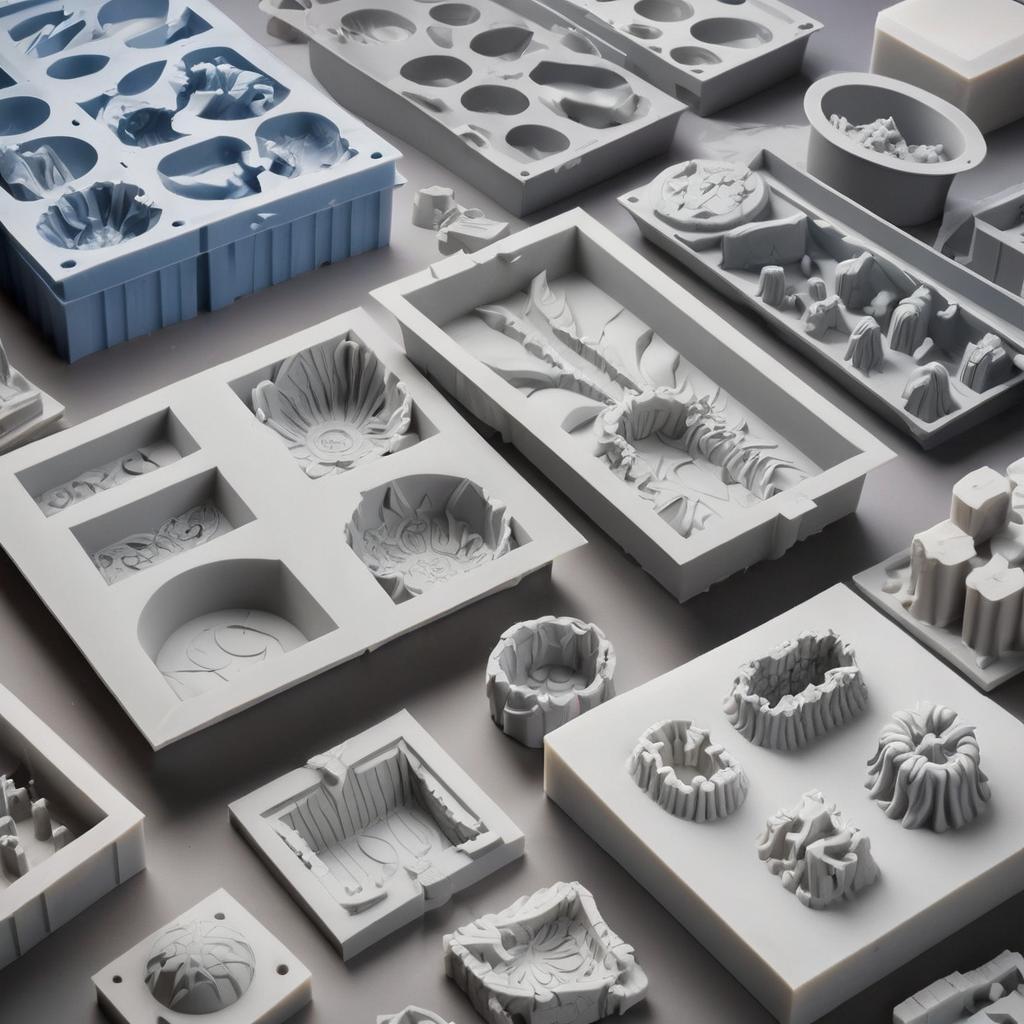
1. Preparing Your Molds:
- Cleanliness is Key: Before pouring wax into your molds, ensure they are clean and free from any residue or debris. Even the smallest speck of dust can mar the surface of your candles.
- Use a Release Agent: To aid in easy removal of candles from the mold, consider using a release agent such as cooking spray, vegetable oil, or specialized mold release spray. Apply a thin layer to the interior of the mold before pouring the wax.
2. Temperature Control:
- Warm Your Molds: For silicone or plastic molds, warming them slightly before pouring the wax can help reduce air bubbles and improve the overall finish of your candles. Place the molds in a warm oven for a few minutes or use a heat gun to gently warm the surface.
- Cooling Time: Allow your candles to cool and solidify completely before attempting to remove them from the mold. Rushing the cooling process can result in misshapen or fragile candles.
3. Filling Techniques:
- Slow and Steady: When pouring wax into your molds, do so slowly and steadily to minimize air bubbles and ensure even distribution. Avoid overfilling the molds, as excess wax can lead to spillage and mess.
- Multiple Pours: For large or complex molds, consider pouring the wax in stages rather than all at once. This allows for better control over the filling process and reduces the risk of overflow.
4. Releasing the Candles:
- Gentle Removal: Once your candles have cooled completely, gently flex or twist the mold to release them from the mold. Avoid pulling or tugging too forcefully, as this can damage the candles or the mold.
- Freezing Method: If you're having trouble removing candles from the mold, try placing the entire mold in the freezer for a few minutes. The cold temperature will cause the wax to contract slightly, making it easier to release the candles.
5. Mold Maintenance:
- Cleaning: After each use, clean your molds thoroughly with warm, soapy water to remove any residual wax or debris. Allow them to dry completely before storing them to prevent mold growth or deterioration.
- Storage: Store your molds in a cool, dry place away from direct sunlight and heat sources. Proper storage helps prolong the lifespan of your molds and ensures they remain in good condition for future use.
6. Experiment and Have Fun:
- Get Creative: Don't be afraid to experiment with different mold shapes, sizes, and materials. Mix and match molds to create unique candle designs and combinations.
- Learn from Mistakes: Embrace the learning process and don't be discouraged by mistakes. Each failed attempt is an opportunity to learn and improve your candle making skills.
Conclusion:
With these candle mold hacks at your disposal, you're well-equipped to create perfectly shaped candles with ease and confidence. Whether you're a seasoned candle maker or just starting out, these tips and tricks will help you achieve professional-quality results every time. So gather your materials, fire up your imagination, and let the candle making magic begin!