When it comes to durable and visually appealing flooring, epoxy chip floor installation in Palm Desert has become a popular choice for homeowners and commercial property owners. This flooring system combines epoxy coating with decorative color chips, creating a surface that is strong, slip-resistant, and stylish. Whether used in garages, showrooms, or patios, proper installation is essential to ensure long-lasting performance.
Below is a step-by-step guide explaining how professionals achieve reliable and attractive epoxy chip flooring results.
What is an Epoxy Chip Floor?
An epoxy chip floor is a multi-layer flooring system that includes:
- A prepared concrete base
- A durable epoxy coating
- Decorative vinyl color chips
- A protective topcoat
These elements combine to produce a surface that resists stains, moisture, and heavy traffic. Many property owners choose epoxy chip floor installation because it handles warm climates well and requires minimal maintenance.
Key Facts About Epoxy Chip Flooring
Before starting the installation process, it helps to understand a few important facts:
- Highly durable: Epoxy chip floors can last 10–20 years with proper care.
- Slip resistant: The texture from decorative chips improves traction.
- Chemical resistant: Ideal for garages and workshops.
- Low maintenance: Simple cleaning keeps the floor looking new.
Because of these advantages, epoxy chip flooring has become a preferred solution for both residential and commercial spaces.
Step-by-Step Epoxy Chip Floor Installation
1. Concrete Surface Preparation
Proper preparation is the most important step. The concrete surface must be:
- Clean and free from oil, dust, or grease
- Repaired for cracks or damage
- Mechanically ground or shot-blasted
This process creates a rough surface so the epoxy bonds strongly to the concrete.
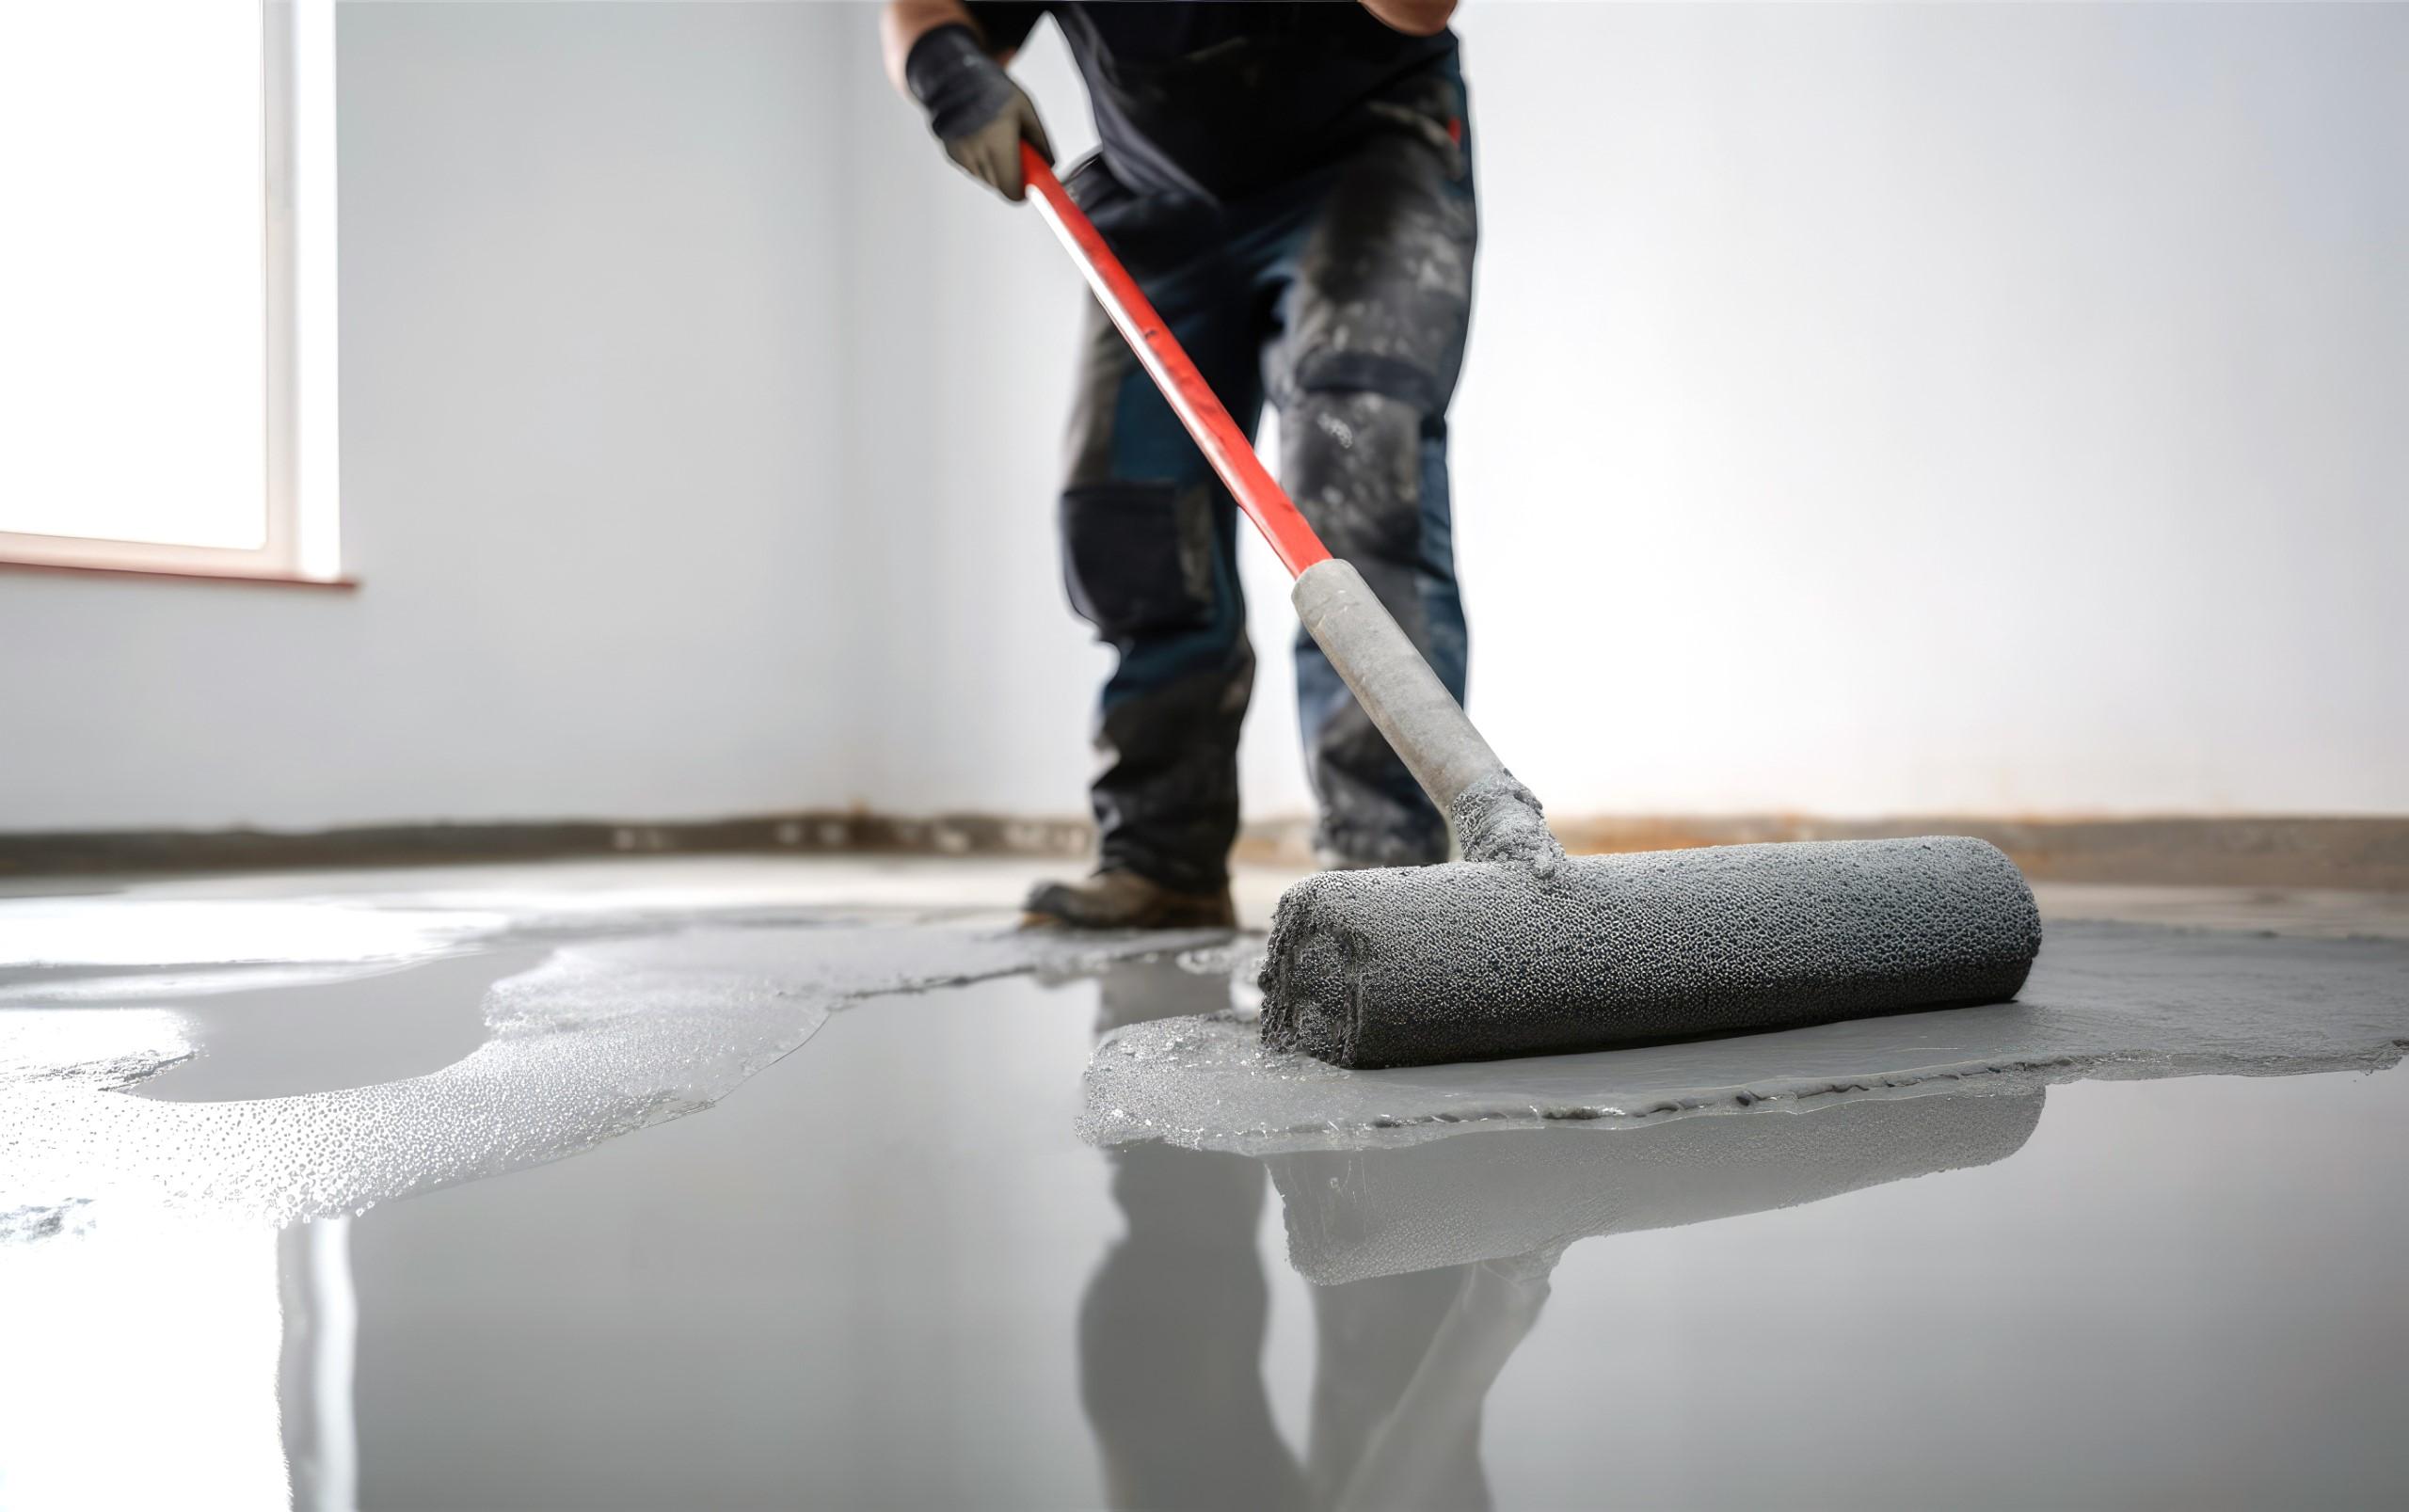
2. Applying the Base Epoxy Coat
Once the surface is ready, installers apply a base coat of epoxy resin.
This layer acts as the adhesive foundation for the decorative chips and helps create a seamless, strong bond with the concrete.
3. Broadcasting Decorative Chips
While the epoxy base coat is still wet, vinyl chips are broadcast evenly across the floor.
Benefits of decorative chips include:
- Added texture and slip resistance
- Unique visual appearance
- Ability to hide minor surface imperfections
This stage is what gives epoxy chip flooring its distinctive speckled design.
4. Scraping and Cleaning the Surface
After the base coat cures, excess chips are removed.
Installers typically:
- Scrape the surface to level the texture
- Vacuum loose chips
- Ensure a smooth and consistent finish
This step prepares the floor for the final protective coating.
5. Applying the Protective Topcoat
The final stage involves applying a clear polyaspartic or polyurethane topcoat.
This layer provides:
- UV protection
- Additional durability
- Gloss or satin finish options
Professionals performing epoxy chip floor installation in Palm Desert often recommend UV-stable coatings to prevent fading in sun-exposed areas.
Maintenance Tips for Long-Lasting Results
To extend the life of your epoxy chip floor:
- Sweep regularly to remove dust and debris
- Clean spills quickly to prevent stains
- Use mild cleaners rather than harsh chemicals
- Avoid dragging heavy sharp objects across the floor
Proper care helps maintain both the appearance and performance of the flooring.
Final Thoughts
Epoxy chip flooring is a practical and stylish solution for spaces that demand durability and visual appeal. By following a structured installation process—from surface preparation to protective top coating—professionals ensure a long-lasting finish. When done correctly, epoxy chip floors provide years of reliable performance, making them a valuable upgrade for residential and commercial properties alike.
Frequently Asked Questions (FAQs)
1. How long does epoxy chip floor installation take?
Most installations take one to two days, depending on the size of the area and curing time.
2. Are epoxy chip floors slippery?
No. The decorative chips add texture, which improves traction and reduces slipping.
3. How long does an epoxy chip floor last?
With proper installation and maintenance, epoxy chip floors can last 10–20 years or more.
4. Can epoxy chip flooring be installed over old concrete?
Yes, as long as the concrete is structurally sound and properly prepared.
5. Is epoxy chip flooring suitable for outdoor spaces?
Yes. When installed with UV-resistant coatings, it performs well in patios, walkways, and other exterior areas.