Setting up a curved pop-up banner can be a straightforward and rewarding process, even if you’ve never done it before. Pop-up banners are versatile, portable, and can make a significant impact at trade shows, events, or even in your storefront. In fact, a study by the Event Marketing Institute found that 74% of event attendees say engaging with branded event marketing experiences makes them more likely to purchase the products being promoted. Here's a friendly guide to help you set up your curved pop-up banner in four simple steps.
Step 1: Unpacking and Organizing Your Materials
When you first receive your curved pop-up banner, the initial step is to unpack everything and organize your materials. Most curved pop-up banners come with the frame, graphic panels, and a carry case. Lay out all parts on a clean surface to ensure you have everything you need. This helps you to see each component clearly and makes the assembly process smoother.
Tip: Check the instruction manual that comes with your banner. While these steps will guide you through the process, the manual can offer specific details relevant to your model.
Step 2: Assembling the Frame
The next step is to assemble the frame. Curved pop-up banners typically have a collapsible frame made of lightweight aluminum. Start by expanding the frame. The design usually allows it to “pop up” into shape, hence the name. Secure all the connectors to lock the frame into place.
If the frame feels tight or difficult to expand, don’t force it. Sometimes gently shaking it can help the joints loosen up and snap into place more easily.
Step 3: Attaching the Graphic Panels
Once the frame is set up, it’s time to attach the graphic panels. The panels are usually made of durable, high-quality fabric or vinyl with Velcro strips or magnetic strips on the edges. Begin by aligning the top of the first panel with the top of the frame. Smoothly attach the panel, ensuring that it’s straight and taut. Repeat this process for each panel, making sure they align correctly to form a seamless image.
Why it should align almost perfectly you ask? Well, according to a survey by the Trade Show News Network, 67% of attendees believe that the quality of a company's exhibit influences their opinion of the company's products and services. Ensuring your panels are well-aligned and professional-looking can enhance your brand's perception.
Step 4: Securing and Adjusting
The final step is to secure and adjust the banner. Check all the Velcro or magnetic strips to ensure they are firmly attached. Make any necessary adjustments to the panels to remove wrinkles and ensure the graphics align perfectly. Once satisfied, step back and admire your work.
Some curved pop-up banners come with stabilizing feet. If your model has them, attach these feet to the bottom of the frame for extra stability, especially if you’re setting up outdoors or in a high-traffic area.
Some More Of My Additional Tips For A Flawless Display
- Transport and Storage: When not in use, store your curved pop-up banner in its carry case to protect it from damage. This will ensure it looks fresh and professional at every event.
- Cleaning and Maintenance: Regularly clean your banner panels according to the manufacturer’s instructions. This keeps the colors vibrant and the material in good condition.
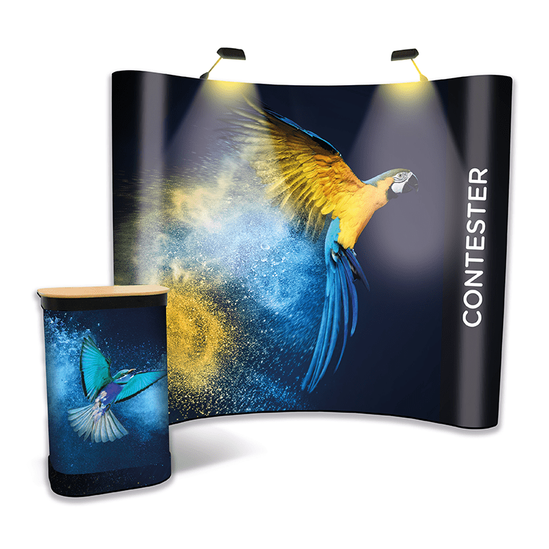
- Lighting: Consider adding LED lights to highlight your banner. Proper lighting can make your display stand out even more.
Why Choose Curved Pop-Up Banners?
Curved pop-up banners offer a unique and professional look that stands out from traditional flat banners. The curved design provides a more immersive viewing experience, drawing the eye and engaging viewers. These banners are also highly portable and can be set up by one person, making them perfect for solo entrepreneurs or small teams.
For those looking to invest in high-quality curved pop-up banners, websites like www.printpopupstands.com offer a wide range of options that cater to various needs and budgets. Their products are designed for ease of use and maximum impact, ensuring you get the best value for your investment.
Setting up a curved pop-up banner doesn’t have to be a daunting task. By following these four simple steps, you can quickly and easily create a professional display that enhances your brand's visibility and attracts attention. Whether you’re preparing for a trade show, a promotional event, or setting up a point-of-sale display, a well-assembled curved pop-up banner can make a significant difference in your marketing efforts.
Remember, the key to a successful setup is organization, patience, and attention to detail. With these tips in mind, you’re well on your way to creating an eye-catching and effective display.