
WhatsApp is an instant messaging app that enables users to share content, make calls, and send messages. Odoo integrates WhatsApp Business Account (WABA) with its database, allowing businesses to receive and reply to messages directly from Odoo. Key features include creating new templates with dynamic variables, sending quotations from the Sales app, receipts and invoices from the Point of Sale app, and tickets from the Events app. Administrators need to configure the connection between Odoo and Meta, WhatsApp’s parent company, to set up a WhatsApp Business account.
How to Configure WhatsApp in a Meta
To integrate WhatsApp with Odoo, build a normal API connection on Meta using the procedures below:
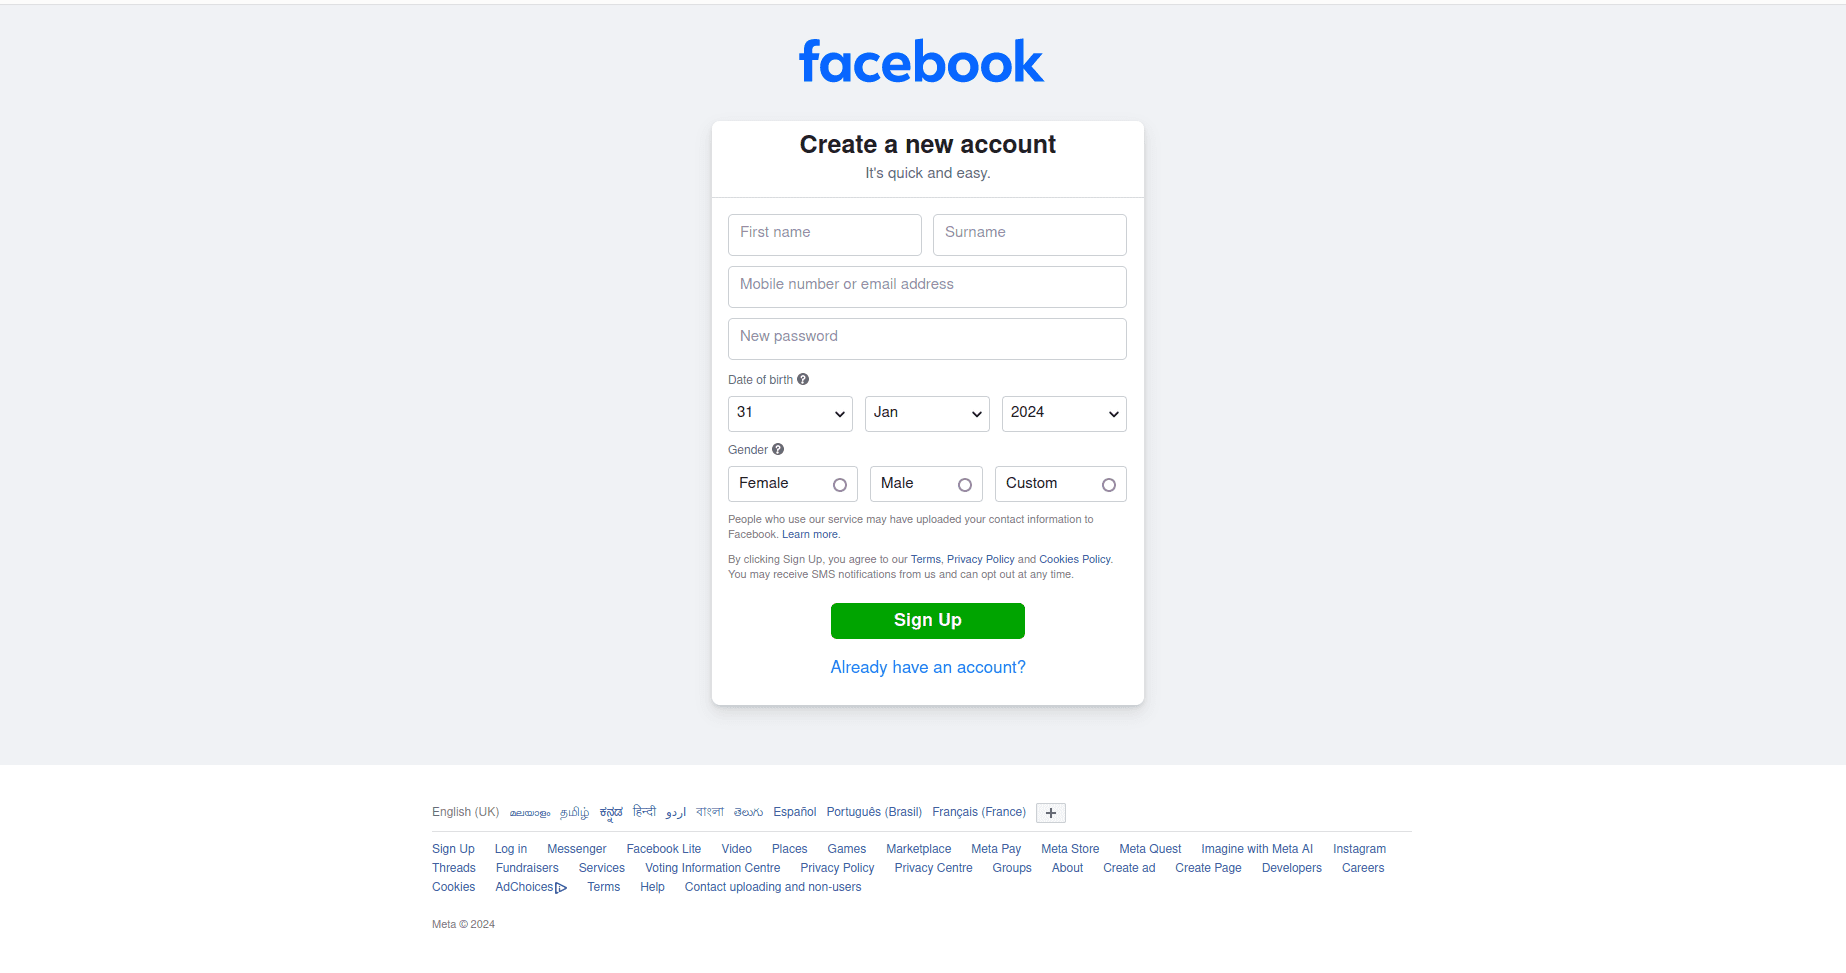
1. Create a Meta business account- Head over to Facebook Business Manager and create a business account.
2. Create a Meta developer account- Sign up on Meta’s developer console
3. In the developer console, create a new app and add WhatsApp to it.
4. Test the API connection to make sure everything is working smoothly
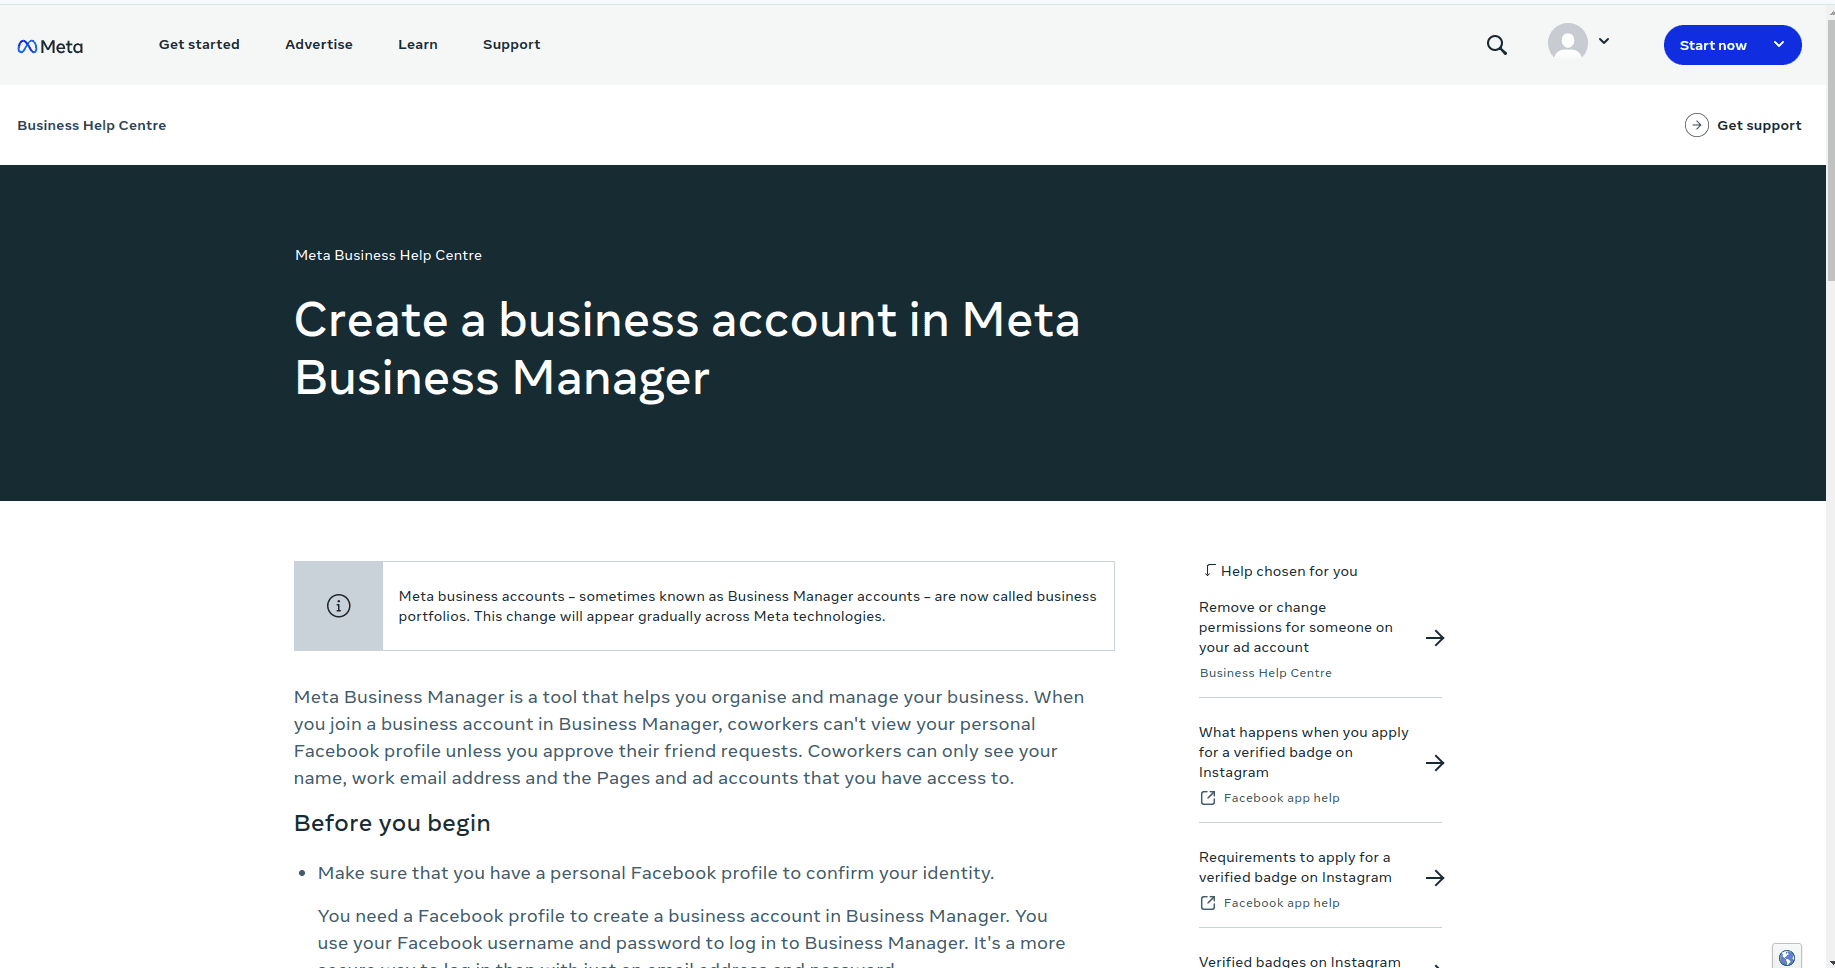
How to setup a Meta Business Account
To create a Business account with Meta (owner of Facebook) navigate to: Facebook Business Manager.
Begin by clicking Create account and then enter the business name, the administrator’s name, and a work email address. Then click Next, and a pop-up window will appear prompting to confirm the email address. After confirming, click Done to close the window.
Next, follow the instructions in the email sent by Facebook to confirm the creation of the business account and to complete the setup process.
Create Whatsapp Business
Account link: https://www.facebook.com/business/help/1710077379203657?id=180505742745347.
To set up a WhatsApp Business Account (WABA) for smooth integration with Odoo, follow these steps to configure your account and link it to your Odoo database.
How to create Meta business account setup ?
To create a business account in Business Manager:
1. Go to https://business.facebook.com/overview
2. Click on “Create an account.”
3. Enter your business name, your name, and your work email address, then click “Next.”
4. Fill in your business details and click “Submit.”

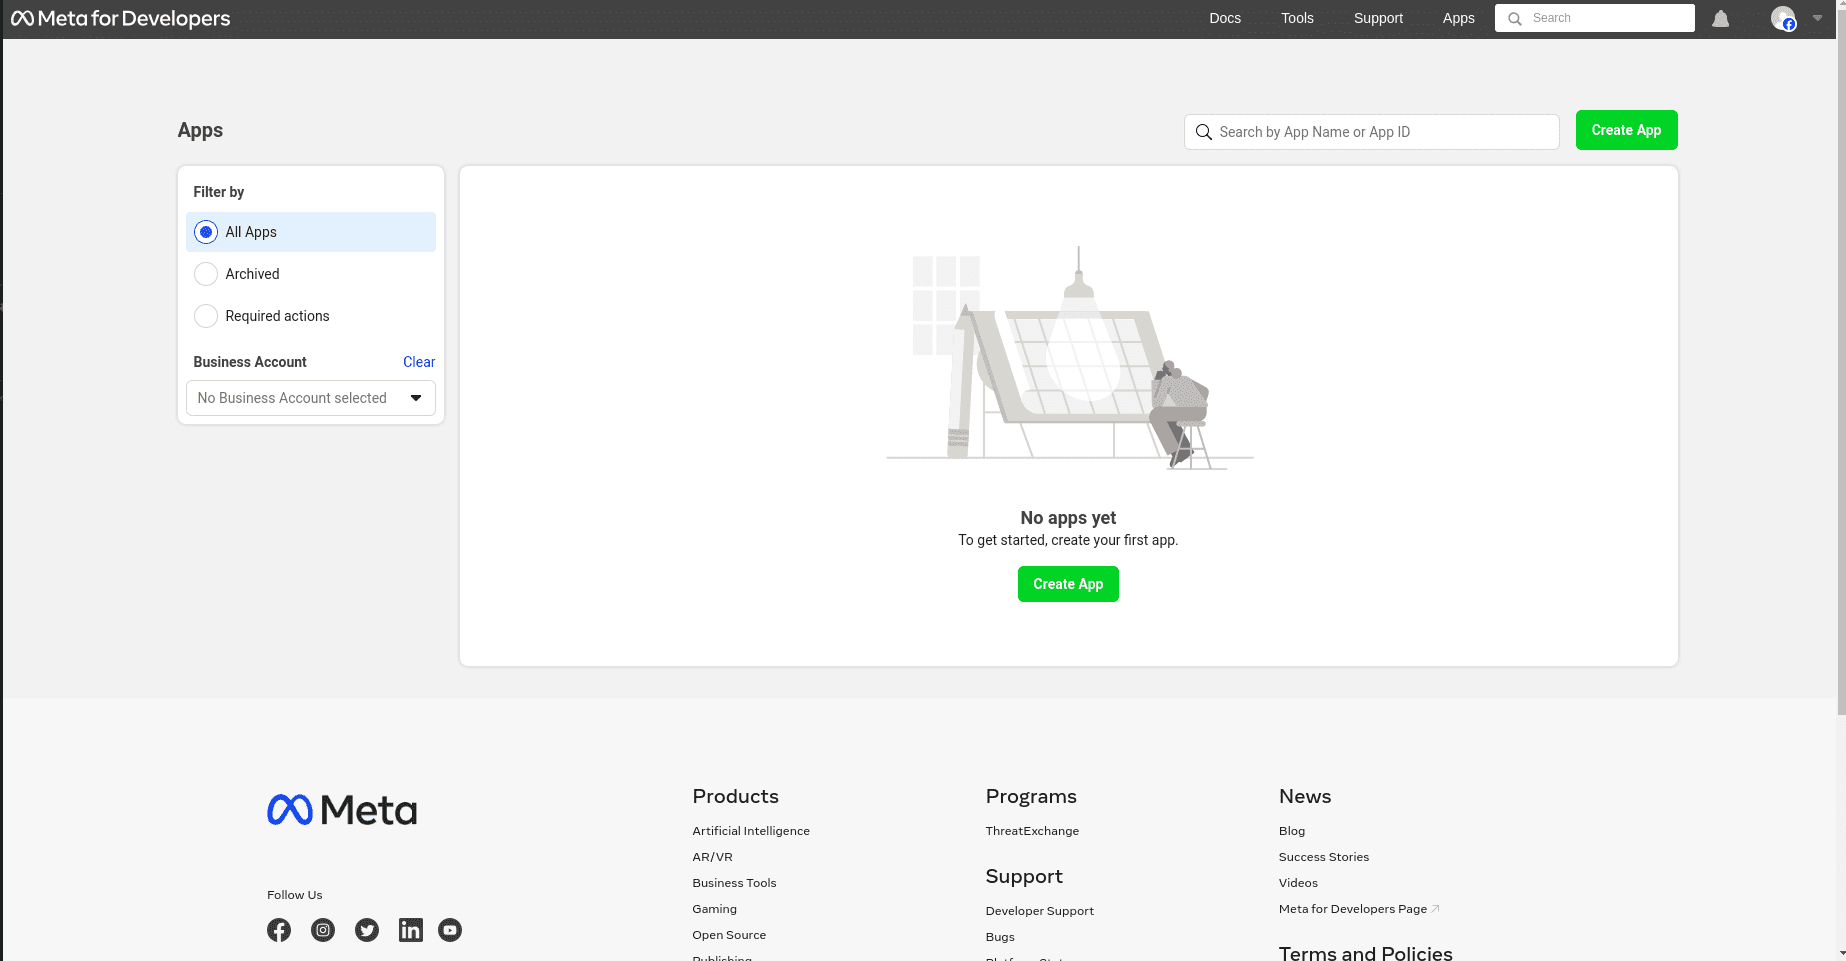
App creation
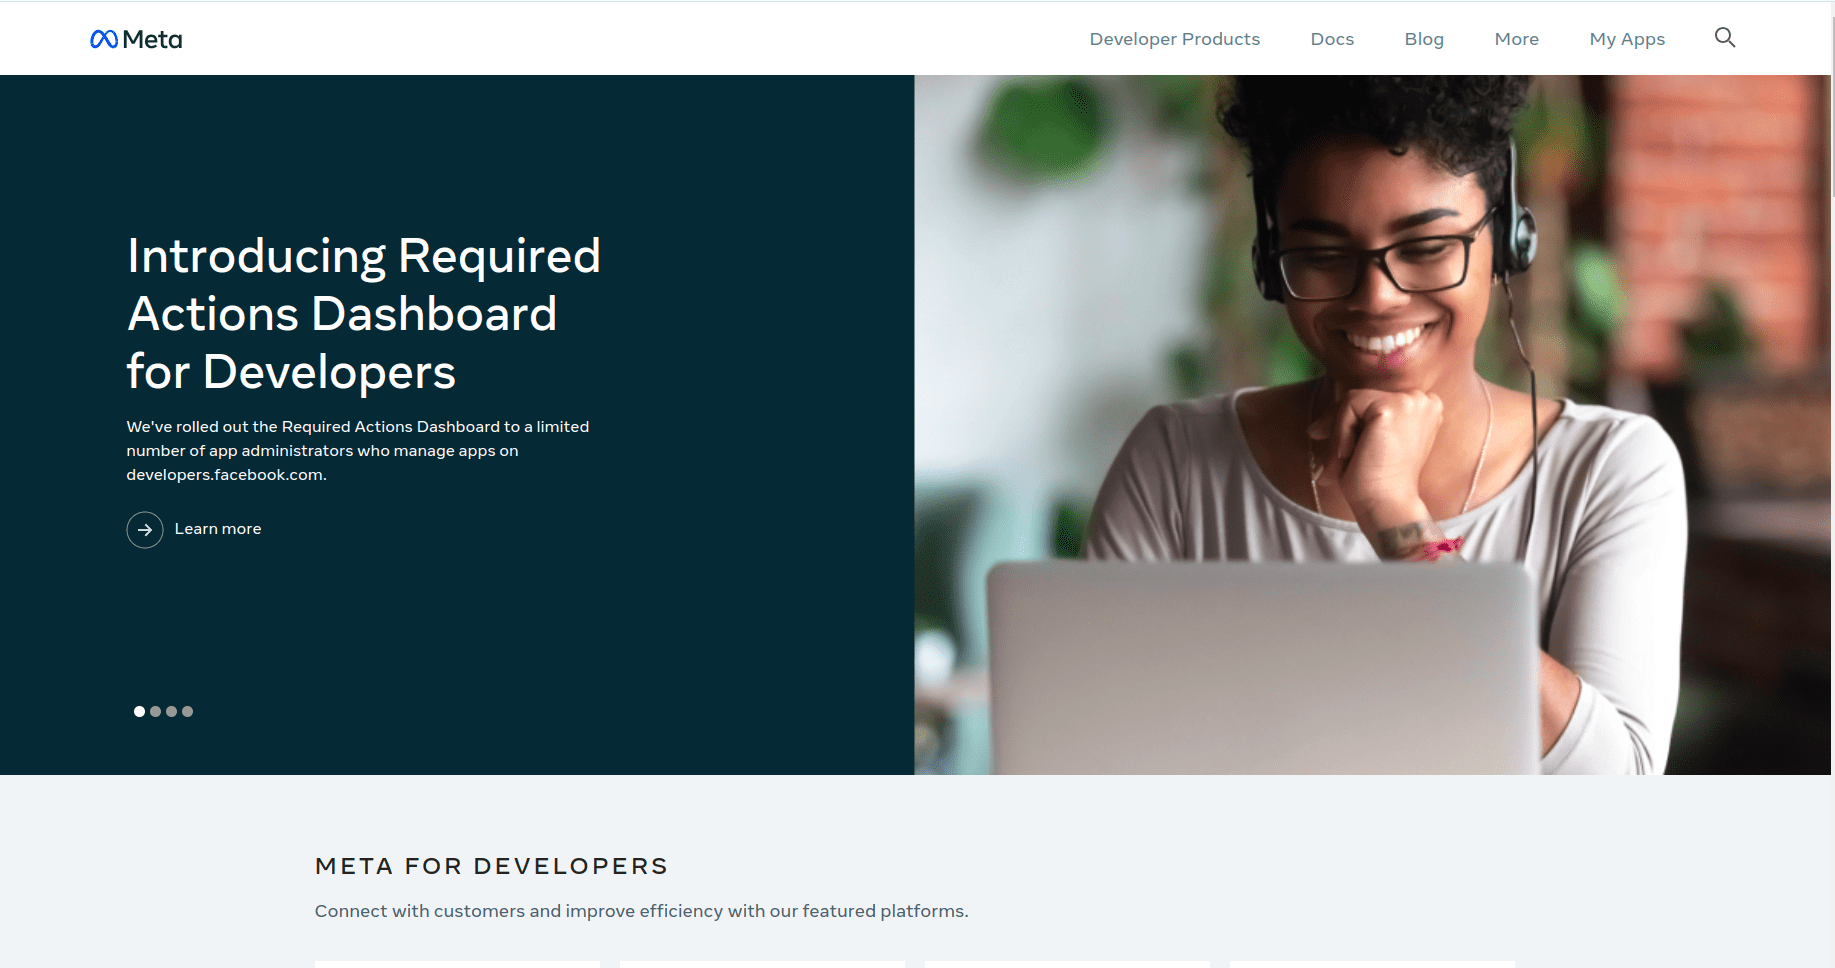
Visit the Meta for Developers Dashboard: https://developers.facebook.com/
Log in with your Meta developer account. If you don’t have one yet, link your Facebook account to create it.
After signing in, click on “My Apps” in the top right corner. This will show you all the apps you’ve created. Click on “Create App” to start the process of making a new Meta application. Select the ‘Other’ option and click ‘Next’ to continue.
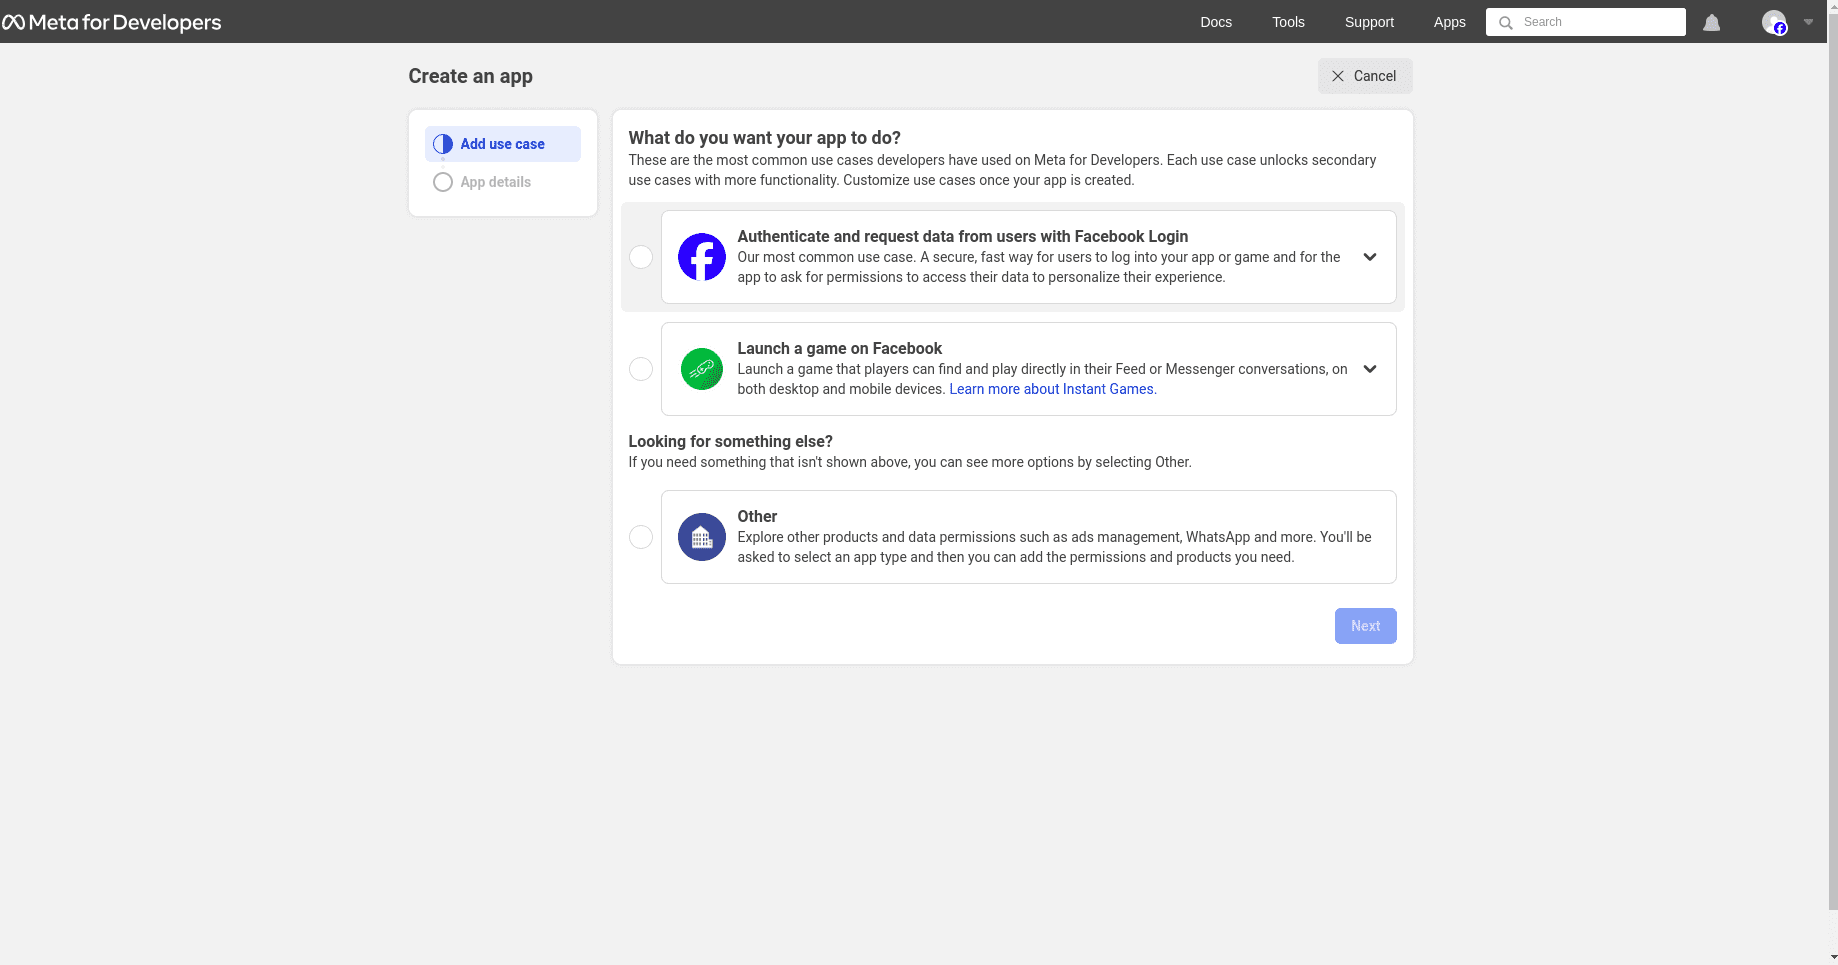
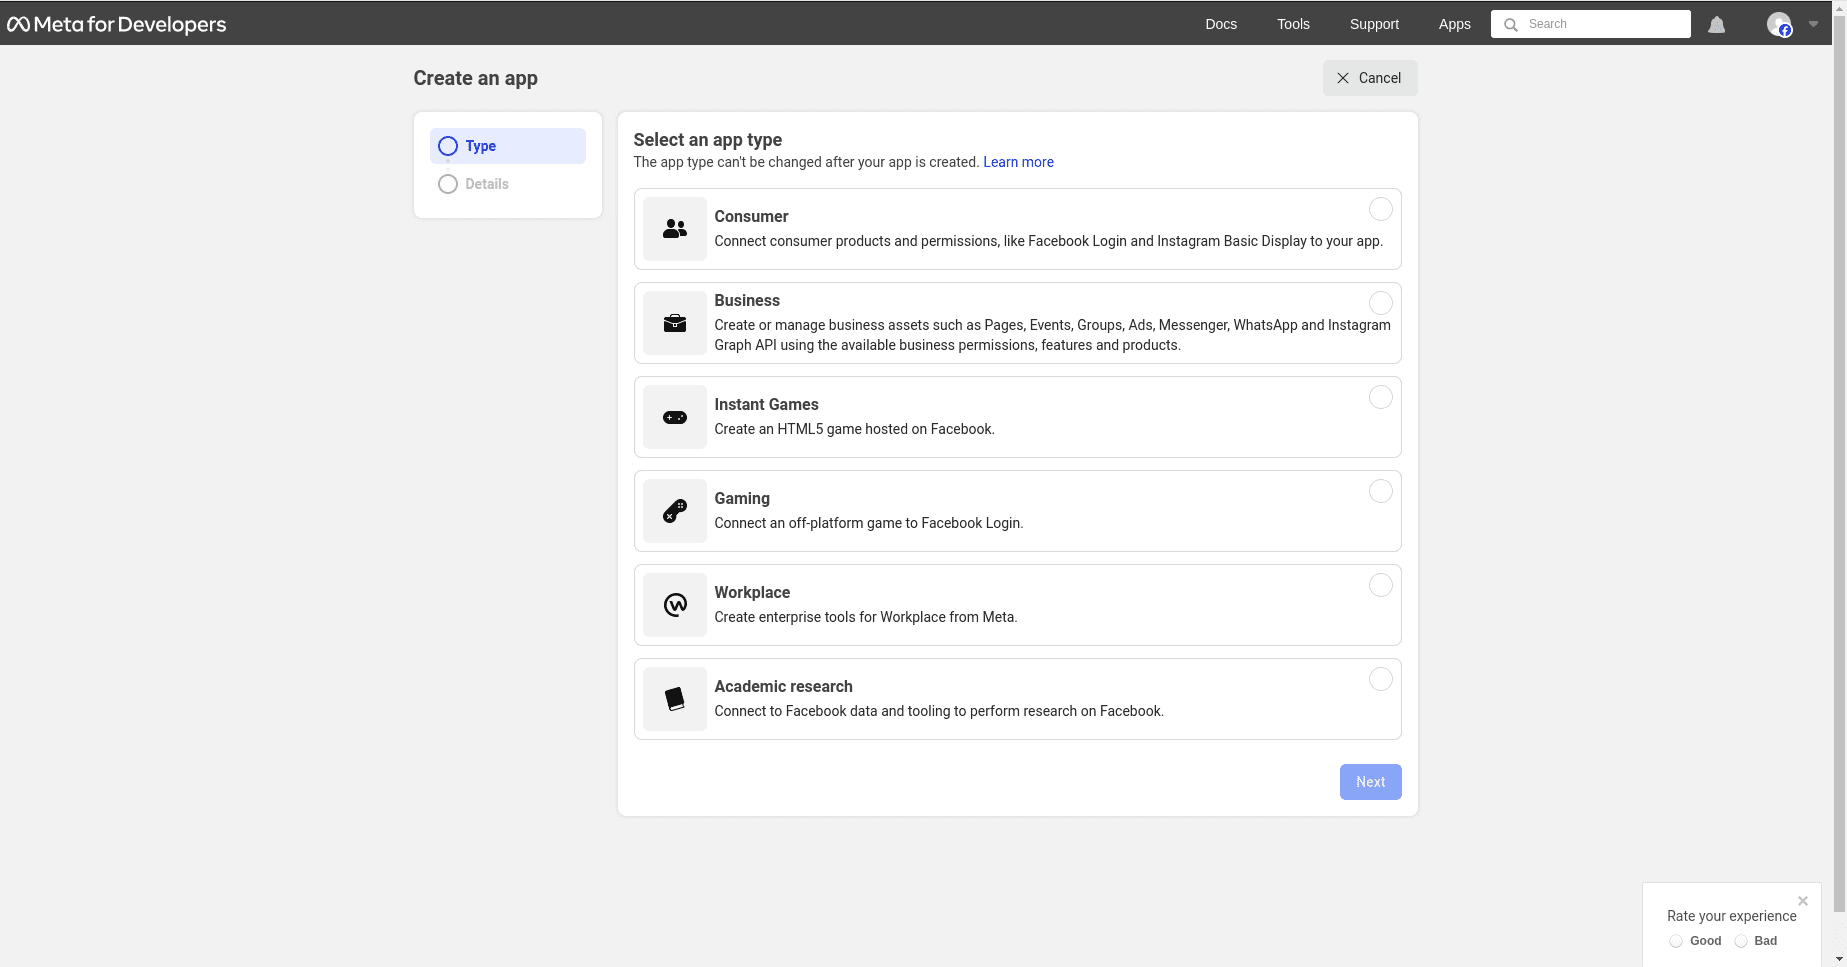
App type
On the “Create an app” page, select “Other” under the section labeled “Looking for something else?” and click “Next.” You’ll be directed to a new page. Here, choose the first option under “Select an app type,” titled “Business.” This is the key for managing the WhatsApp API. Click “Next” to start configuring your app. You’ll be guided through the process step-by-step.
Fill in the details for your app. This part is like giving your app its identity.
App Details
In the “Details” section of the “Create an App” process, type “Odoo” in the field under “Add an App name.” Enter the developer’s email address in the field under “App contact email.” This ensures you can be contacted if needed.
Use the drop-down menu to select your Meta business account in the “Business Account – Optional” field. This links your app to your business profile. Finally, click “Create app” to complete the process.

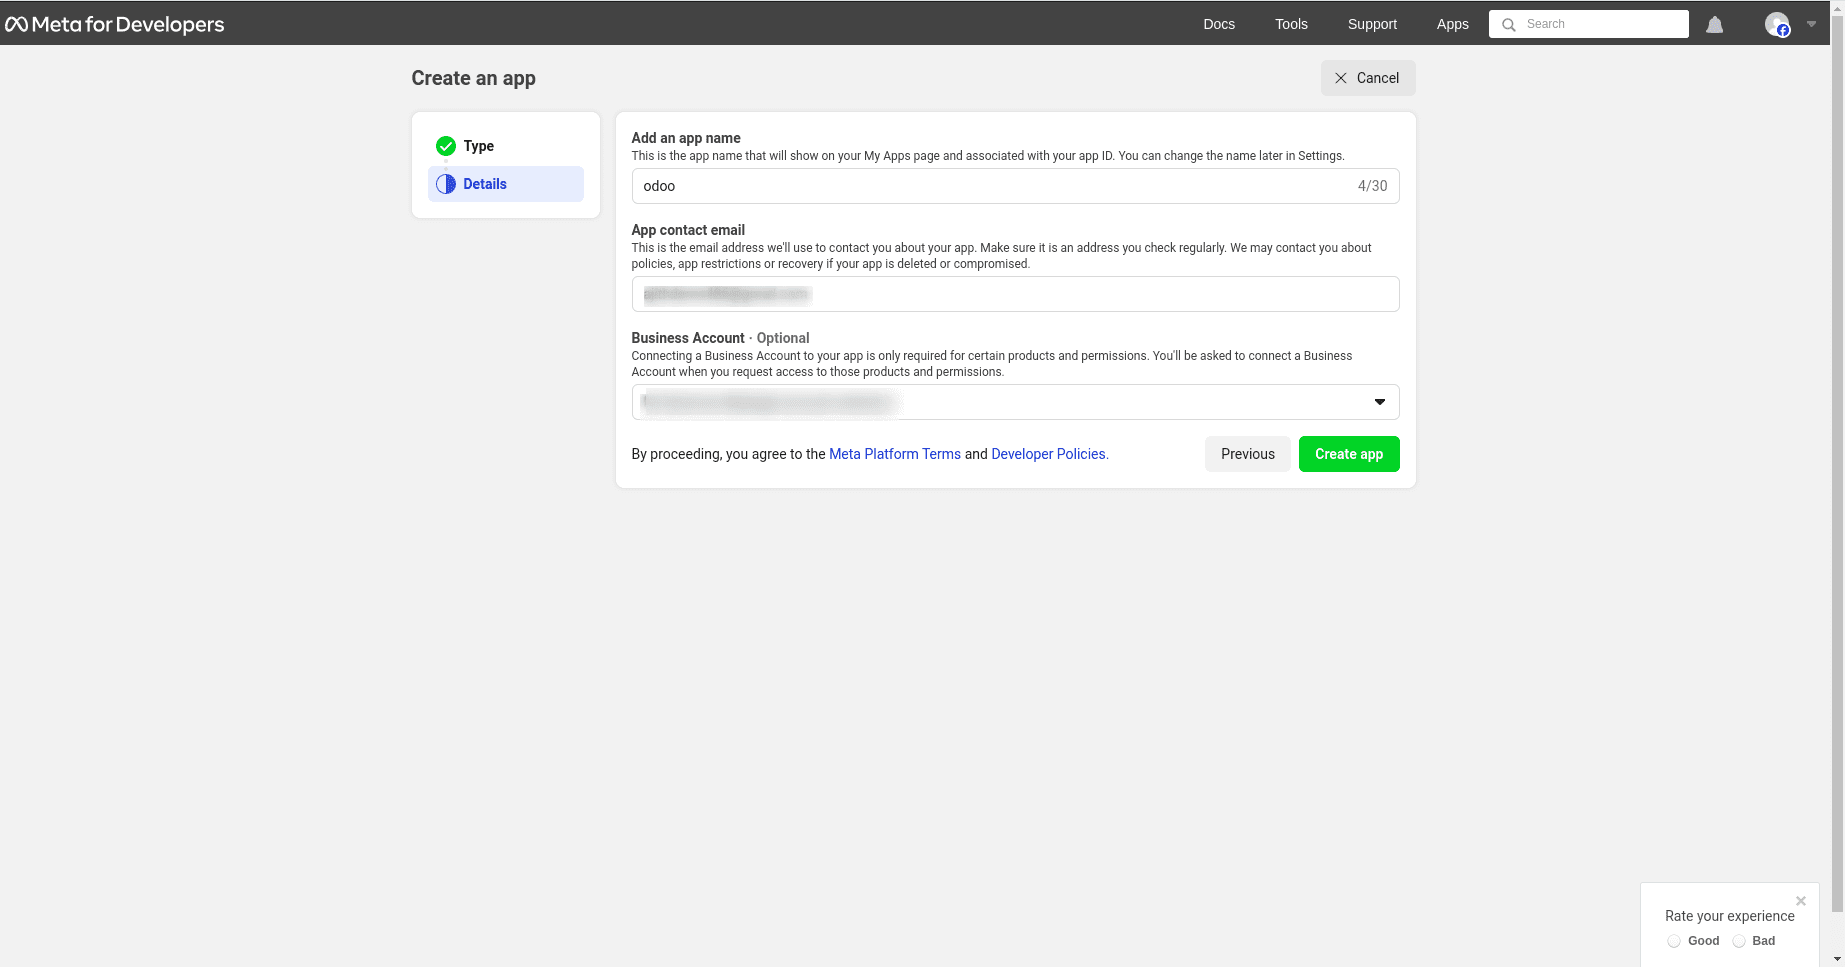
This action will create the app and prompts the Meta Platform Terms and Developer Policies agreements.
To accept the agreements, enter the Facebook password for security purposes, and click Submit to finalize the app creation. The browser will then direct to the Meta for Developers dashboard.
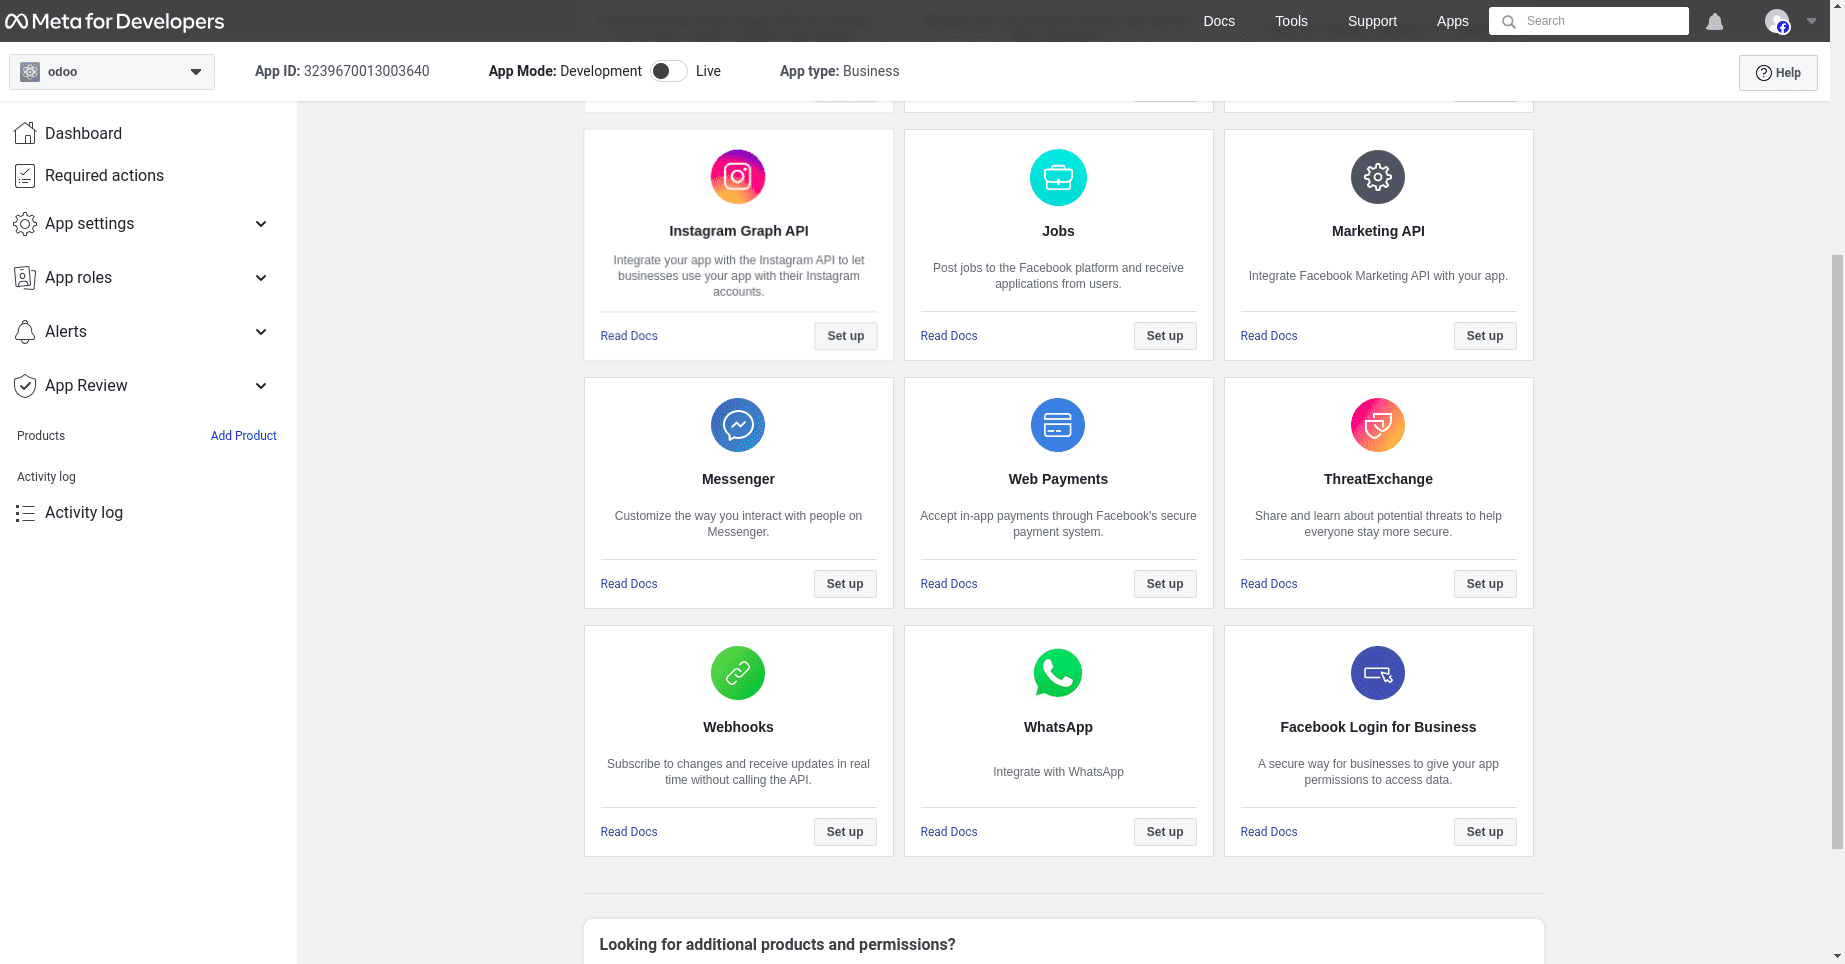
How to Add a WhatsApp Product to the App ?
After developing the app’s core structure, the following step is to add a product. Access the Meta app dashboard at https://developers.facebook.com/apps and pick the app to configure. Proceed to the following page and, provided that WhatsApp will be used, click on ‘Set up’ next to the box relating to WhatsApp, located toward the bottom of the page. The website then sends you to the WhatsApp Business Platform API settings page. Use the drop-down menu to choose the Meta business to setup for the Select a Meta Business Account option, and then click Continue to confirm your choice.
Start using the WhatsApp API
After finishing the previous WhatsApp product wizard, and clicking Continue, the browser should have directed to the WhatsApp Quickstart page; this Quickstart page is where to begin configuring the WhatsApp API by adding a phone number and then sending an initial test message.
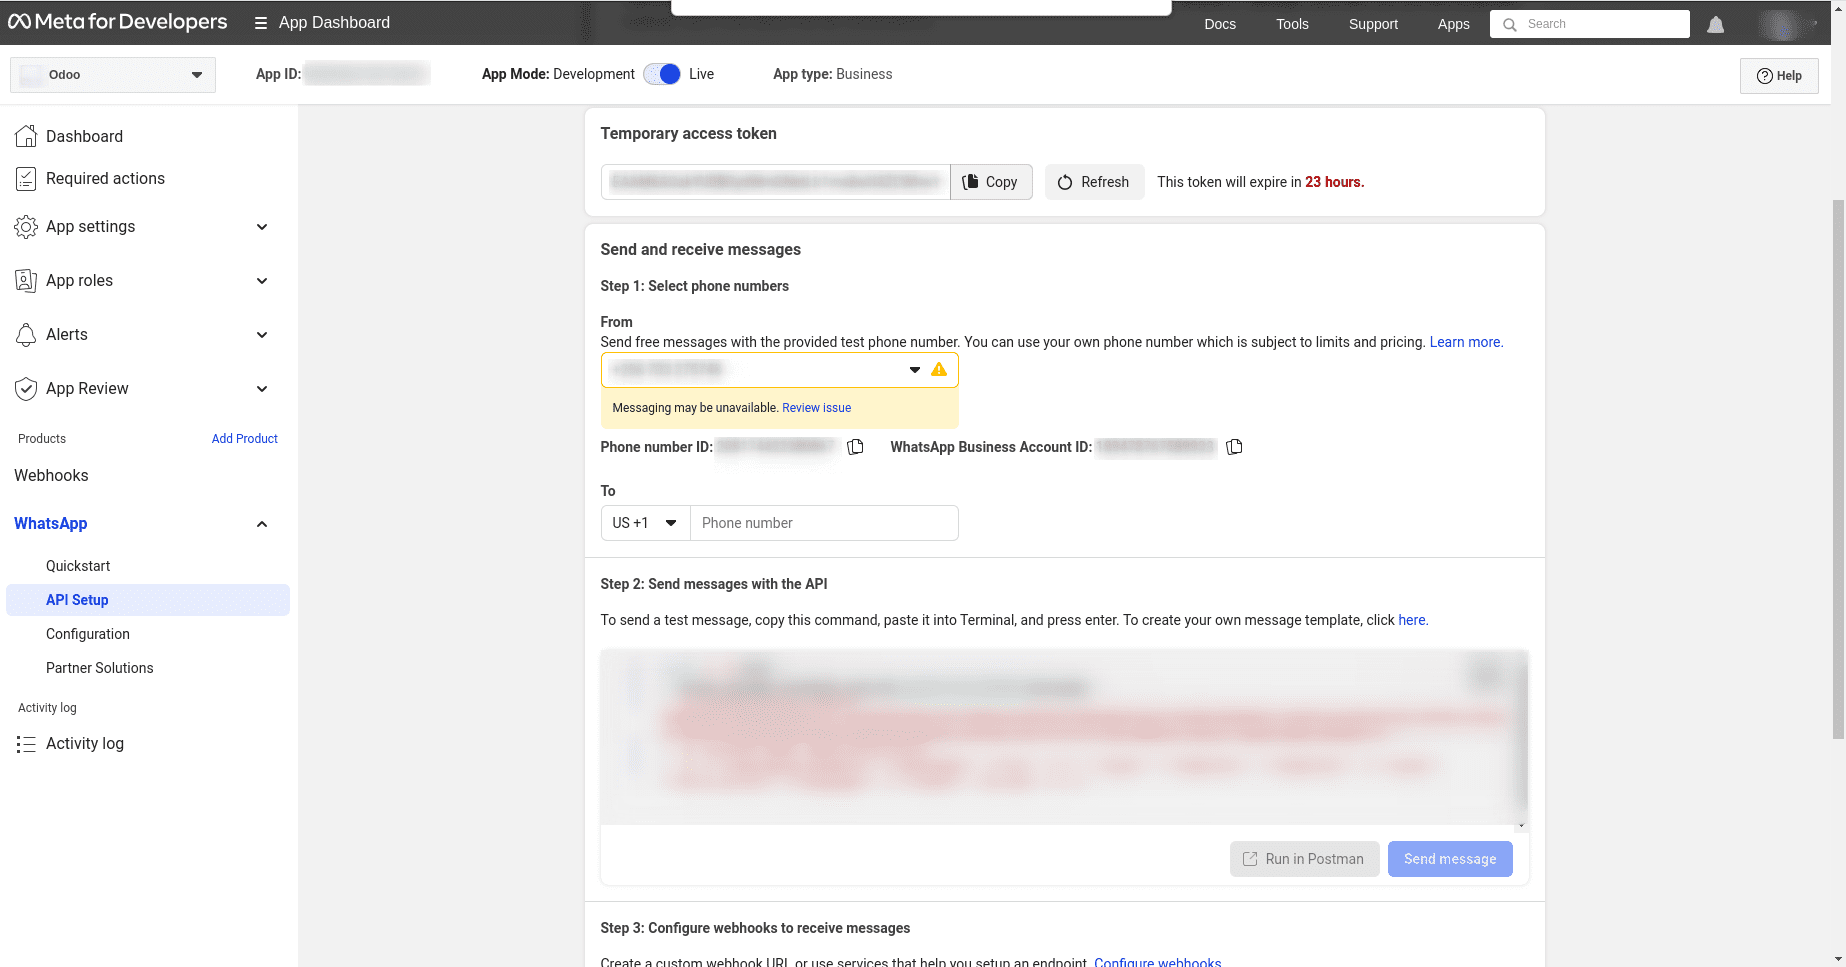
API Setup
After setting up your API and creating a test number, it’s time to confirm that everything is working smoothly by sending a test message. Here’s how:
1. Navigate to the API Setup Page: Start by going to the “Send and receive messages” section. You’ll find a drop-down menu next to “To” under Step 1. Click on it and select “Manage phone number list. “
2. Add Phone Numbers for Testing: You can add up to five phone numbers to receive test messages. Just enter the country code and the phone numbers, then click “Next.”
3. Verify the Phone Number: WhatsApp Business will send a verification code to the number you provided. Enter this code on the next screen to verify ownership of the number, then click “Next”.
4. Send a Test Message: Now, it’s time to send a test message. Under Step 2, find the “Send messages with the API” section and click on “Send Message.” This will send a test message to the verified phone number.
Once you’ve successfully received the test message, you’re all set to move on to configuring webhooks for real-time message management.
How to Configure WhatsApp in Odoo ?
To set up WhatsApp in Odoo, you’ll need to configure some key values within the Odoo database. Here’s a simple guide:
Navigate to WhatsApp Configuration in Odoo:
Go to the WhatsApp app, then select Configuration and WhatsApp Business Accounts. Click New to start configuring your account.
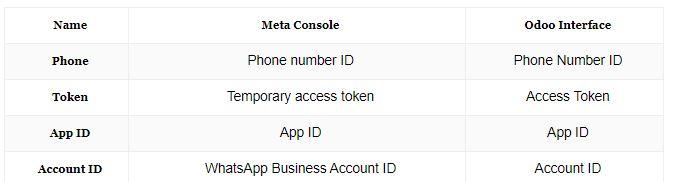
Get Required Details from Meta Developer Console:
In another browser tab, go to Facebook for Developers, navigate to My Apps > WhatsApp > API Configuration. Copy the token, phone number, and account ID values from the Meta developer console.
Enter Values in Odoo:
Paste the copied values into the corresponding fields in Odoo. These details are crucial for creating a Callback URL and Webhook Verify Token, which are needed to set up webhooks for receiving messages.
Test the Connection:
Click Test Connection in Odoo. If everything is set up correctly, you’ll see a green success message in the upper-right corner of the dashboard.
This process will ensure that your WhatsApp business account is properly configured in Odoo, allowing you to manage communications directly from the platform.

Conclusion
Integrating WhatsApp with Odoo 17 can significantly enhance your business communication by allowing seamless interaction with customers directly from the Odoo platform. By following the steps outlined—creating a Meta business account, setting up a developer account, configuring the app, and linking it with WhatsApp—you can ensure that your business operations are streamlined and efficient.
For a seamless integration and to follow the detailed steps, contact Techspawn or reach out to us at sales@techspawn.com to learn more about our additional services in Odoo integration and Odoo implementation. We are here to assist you in making the most out of your Odoo and WhatsApp integration.