

In the vast and versatile world of SharePoint Online, content types emerge as foundational elements that drive structured content management and enhance collaboration. Content types in SharePoint Online enable organizations to categorize and manage information consistently across lists and libraries, streamlining workflows and ensuring data integrity. This article delves into the concept of content types, their practical applications, and provides step-by-step configuration instructions, all while integrating essential keywords for search engine optimization.
Understanding Content Types
Content types in SharePoint Online are predefined schemas that describe the attributes, behavior, and appearance of a specific piece of content. They can include documents, forms, and list items, among others, and are defined by a set of metadata, workflows, and other settings. By using content types, organizations can ensure that each content category is handled consistently, adhering to compliance and governance policies.
Key Benefits of Implementing Content Types
- Consistency and Reusability: Apply the same content structure across various lists and libraries within SharePoint Online.
- Efficient Content Management: Automate workflows, and manage metadata, retention policies, and document templates centrally.
- Improved Search and Discovery: Enhance content discoverability through consistent metadata and categorization.
Content types in SharePoint Online enable organizations to categorize and manage information consistently across lists and libraries, streamlining workflows and ensuring data integrity. This article delves into the concept of content types, their practical applications, and provides step-by-step configuration instructions, all while integrating essential keywords for search engine optimization.
Understanding Content Types
Content types in SharePoint Online are predefined schemas that describe the attributes, behavior, and appearance of a specific piece of content. They can include documents, forms, and list items, among others, and are defined by a set of metadata, workflows, and other settings. By using content types, organizations can ensure that each content category is handled consistently, adhering to compliance and governance policies.
Key Benefits of Implementing Content Types
- Consistency and Reusability: Apply the same content structure across various lists and libraries within SharePoint Online.
- Efficient Content Management: Automate workflows, and manage metadata, retention policies, and document templates centrally.
- Improved Search and Discovery: Enhance content discoverability through consistent metadata and categorization.
Practical Use Examples
Example 1: Project Documentation
For project management, a specific "Project Document" content type can include metadata fields such as "Project Name," "Project Manager," and "Completion Date." This ensures that all project-related documents across the organization are consistent and easily searchable.
Example 2: Employee Onboarding
An "Employee Onboarding" content type might comprise forms, checklists, and instructional documents with metadata like "Employee ID," "Department," and "Onboarding Date," streamlining the HR onboarding process.
Configuration Steps
In the next steps, we will proceed with the provisioning of a content type at the site level (although, very similar steps can also be performed on the tenant level). Then, we will associate it with a list, and see that certain elements from it effectively follow and get applied at the target list.
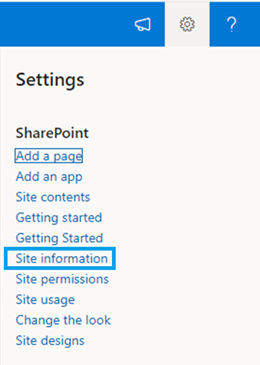
1. Navigate to the SharePoint Settings of your site and select Site information:
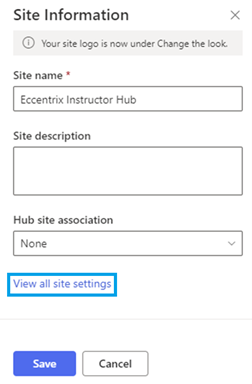
2. Click on View all site settings:
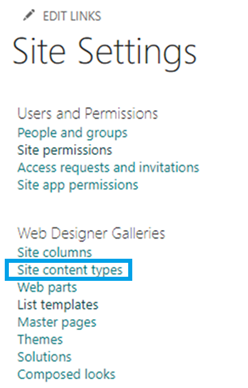
3. Click Site content types:
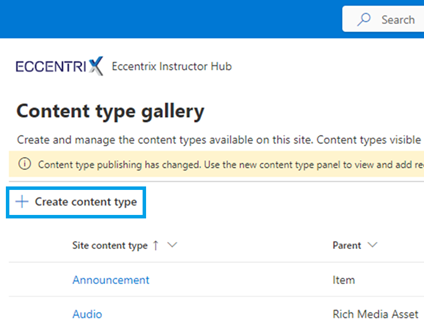
5. Enter a name, the description (optional), its category (you can choose to create a new category to distinguish it from the others…) and Parent Content Type details (choose the parent that matches the closest your need). Click Create when done:

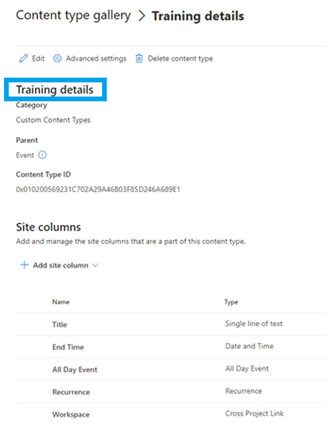
6. Once the content type is created, you will see its information, notably the site columns that come with it:
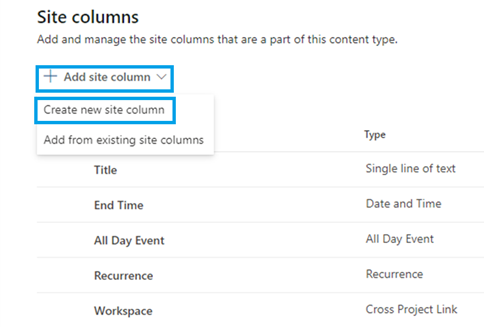
7. At this point, add a new column to the content type by selecting + Add site column, and then Create new site column from the dropdown:
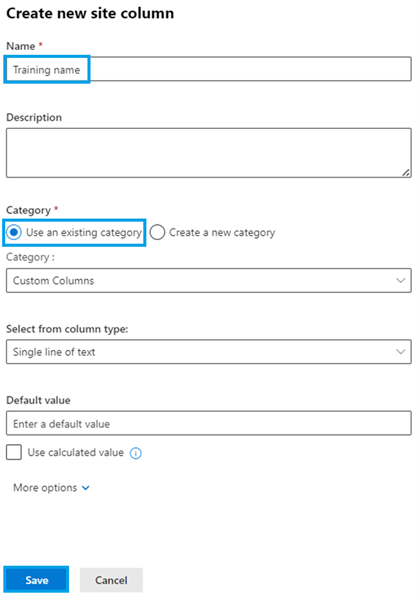
8. Define the column name, its category, the type, and additional settings as required and click Save:
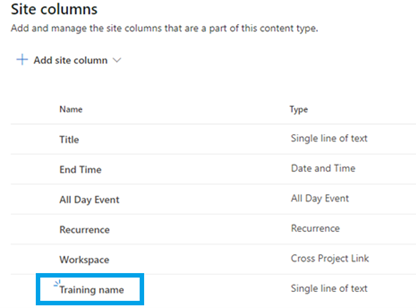
9. Notice the new column (in our case, Training name) has been created and that it is part of the content type:
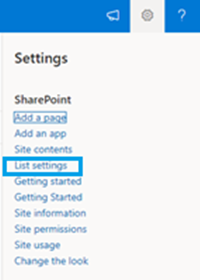
10. Now, we will associate the content type to a list by clicking on List settings (at your list level…):
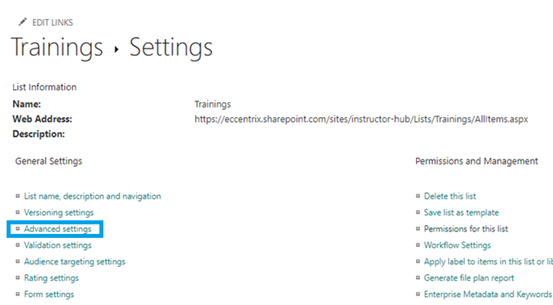
11. From there, select Advanced settings:
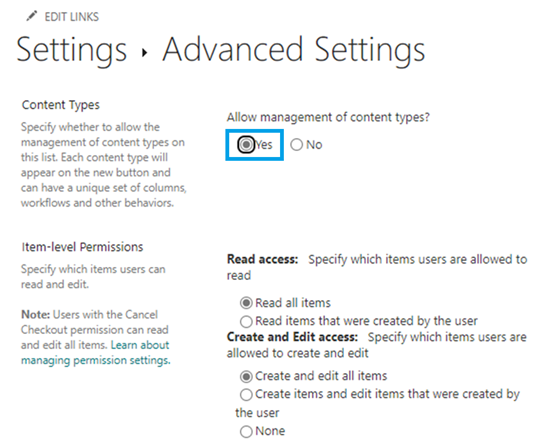
12. Enable the Allow management of content types radio button (set the value to Yes):
13. Click OK to confirm. Notice a new part of settings now appear, that is the Content types section:
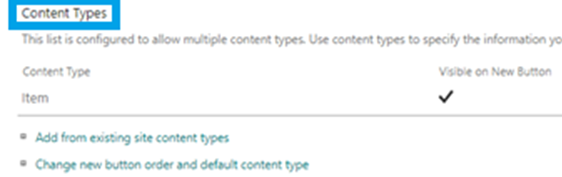
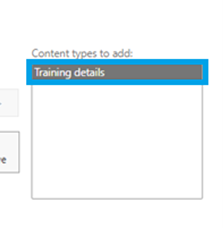
14. At this screen, under Content Types, click Add from existing site content types. Select your content type and click Add:

15. Notice your content type is added to the right part of the selection:
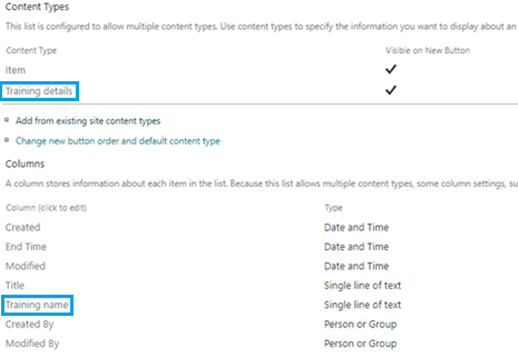
16. Click OK to confirm. Now the content type is promptly associated with the list. Notice the column (in our case, Training name) is added as well:
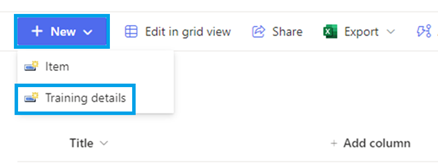
17. Browse to the view of your list and add a new item. You will notice you can select the appropriate content type, ensuring consistent data entry and categorization:
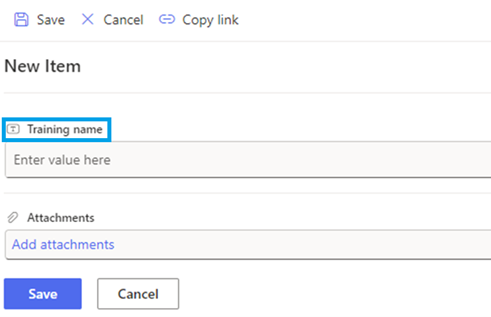
18. The column coming from the content type will promptly show:
Of course, there is the possibility to modify the content type, and to add or remove columns later as well. Despite that, in case you proceed with deletions at the top level, it will still not affect the data that has been applied at the list itself - the content type effectively duplicates the column at the list level and leaves it as is in case of upward changes. However, in case you change the name of the column, for example, it will change at the lower levels as well.
Consistency is the key, thus a thorough planning is required prior to the implementation of content types!