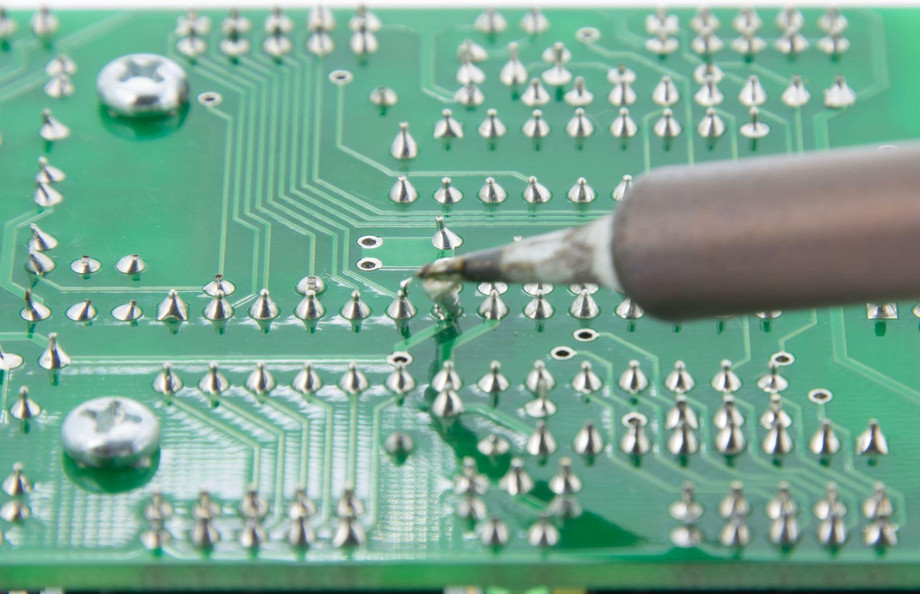
In the realm of electronics, soldering is a fundamental process that ensures reliable connections between components and printed circuit boards (PCBs). However, not all solder joints are created equal. One common issue that can undermine the integrity of an electronic assembly is the presence of cold solder joints. At Lion Circuits, we emphasize the importance of recognizing and preventing cold solder joints to ensure the longevity and performance of your electronic devices.
What Are Cold Solder Joints?
Cold solder joints occur when solder fails to properly melt and flow during the soldering process. Instead of forming a solid, shiny connection, the joint appears dull and rough, often characterized by poor adhesion to the PCB or component leads. This can lead to unreliable electrical connections, intermittent performance, or even complete circuit failure.
Causes of Cold Solder Joints
-
Insufficient Heat: One of the primary causes of cold solder joints is inadequate heating of either the solder or the components being joined. If the soldering iron temperature is too low or the application time is insufficient, the solder won’t melt properly, leading to a poor joint.
-
Dirty Surfaces: Contaminants such as dirt, grease, or oxidation on the surfaces to be soldered can prevent proper adhesion. A clean surface is crucial for ensuring that the solder can form a strong bond.
-
Movement During Cooling: If the components are disturbed while the solder is cooling, it can result in a weak joint. Movement can cause the solder to solidify in an improper shape, leading to a cold solder joint.
-
Wrong Soldering Technique: Using an inappropriate soldering technique, such as applying the solder directly to the iron instead of the joint, can lead to uneven heating and insufficient solder flow.
Preventing Cold Solder Joints
-
Proper Temperature Settings: Ensure that your soldering iron is set to the correct temperature for the type of solder you’re using. A typical lead-based solder works well at around 350°C (662°F).
-
Clean Surfaces: Always clean the areas to be soldered. Use isopropyl alcohol and a lint-free cloth to remove any contaminants. Additionally, using flux can help improve solder flow and adhesion.
-
Steady Hands: Avoid moving the components while the solder is cooling. Allow enough time for the solder to solidify without any disturbances.
-
Practice Good Technique: Apply the solder to the joint, allowing it to flow around the connection. Make sure the solder covers both the pad on the PCB and the lead of the component.
Conclusion
Cold solder joints can significantly affect the performance and reliability of electronic devices. Understanding what causes these joints and how to prevent them is crucial for anyone involved in PCB assembly or soldering. At Lion Circuits, we are committed to delivering high-quality soldering practices to ensure robust connections in every project. By adhering to best practices and being aware of the common pitfalls, you can enhance the reliability of your electronic assemblies. If you have questions or need assistance with your PCB projects, don’t hesitate to contact us today!

