Chalk it up, part deux
ref: /img/9f83d1f8b655b537fcbeb6cfbaa2d60b.jpg
Tools:
GIMP: http://www.gimp.org
G'MIC: http://gmic.sourceforge.net/
I recently created this tutorial; this one just is an alternative way to get the strokes. You can view a bigger version of some of the images below by clicking on them.
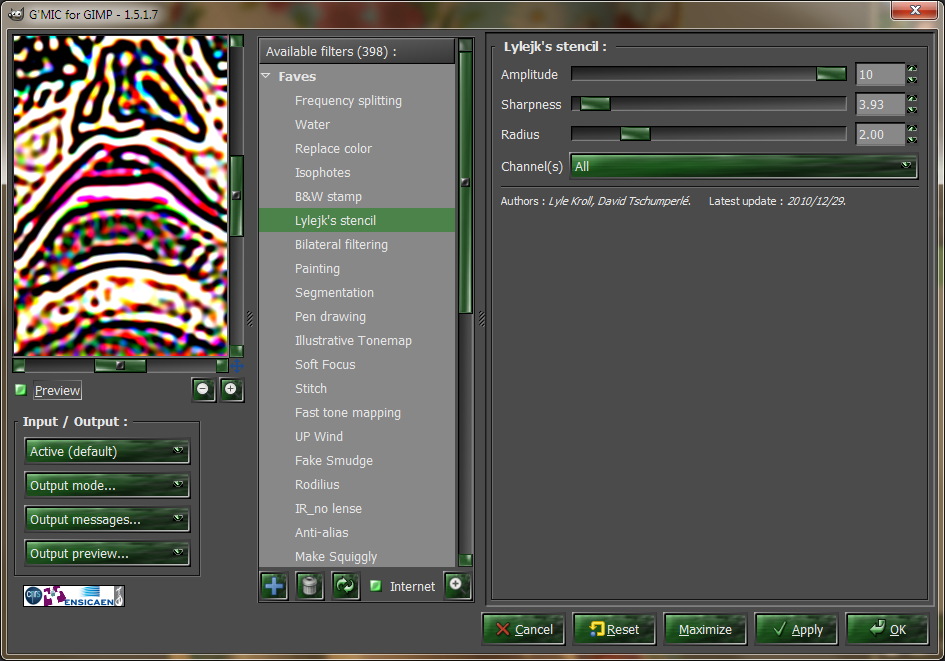
1. Run G'MIC's lylejk's stencil preset (thanks David for keeping this one for me); play with the sliders:
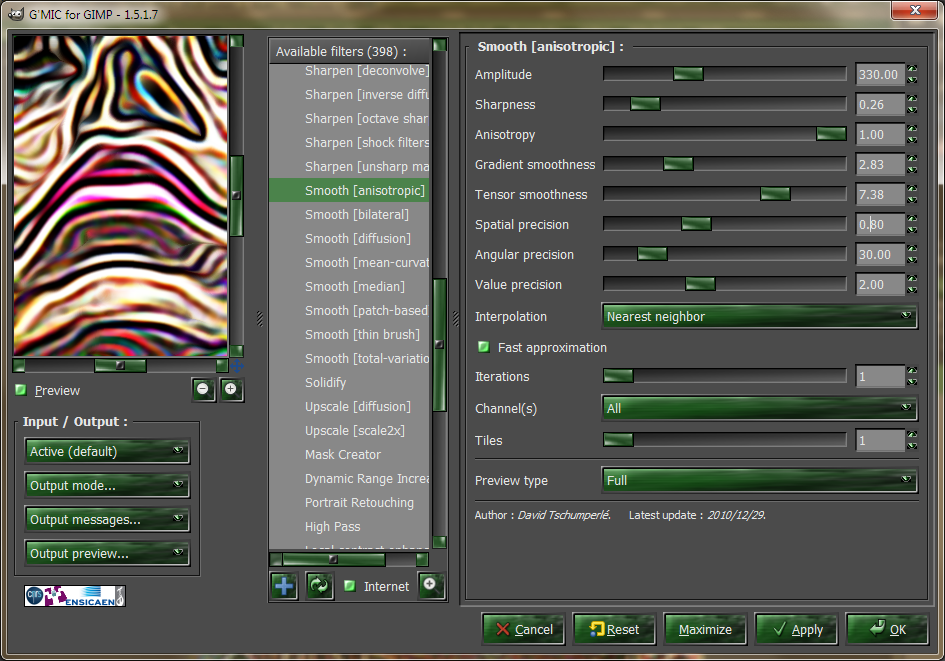
2. Run G'MIC Anisotrophic Smoothing preset; play with the sliders:
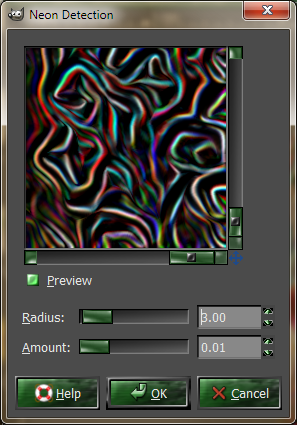
3. Feed the result into Neon Edge Detect; play with sliders:
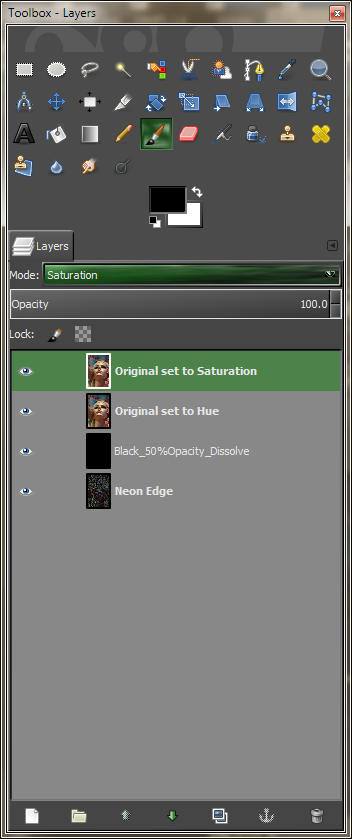
4. Now make a duplicate copy of the original source setting the top layer to Saturation and the layer below that to Hue. Also create a solid black fill set to 50% opacity and set the layer property of this to Dissolve:
5. Now do some hue/sat adjustments to make it look more like a chalkboard result:
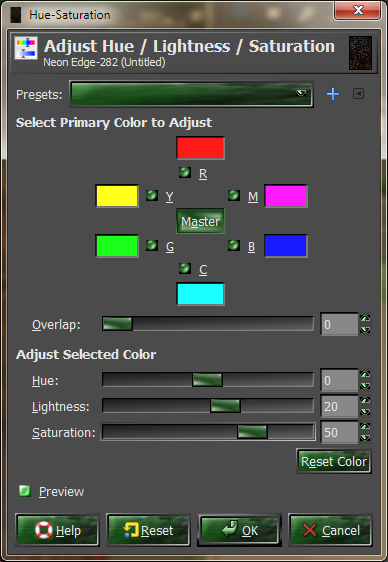
6. Result so far (cropped preview):
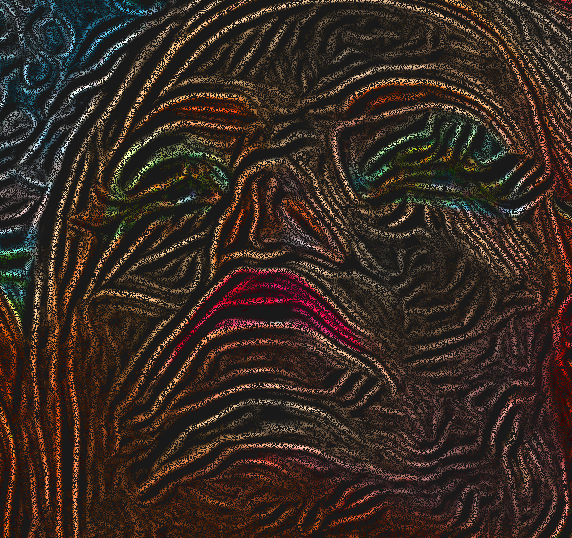
Belows the result after a few more nuanced tweaks and also added border (not going to do a tut for that). Hope you like. :)
