Free Bike Repair Resources: Download Manuals and Guides Now
The Complete Guide to Fixing Flat Tires, Broken Chains, and More
To fix a flat tire, you'll need tire levers, a patch kit or spare tube, and a pump. Remove the wheel, use levers to take off one side of the tire, replace or patch the tube, then reinstall everything. For broken chains, use a chain tool to remove damaged links and reconnect the chain. Check brake alignment and cable tension regularly for proper stopping power. Maintain a regular schedule of inspections to catch problems before they leave you stranded.
Key Takeaways
- Carry essential tools including tire levers, patch kit, multi-tool, and portable pump for roadside bicycle repairs.
- Regularly inspect tires for wear, maintain proper pressure, and decide between patching or replacing tubes when flat.
- Use a chain checker tool to measure elongation and replace chains exceeding 0.5% stretch to prevent breakdowns.
- Adjust brake pad alignment and cable tension regularly to ensure effective stopping power and safety.
- Document all maintenance in a log and schedule professional tune-ups biannually for optimal bicycle performance.
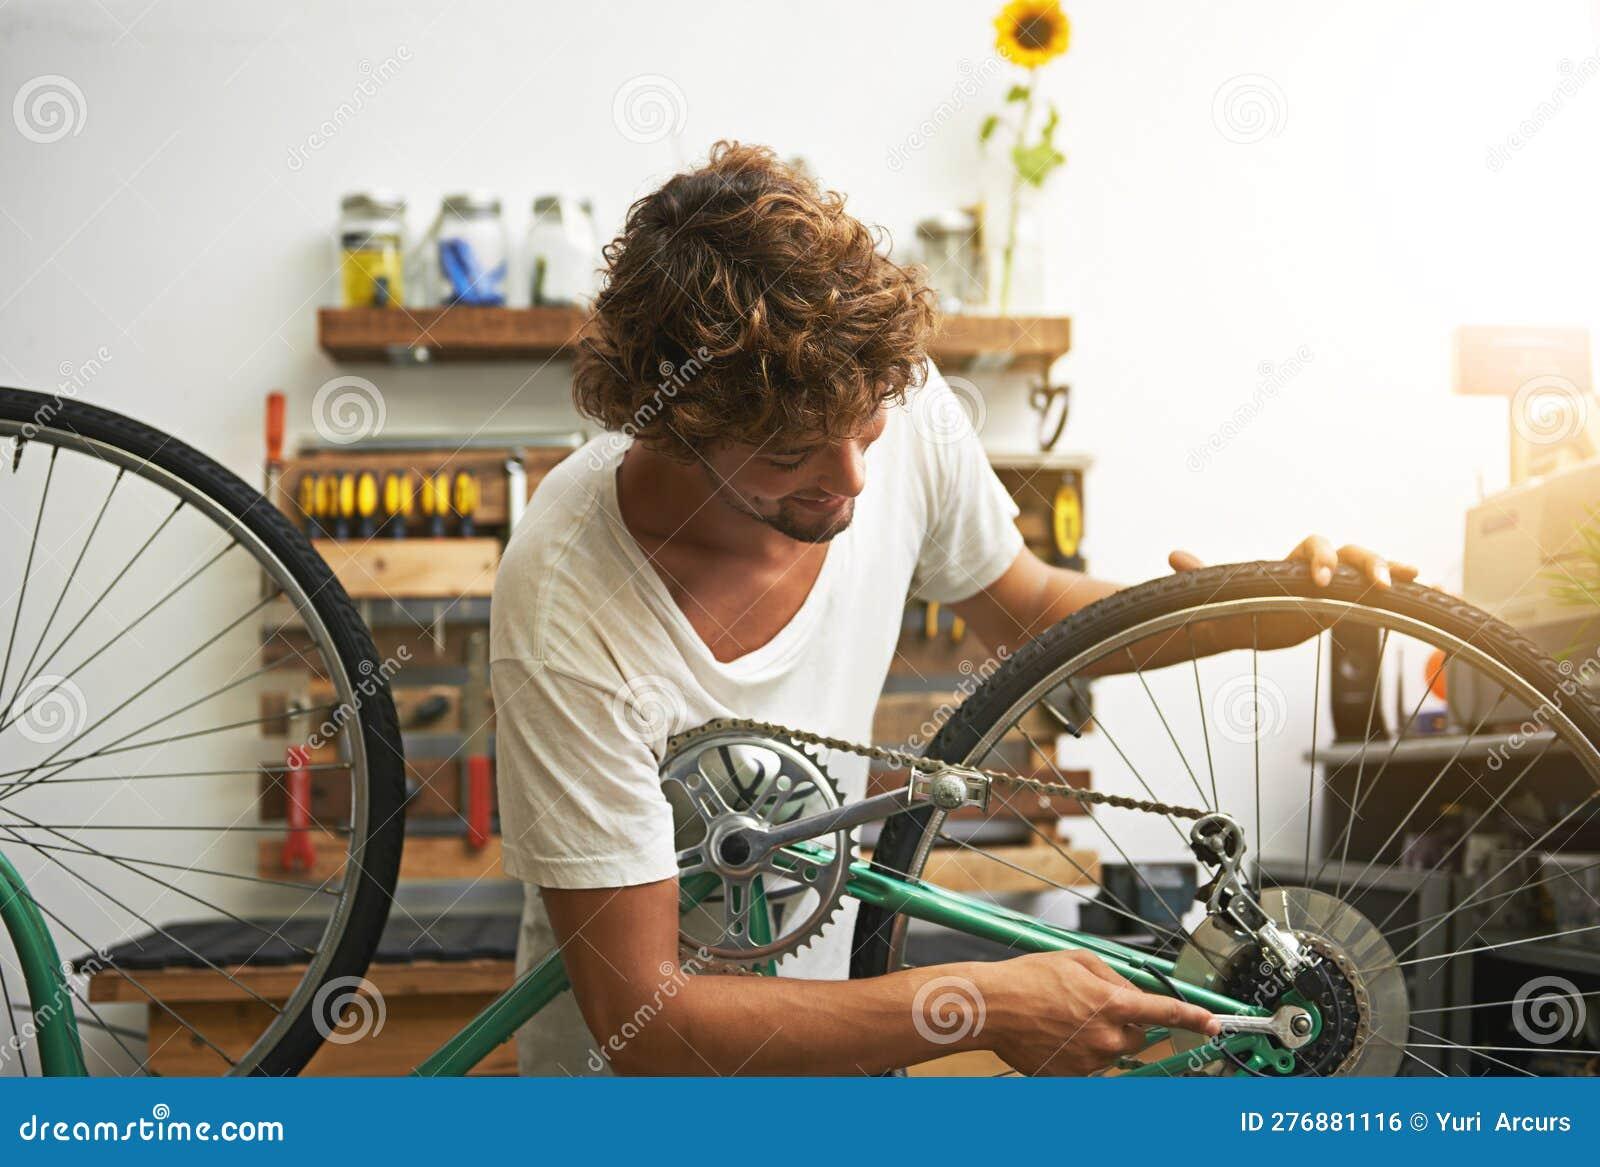
Essential Tools for Bicycle Repairs
Every cyclist should carry a few essential tools to handle common roadside emergencies. Start with tire levers—these plastic tools help you safely remove tires from rims when fixing flats. Always pack a patch kit or spare inner tube alongside your levers for efficient repairs.
A quality multi-tool provides various wrenches, screwdrivers, and a chain breaker in one compact package. repairbicycle.net contact. This versatility proves invaluable for unexpected adjustments during rides. Don't forget portable pumps—they're vital for restoring proper tire pressure after repairs, ensuring safe continuation of your journey
For home maintenance, invest in a bicycle repair stand that holds your bike at a comfortable working height. When dealing with broken chains, a dedicated chain tool becomes essential, allowing you to quickly remove damaged links and reconnect the chain properly.
Diagnosing and Fixing Flat Tires
To identify the source of your flat tire, examine both the exterior rubber for embedded objects and test the inner tube in soapy water to pinpoint precise leak locations. When faced with a puncture, you'll need to decide whether to patch the tube (effective for small, clean punctures) or replace it entirely for larger tears or valve failures. Installing tire liners, using self-sealing tubes, and maintaining proper tire pressure - repairbicycle.net can greatly reduce your chances of experiencing future flats
Identifying Puncture Sources
When dealing with a flat tire, finding the exact source of the puncture is critical for an effective repair. Begin by thoroughly examining the tire's exterior for visible damage, embedded objects, or cuts that compromise the rubber. Don't overlook the rim—inspect it for any sharp edges or burrs that could damage your inner tube.
For thorough puncture prevention, remove the tire using a tire lever and inspect both the inner tube and the inside of the tire. This careful tire inspection often reveals hidden damage not visible from the exterior.
For slow leaks that aren't immediately apparent, inflate the tire and submerge it in water. Watch for telltale bubbles that pinpoint the exact location of air escape. Once identified, verify all surfaces are clean before applying patches or installing a new tube.
Patching vs. Replacement
Once you've successfully identified a puncture in your tire, you'll need to make an informed decision between patching - maintaining your bicycle at home and complete replacement. Patching offers exceptional cost effectiveness for smaller punctures, typically requiring only 15-30 minutes to complete with a quality kit containing adhesive and rubber patches
However, replacement becomes necessary when you encounter larger tears or sidewall damage. Evaluate your tire's overall condition before deciding – excessive wear patterns suggest replacement would better serve your long-term safety needs. Improper patch application can result in additional leaks within weeks, compromising your safety on the road.
Always carry a portable repair kit during rides to address unexpected punctures. This preparation guarantees you won't be stranded and can quickly implement either a temporary patch or determine if replacement is the safer option.
Preventative Measures Matter
Smart cyclists understand that preventing flat tires begins with a proactive maintenance routine rather than waiting for issues to arise on the road. Strategic inspections of your tires can substantially increase tire longevity and guarantee safer rides.
- Check tires regularly for punctures, wear patterns, and embedded debris
- Maintain proper tire pressure (30-60 PSI depending on bike type)
- Install puncture-resistant liners or thicker tires suited to your riding terrain
- Learn to recognize early warning signs like softness or pressure loss
- Carry a complete repair kit with tire levers, patches, and a hand pump
These preventative measures considerably reduce your chances of experiencing a flat while riding. By incorporating these practices into your regular bike maintenance, you'll spend less time making repairs and more time enjoying the ride—while maintaining ideal safety throughout your cycling adventures.
 essential bike repair skills
Chain Repair and Maintenance Techniques
Many cyclists overlook chain maintenance until problems arise, but your drivetrain's performance depends considerably on proper chain care. Apply chain lubrication every 100-200 miles to prevent rust and maintain shifting quality. Don't overlubricate—excess attracts dirt and creates abrasive paste.
Regular chain inspection is critical for safety and performance. Use a chain checker tool to measure stretch; replace chains exceeding 0.5% elongation to protect your expensive cassette from damage. When cleaning, use a proper degreaser and brush to remove grime, ensuring the chain is completely dry before reapplying lubricant.
Learn to use a chain breaker tool for roadside repairs. This skill lets you remove damaged links quickly. Remember to match your replacement chain to your drivetrain's specifications (8-speed, 9-speed, etc.) for proper shifting performance.
Brake Adjustment and Troubleshooting
 Repair Bicycle repair guides
Properly functioning brakes are essential for cycling safety, requiring regular adjustment and maintenance to perform at their best. To guarantee peak brake performance, regularly check that your brake pads contact the rim evenly when squeezing the lever.
Your safety depends on your brakes—maintain them regularly for the stopping power your rides demand.
For different brake systems: (bicycle repair workshops)
- For rim brakes: Use the barrel adjuster to fine-tune cable tension and pad alignment
- For disc brakes: Center the caliper over the rotor by loosening mounting bolts, then retightening
- Inspect pads regularly, replacing them when worn to the indicator line
 bicycle overhaul procedures
- Address brake noise by checking pad alignment and removing debris
- If experiencing spongy feeling in hydraulic systems, perform a brake bleed
Troubleshoot unresponsive brakes immediately—never compromise safety by riding with malfunctioning brakes. Preventative maintenance guarantees reliable stopping power when you need it most.
Derailleur Alignment and Shifting Problems
Derailleurs serve as the backbone of your bike's shifting system, requiring precise alignment for peak performance. For maximum shifting accuracy, position your derailleur parallel to the sprockets, maintaining a 5-7mm gap between the guide pulley and largest cog.
If you're experiencing skipping gears or difficult shifts, check your cable tension first. A properly tensioned cable guarantees smooth shifts between gears. Don't overlook the derailleur hanger—even slight bends can dramatically affect alignment.
Regular maintenance prevents most shifting problems. Clean your derailleur thoroughly and lubricate pivot points to prevent dirt-related issues. Fine-tune the limit screws to prevent chain derailment and verify the chain doesn't rub against adjacent cogs.
When troubleshooting persistent shifting problems, methodically inspect each component of your derailleur system, as correct derailleur alignment is essential for both performance and safety.
Preventative Maintenance Schedule for Cyclists
Just as derailleur alignment keeps your bike shifting smoothly, a systematic maintenance schedule prevents most mechanical failures before they occur. Your preventative approach should adapt to riding conditions and include seasonal maintenance checks.
Precise maintenance routines are your first line of defense against unexpected mechanical issues on the road.
Establish this routine to maximize safety and performance:
- Check tire pressure before every ride, maintaining manufacturer's recommended PSI
- Clean and lubricate your chain every 100 miles, inspecting for rust or stretching
- Schedule professional tune-ups biannually, focusing on brake and derailleur adjustments
- Document all maintenance in a log and inspect brake pads monthly
- Perform weekly frame inspections for cracks or loose bolts
This disciplined approach extends your bike's lifespan and considerably reduces your risk of mechanical failures during rides - cycle repair classes. Winter storage requires additional preparation, while muddy conditions demand more frequent cleaning cycles
Frequently Asked Questions
 professional bicycle repair training
Can I Repair Carbon Fiber Frame Damage at Home?
You can repair minor carbon fiber damage at home with proper carbon fiber repair kits. For serious structural damage, you'll need professional help. Safety should always be your priority during home maintenance.
How Do I Fix Bike Components Damaged by Extreme Weather?
"An ounce of prevention is worth a pound of cure." Clean rust-affected components with degreaser, relubricate your chain, and check tire pressure regularly. Apply weatherproofing techniques like silicone covers and routine component maintenance for peak safety.
What's the Proper Disposal Method for Worn-Out Bicycle Parts?
Recycle your worn-out bicycle parts at local recycling centers, specialized bike shops, or manufacturer take-back programs. bike repair guide. Separate metals, rubber, and hazardous materials for eco-friendly disposal that guarantees environmental and community safety
When Should I Replace My Bike Instead of Repairing It?
Consider replacement criteria when repair costs exceed 50% of your bike's value, the frame's damaged, parts aren't compatible, or technology's obsolete. Your bike's lifespan isn't worth compromising your safety.
How Do I Transport My Bicycle Safely After a Breakdown?
For emergency transport after a breakdown, secure loose components with zip ties, use a bike rack if available, or call a rideshare service that accepts bicycles for transport to a bike repair shop.
 bike repair manual
Conclusion
You've now mastered the essentials of bicycle maintenance, but what happens when you're 30 miles from home and your derailleur suddenly fails? Don't panic. With your multi-tool, portable pump, and the techniques you've learned, you'll diagnose and repair most mechanical issues efficiently. Remember: inspect your bike weekly, clean the drivetrain monthly, and replace worn components before they fail. Your next ride depends on what you've done today.