Overview:
In the domains of JavaScript and Node.js, MongoDB has set up itself as the go-to database. MongoDB Atlas takes the responsibility of hosting, patching, maintaining and guarding your MongoDB cluster, and leaves you free for putting it to smart use.
Atlas makes connecting MongoDB as simple as clicking a button and answering four queries. Once that’s complete you’ll have a MongoDB cluster running some moments later. Creating clients and designating restricted consents is easy and done through a nice UI.
In this tutorial, We’re planning to see how to create a restful API using Node.js and Express Framework that communicates to a cloud instance of MongoDB known as Atlas.
Create Cluster on MongoDB Atlas:
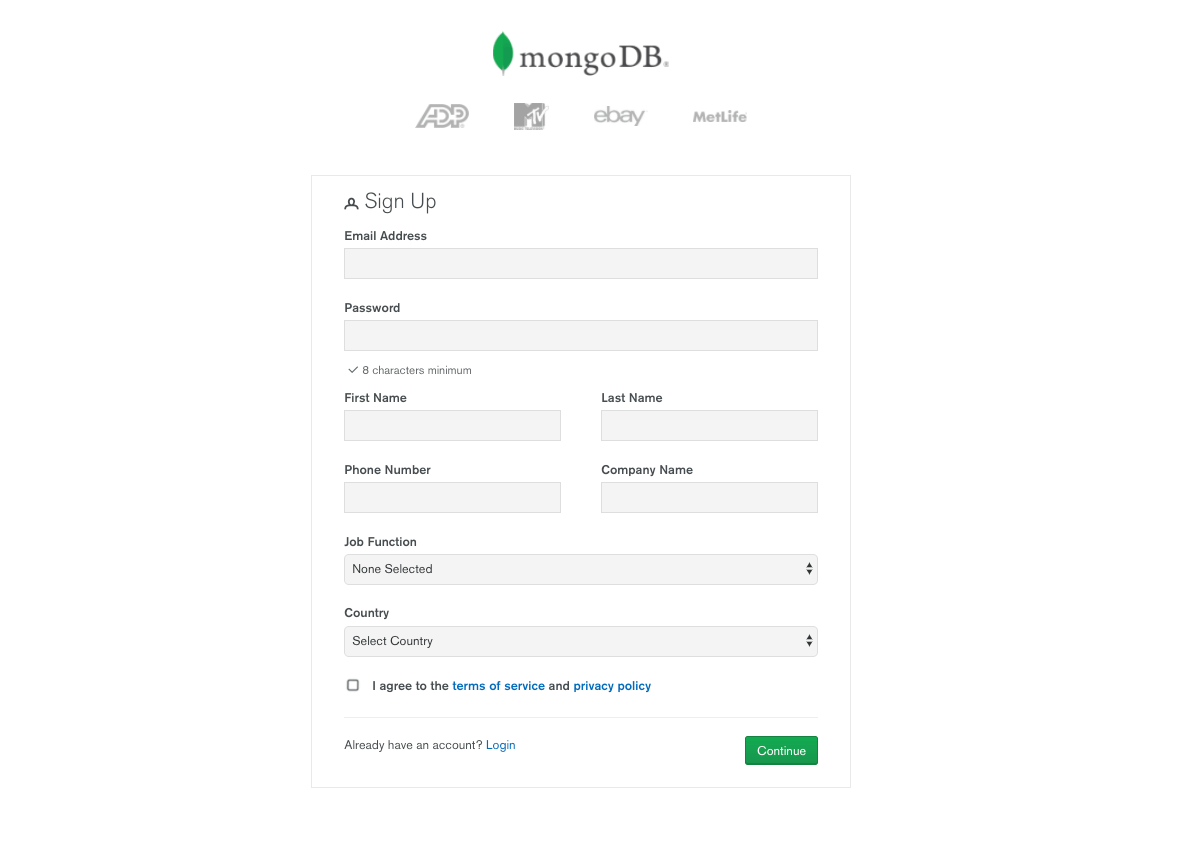
If you haven’t registered, register yourself here.
Once you have logged in successfully, click ‘Build a Cluster’.

Next, You should see a screen like below and select the Starter Clusters:

Now make sure to choose a region which is marked as “Free Tier Available”. Then choose the “MO Sandbox” Cluster tier. This is completely free. We’ll keep the cluster name as RAW.

After a few minutes, you should see a screen like this:

Setup Network Permissions:
To Connect Cluster it requires an IP address, you can use your current IP address or there is one more option you can connect with any IP address.

Set User Permissions:
Now we need to define users and set permissions according to their roles. For this tutorial, we will create a user called “Admin” with password “admin@123”.(For your main project, I would recommend using more secured credentials).

Get URI:

From the options, choose ‘Connect Your Application’ and you will get a connection URI like this:
Copy the URI. Now we’re ready to start coding.

Connect Cluster using Node.js and Mongoose:
Make sure you have Node installed, then open new directory and open terminal and type
npm init
Next, we will install all node modules we’ll be using in this tutorial:
npm install express mongoose body-parser nodemon
Create a file called “index.js” in the root directory.

Create a file called “keys.js” for config our mongoURI which copies while we connect the cluster, and Replace with the password for the Admin User.

To test the connection that your server is working fine or not, go into the root directory in the terminal and type:
nodemon index
If you follow the steps correctly you can see output like this:

Create Models for Data using Mongoose:
One of MongoDB’s benefits is that it’s no schema: there’s no need to create tables in advance, therefore you’ll be able to send information without the fear of filling in each field properly.
But what if you would like to define objects with a strongly-typed schema? That’s where mongoose comes in. Mongoose is common as it provides a simple way to bring structure to MongoDB and a host of related benefits.
In this tutorial, we’ll make an ‘Agent’ model.

Expose API endpoints for Database operations:
For Testing API endpoints we will be using POSTMAN. If you haven’t installed POSTMAN you can install it from here.
Once Postman is loaded, Create a new POST request and URL should be like http://localhost:8858/register.
Set the one header with the key Content-Type with value application/x-www-form-urlencoded.

In Body section select x-www-form-urlencoded with the key name and value “your name”.

After sending Request you can get a response like:

You can also see in your MongoDB cluster.

Conclusion:
If you followed this article till the end, you’ll now have experience of integrating your MongoDB as part of your Back-end. If you like the article and want to explore similar concepts in detail, let us know and follow us on https://www.yudiz.com/.