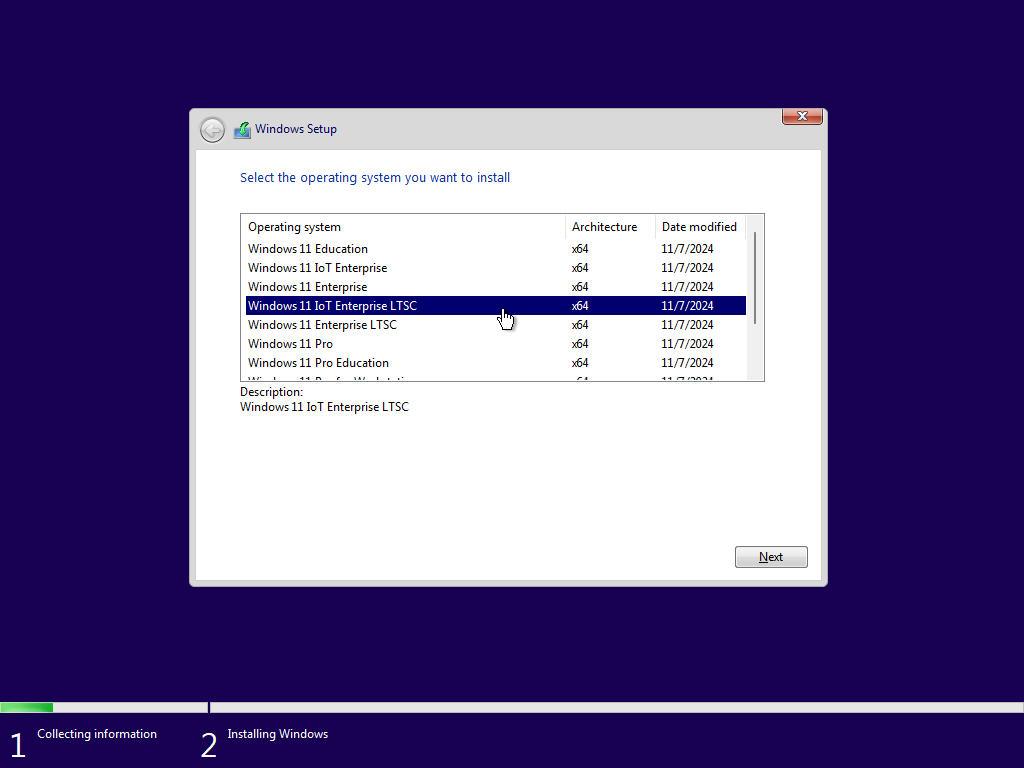
Question: How do editions marked LTSC differ from others?
Answer: LTSC (Long-Term Servicing Channel) are editions for users who use critical or specially tied programs, and do not want to risk the performance of these programs due to the frequent installation of new options and updates. LTSC lacks Cortana, Ink Workspace, OneDrive, Microsoft Store, etc. In essence, this is a bare system, without a “hinge”. Only Edge and the classic Notepad, Calculator and Paint are left. Well, returning to the name, which means “long-term service channel”, it is worth saying that unlike most editions, whose service period is 2 years, LTSC will be supported for 10 years (5 years basic support and 5 years extended support, when they come security updates only).
Question: How do editions labeled IoT differ from others?
Answer: IoT (Internet of Things) are full-fledged editions of Windows, initially aimed at devices with specialized functions, such as ATMs, payment terminals, digital advertising structures, information kiosks and industrial automation systems. In this regard, IoT has lowered system requirements, but increased protection against hacking and other unauthorized actions. Well, as a cherry on the cake, there is no auto-update and the ability to enable a mode in which the OS almost does not send telemetry. Oh, I almost forgot, IoT has a 10-year support cycle, just like LTSC.
Question: What was cut or modified in the system installed from this build? What programs/tweaks have been added?
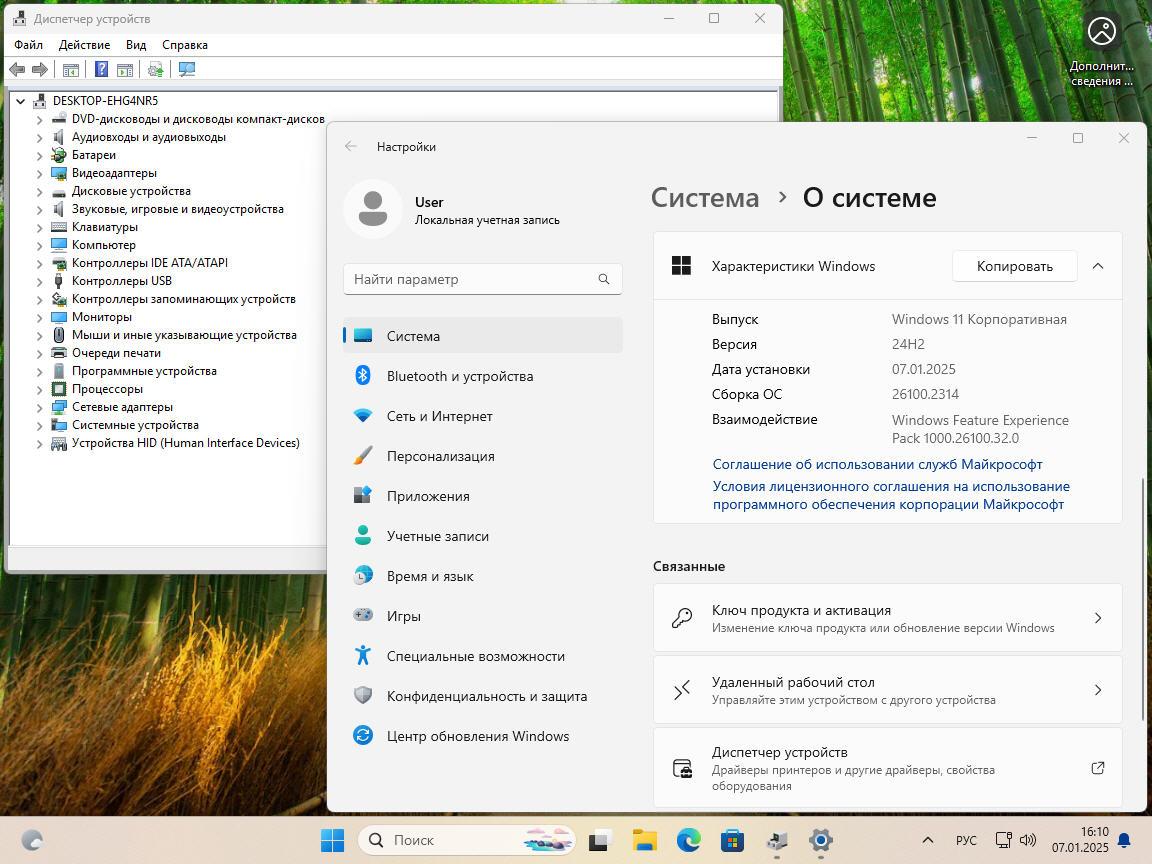
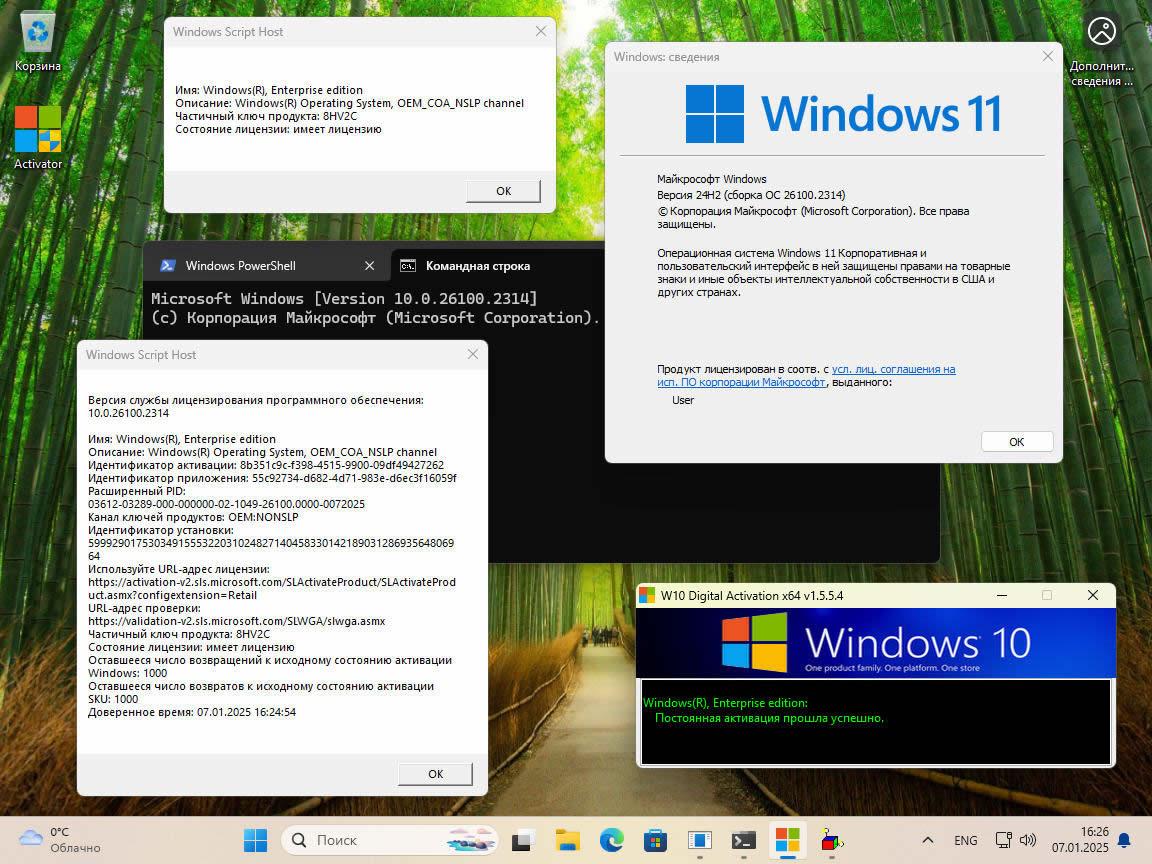
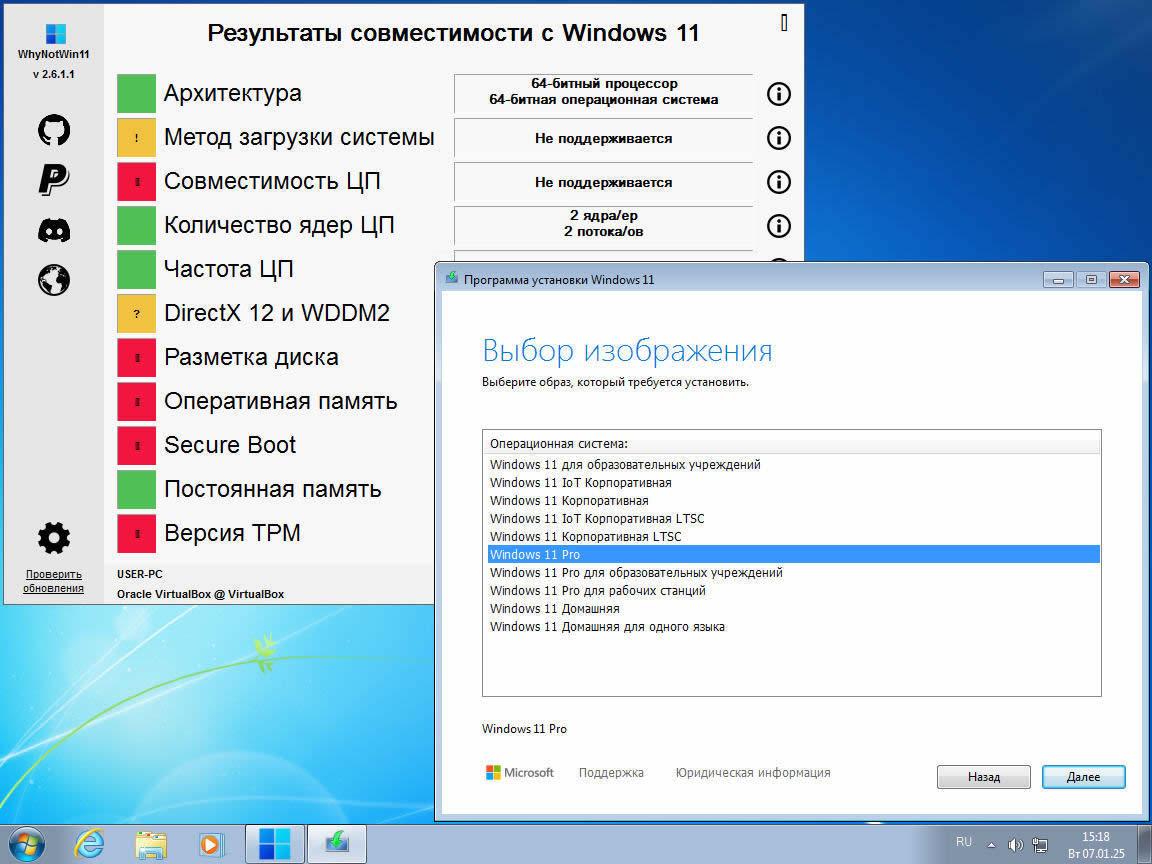
Answer: A number of artificial restrictions on installing Windows 11 have been removed (partly using tools from Pete Batard - the author of Rufus). A number of additional language packs have been integrated. Added activator W10 Digital Activation Program + KMS38 version 1.5.4 from Ratiborus. MSDaRT 10 is integrated into the recovery service built into the system. In the Pro Single Language and Home Single Language editions, a script has been added that allows you to switch the interface language. The IoT and LTSC editions integrate updates KB5046617 and KB5045934. Nothing more.
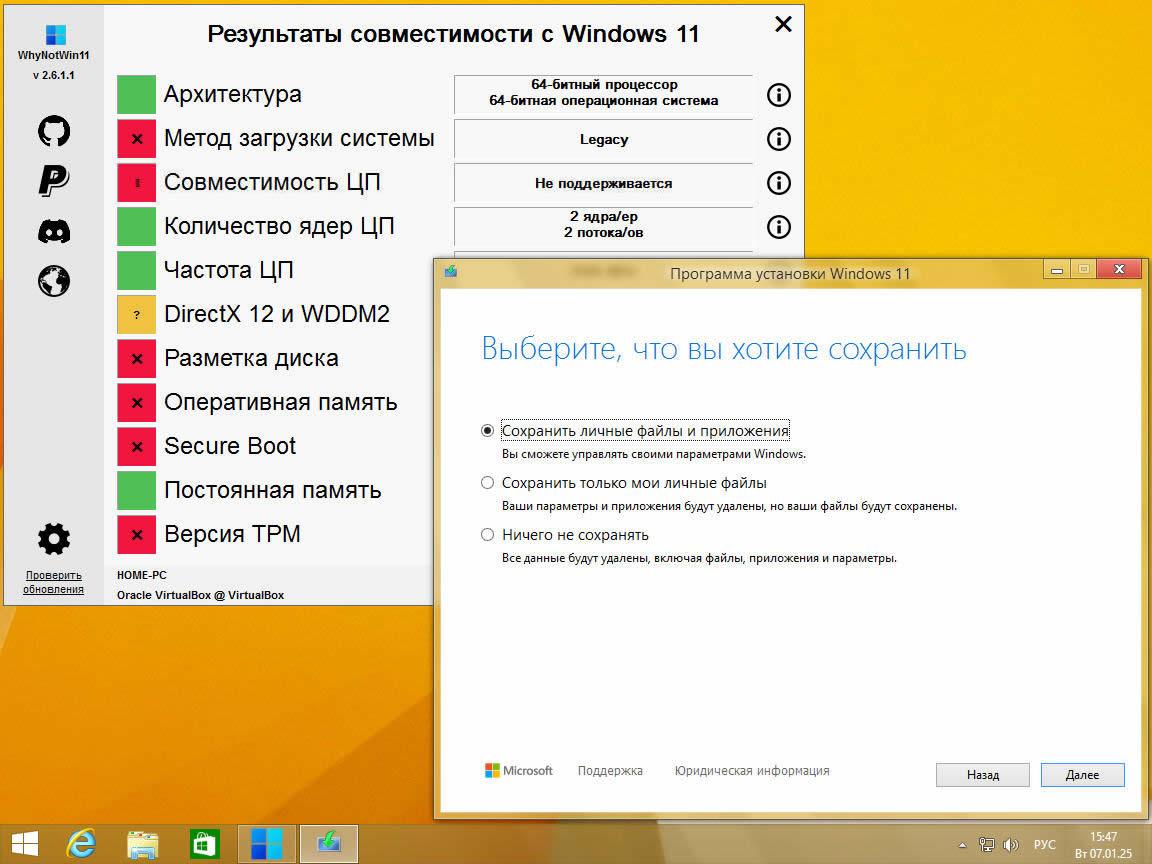
Question: Why was it necessary to change the new installer interface “from BIOS” to the old one?
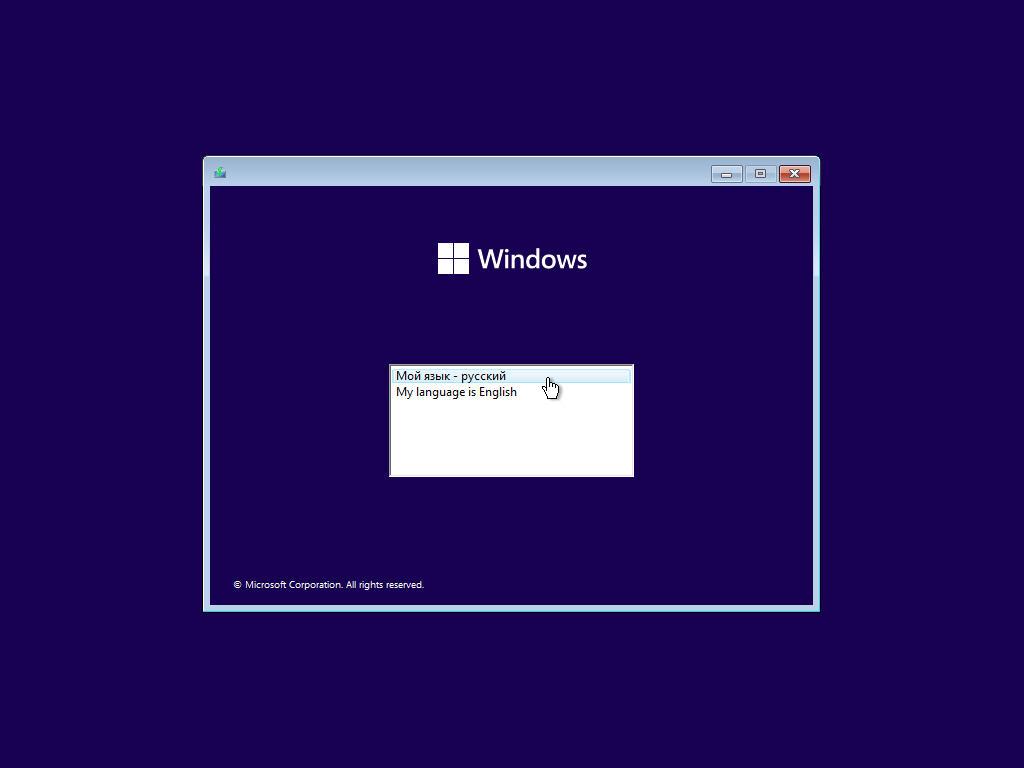
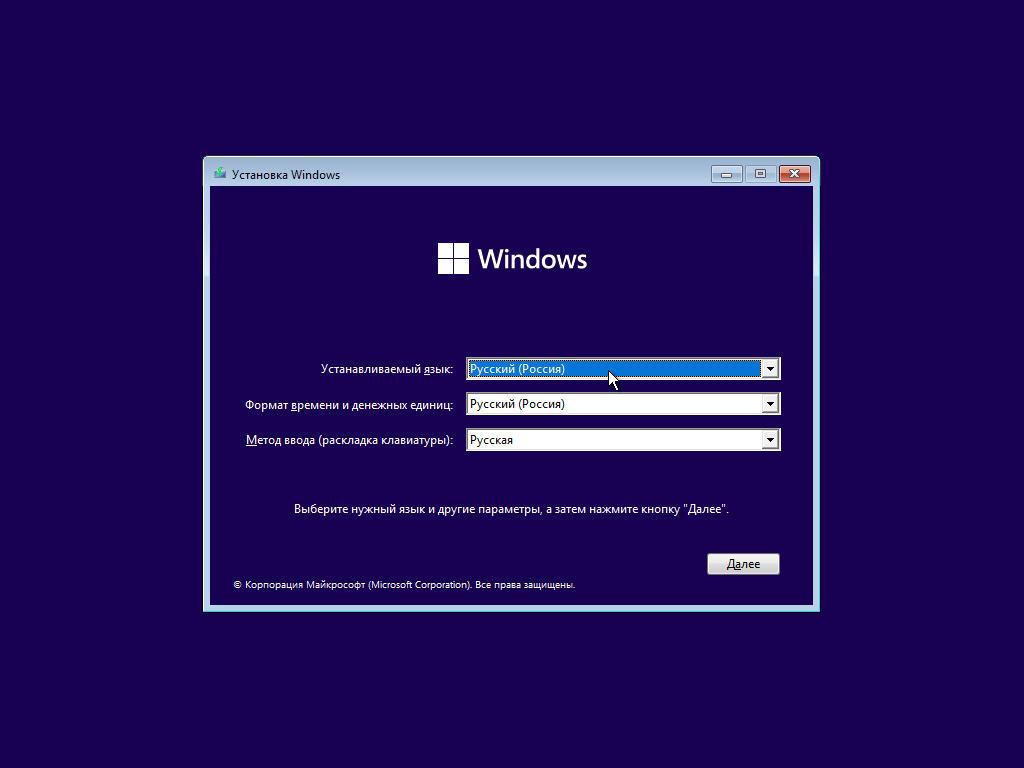
Answer: It's buggy... And the interface is crooked. With its help, I installed the OS every other time. Realizing the unviability of their brainchild, Microsoft developers even left a link in the new interface to switch to the old one. The truth is for some reason on the third page of the new interface. And without remembering the user's choices made on previous pages. In general, they are in their repertoire... Therefore, I decided to return the old proven interface. Let it launch immediately, without intermediaries.
Question: What program can you recommend for deploying an assembly to a USB flash drive?
Answer: For these purposes, I highly recommend the
program . With its help, it is possible to create a multiboot flash drive, on which several images will be placed, between which you can switch.
Question: Is it possible to unzip the image to a hard drive and initiate the installation of Windows 11 from it?
Answer: Yes, it is possible. But I strongly recommend unpacking the image to the root of the disk. If installing as an update, unpacking should not be done to drive C. For a custom installation, the drive letter is not important. It is important that the sources folder from the image is in the root directory. If you do this differently, then the system will be installed, but believe me, the result will most likely not be what you expected.
Question: I need to install in BIOS Legacy mode on an MBR partition, and install the system in EFI/UEFI mode on a GPT partition. What should I do?
Answer: Go to the UEFI-BIOS and change the parameters there that are responsible for selecting the installation mode. In UEFI-BIOS from different manufacturers, their names and locations differ. But there are
more or less detailed descriptions on the Internet on how to do this for different UEFI-BIOS models. If everything is really difficult, and you cannot find the options you need, then simply delete the bootmgr.efi file and the efi folder from the assembly. This will deprive the assembly of the ability to start installation in EFI/UEFI mode and it will be forced to start installation in BIOS Legacy mode.
Question: I need to install in EFI/UEFI mode on a GPT partition, and install the system in BIOS Legacy mode on an MBR partition. Why?
Answer: Firstly, your computer may not support installing the system in EFI/UEFI mode. Secondly,
the options responsible for the ability to install in this mode may be disabled in the UEFI-BIOS . Thirdly, if you are installing the system from a flash drive, then know that you can install in EFI/UEFI mode only if the flash drive is formatted in FAT32 format.
Question: What are the restrictions for transferring applications from the old OS to the new one when installing Windows 11 from this build with an update?
Answer: There are two restrictions! Firstly, the source and installed OS editions must have the same name (Pro -> Pro, Home -> Home). Secondly, there is a language connection between the old and new systems. Moreover, speaking about the language of the old system, we are not talking about the interface language that you use, but about the language in which it was originally installed. Well, the assembly is “stitched” into Ru! If your old system was originally installed in Ru, then transferring applications will be available. Otherwise, only personal files can be transferred. But there is one loophole! If you install the Ru language pack (all my builds have it initially) and get a little confused, you can make the old system “Ru” in the installer’s understanding. We assume that you have an En interface. Hold down the Shift key and press Restart, thereby initiating a system reboot into Recovery Mode. Click Troubleshoot -> Advanced options -> Command Prompt. Enter the command "DISM /Image:D: /Set-UILang:ru-RU /Set-SysUILang:en-US" without quotes in the console window and press Enter. I have drive D listed, but your recovery environment may have assigned a different letter to the system drive - if it complains about the drive, then look through the options. This command will give the installer of the new system reason to believe that the old system was installed in Ru, while the interface language will remain in En. After successfully executing the command, close the console window and click Continue - the system will boot in normal mode. That's it, now you can use my build to update your system, saving not only personal files, but also applications.
Question: The installation freezes at the Windows logo. What's wrong?
Answer: Your processor is too old and does not support SSE4.2 and POPCNT. There is no workaround for this blocking at the time of build release. Either update the hardware or limit yourself to version 23H2.
Question: At the initial stage of installation, I receive the message "The system seems to lack either network cards or network drivers." What is this?
Answer: This is a notification that the installer did not detect an active network card. This may be caused either by its physical absence from the computer or by the absence of drivers specifically for your network card model in the installer. In any case, don't worry. This does not affect the installation and operation of the system in any way. Click OK and continue the installation quietly.
Question: I want to install Windows 11 with a local account, but the installer won't let me do it. But you wrote that it is possible! What's wrong?
Answer: This situation is typical for Windows 11 Pro, Home and their derivatives. But everything can be solved! When, during post-configuration of the installed system, you encounter a problem, disconnect your computer from the Internet. In the network connection window you will see the option “I don’t have internet” - select it. The next window will ask you to create a local account...
Question: After installation, I do not see the activator on the Desktop. What's wrong?
Answer: There can be many reasons for its absence. But the most likely possibility is that at the time the image was deployed to the flash drive, the activator was “gobbled up” by your antivirus. Look for it in the original image. The file is called Activator.exe.
Question: How to use the activator built into the system?
Answer: There is nothing complicated here. Launch the activator from the Desktop, and simply click on the “Activate Windows 10” button. The activator supports two activation methods: HWID and KMS38. Both of them require a one-time use, after which the activator file can be safely deleted. Let's take a closer look at both methods. HWID (Hardware Identification Number) is the hardware name of your computer, a unique identifier of your hardware. At one time, Microsoft launched a program to freely transfer users from younger versions of the OS to Windows 10. And now this program has extended to Windows 11. Those who used the program were given a free perpetual digital license tied to the hardware. This license only works until you critically modify your computer. The activator, when you select the HWID method, is able to connect you to this program. In this case, a copy of your hardware will be saved on Microsoft servers, and the next time you reinstall the system, to activate most editions of Windows 10/11 you will only need to log in to the network. The only disadvantage of this method is that it requires Internet access to use! The KMS38 method, on the other hand, is not network bound, and activation using this method is performed locally on your machine. The name of the method encrypts the mechanism by which it performs activation. Yes, this is a KMS, but not an ordinary one, requiring reactivation once every six months - reactivation will be required as early as 2038! Unlike HWID, the KMS38 method does not send any data to Microsoft servers and does not provide you with automatic activation the next time you reinstall the system. It is tied specifically to the system it activates. As I already said, the advantage of the KMS38 method is that its use does not require Internet access. Well, the downside is that periodically the system will try to contact a non-existent activation server and litter the system logs with messages about the impossibility of performing this operation. The choice of method is yours!
Question: As far as I know, the Enterprise LTSC edition cannot be activated using the HWID method. Have you found a workaround?
Answer: Yes and no. Yes, indeed, for Enterprise LTSC there is no key for this type of activation. And if you want to see exactly this edition name in the title, then during activation you need to select KMS38 in the activator drop-down menu. But there is a nuance! If you select HWID, the OS is also activated. The truth will be renamed IoT Enterprise LTSC. At the same time, it really won’t turn into IoT! All functionality of regular LTSC will be retained. Only the licensing method will change. It's up to you to decide which option is preferable for you.
Question: You wrote that the system is installed in two languages at once. But after installing the En version of Windows 11, I see only En in the list of available interface languages. How so?
Answer: Yes, indeed, there is such a thing. This is a minor flaw that has been wandering from version to version for a long time. The Ru language, as I said, is also installed. It just doesn't show up in the list. In the interface language selection window, click on the "Add a language" button and select Ru, among others. That's it, you can use it! The entire procedure can be done even Offline, since the language pack is already installed and there is no need to download it additionally from the offsite.
Question: I don’t know for what reason, but the interface language of my tiled applications is different from the interface language of the system itself. How to fix this?
Answer: Launch the Microsoft Store app. In the application window at the bottom left, click "Library". In the window that opens, click “Get updates” and the necessary language packs for the tiles will be downloaded automatically. If something after this procedure remains in the wrong language, it means that this application either does not exist in the language you want, or you can switch the interface language in the settings of the program itself, or you first need to uninstall the application and then install it again, but in a different language language.
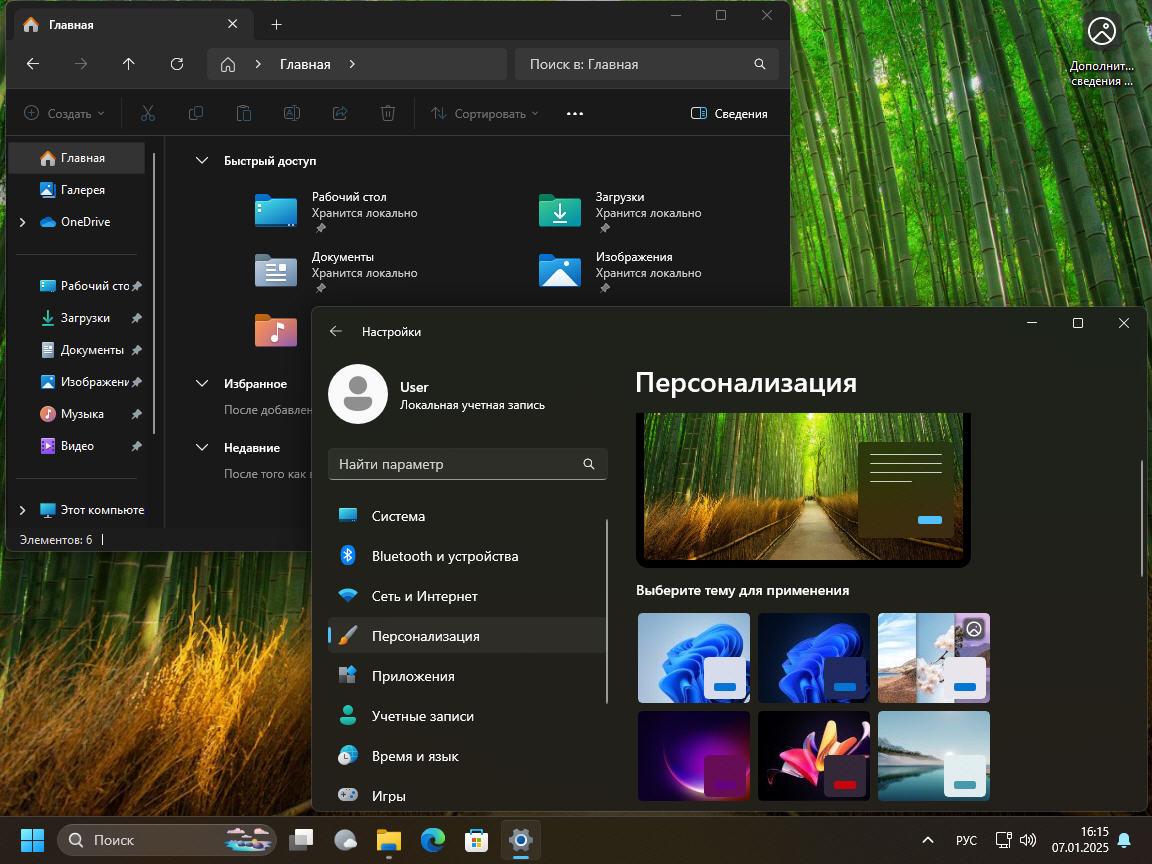
Question: I want to completely change the interface language within the language packs available in the assembly. What needs to be done for this?
Answer: Open the “Settings” window, select “Time & Language” and go to the “Language & region” subsection, set the settings according to your language preferences. Then go to the “Language” subsection, set the desired “Windows display language” in the drop-down menu, and in the “Preferred languages” list, set the language of your choice first in the list. In the “Related settings” subsection, click on “Administrative language settings”, and in the window that opens, click on the “Copy settings...” button. In the new window, making sure that for the “Current user” the interface language, input, format and location (Display language, Input language, Format, Location) meet your aspirations, check the boxes next to “Welcome screen and system accounts” (Welcome screen and system accounts) and "New user accounts". If you save these settings, you will be prompted to reboot the system. Do it. Here, in the additional regional settings window, it is also advisable to change the “Current language of programs that do not support Unicode” (Language for non-Unicode programs). After this, a reboot is also necessary. You may also need to change the interface language of tiled applications according to the instructions presented in the previous FAQ paragraph.
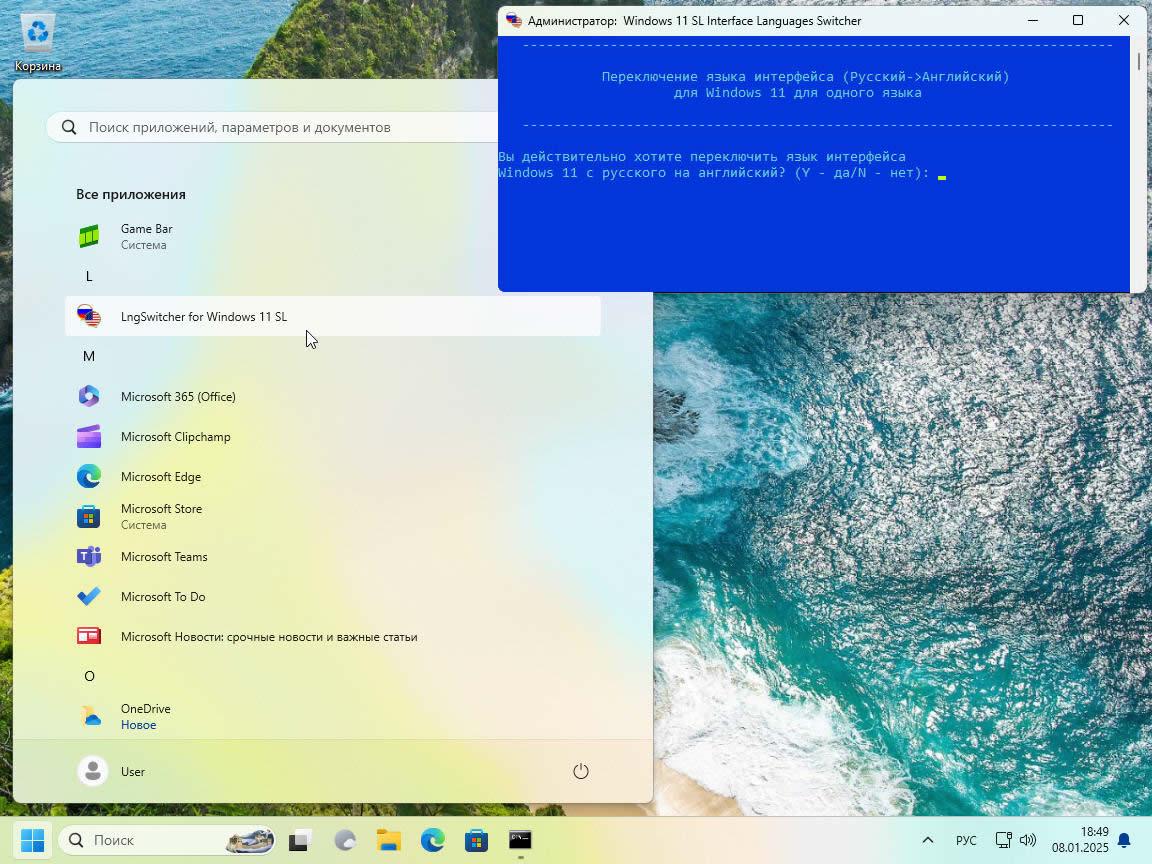
Question: How can I use the interface language switching script in the Home Single Language edition?
Answer: Run the script from the "LngSwitcher for Windows 11 SL" shortcut, which is located in the "Start" menu. Next, the script will only ask you whether you really want to change the interface language, and restart the computer immediately after making the changes or later.
Close
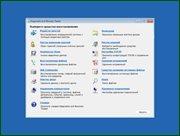
More about MSDaRT
The Microsoft Diagnostics and Recovery Toolset (MSDaRT) helps you diagnose and resolve system startup problems and other problems.
The set includes the following tools:
Registry Editor
You can use Registry Editor to access and modify the Windows operating system registry to analyze or repair the operating system. It allows you to add, delete and change keys and values, as well as import registry files (*.REG).
Password Change Wizard
The Change Password Wizard allows you to set or change the password for any local Windows operating system account that is being analyzed or restored. You don't need to know your current password to do this. However, the new password must meet all requirements that are defined in the local GPO. This includes the length of the password and its strength.
Crash Analyzer
A crash analyzer is used to quickly determine the cause of a computer crash. To do this, a memory dump file is analyzed in the Windows operating system that is being restored. Crash Analyzer examines the crash dump file that relates to the driver that caused the computer to crash. You can then disable the problematic device driver using the Services and Drivers node in Computer Management.
File recovery
With file recovery, you can try to recover files that were accidentally deleted or that were too large to fit into the Recycle Bin. File recovery can be performed not only on regular disk volumes. This tool also allows you to locate and recover files on lost or BitLocker-encrypted volumes.
Disk Commander
Disk Commander allows you to recover disk or volume partitions using one of the following recovery processes: restoring the master boot record (MBR), restoring lost volumes, restoring partition tables from a Disk Commander backup, saving partition tables in a Disk Commander backup.
Disk Cleanup
Disk Cleanup allows you to remove all data from a disk or volume, as well as data that remains after reformatting your hard drive. When wiping a disk, you can select either a single-pass or a four-pass overwrite, which meets current DoD standards.
Computer management
Use Computer Management to view system information, event logs, manage hard drives, manage startup programs, services, and drivers.
Conductor
Explorer allows you to browse your computer's file system and network folders, allowing you to move important data that you have saved to a local drive before you restore or reinstall the OS on your computer. Additionally, with the ability to map drive letters to network folders, you can easily copy and move files from a computer to a network for safe storage, or from a network to a computer for recovery.
Solution Wizard
The Solution Wizard asks a series of questions and, based on the answers, recommends the best solution to resolve your situation. If you are not familiar with DaRT tools, this wizard allows you to determine which tool to use.
TCP/IP setting
When you boot your computer using the DaRT application, the TCP/IP configuration (IP address and DNS server information) is automatically obtained from the DHCP protocol. If DHCP is not available, you can manually configure TCP/IP using the TCP/IP Configuration Tool. You must first select a network adapter and then configure its IP address and DNS server.
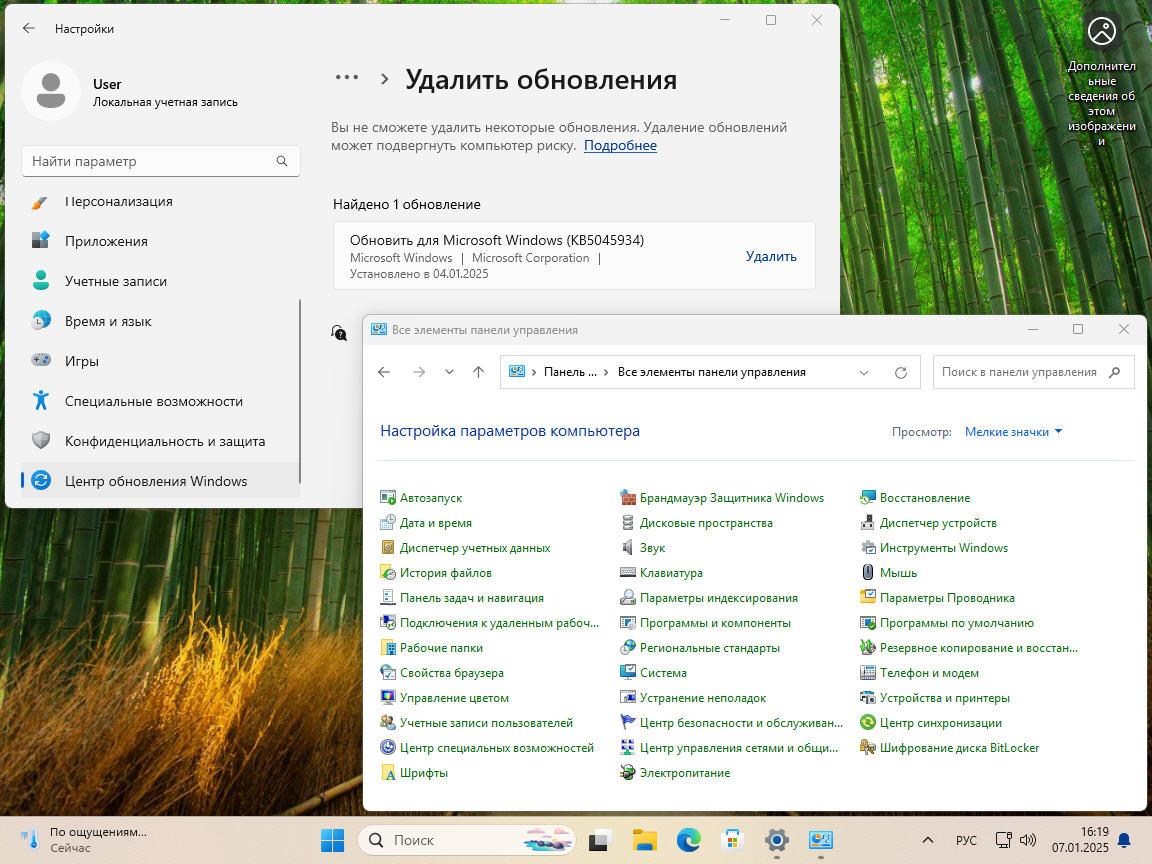
Removing patches
The Uninstall Patch Wizard allows you to remove patches or service packs from the Windows operating system that is installed on the computer that you are restoring. Use this tool if you think that a hotfix or service pack is preventing your operating system from starting.
System File Checker
System File Checker launches the System File Repair Wizard and allows you to repair system files that are preventing your installed Windows operating system from starting. The System File Recovery Wizard can automatically recover damaged or lost system files or prompt you before performing any recovery operations.
Search
The File Finder opens the Find Files window, which you can use to search for documents you don't know or common file types on all your local hard drives. You can search for a specific file name pattern by specifying a specific path. You can also narrow your search by displaying results that match a specific date or size range.
Remote connection
Remote connectivity allows IT administrators to remotely run DaRT tools on the end user's computer. After the user (or the helpdesk person working on their computer) provides certain information, an administrator can take control of the user's computer and remotely run the necessary DaRT tools.
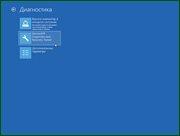
How to initiate MSDaRT launch
Launching the MSDaRT 10 module , from the recovery service built into the system itself:
Launching the MSDaRT 10 module from the recovery service launched from the installation media:

Close
Close
Image size and CRC
Image size: 6.56 GB (7,045,873,664 bytes)
MD5 image sum: 0328801fcb51601e681d684673867d2a
SHA1-sum of the image: 57a21d7f3b3cd7f56b231dbbe8a7488398b2c13e
Close
Screenshots