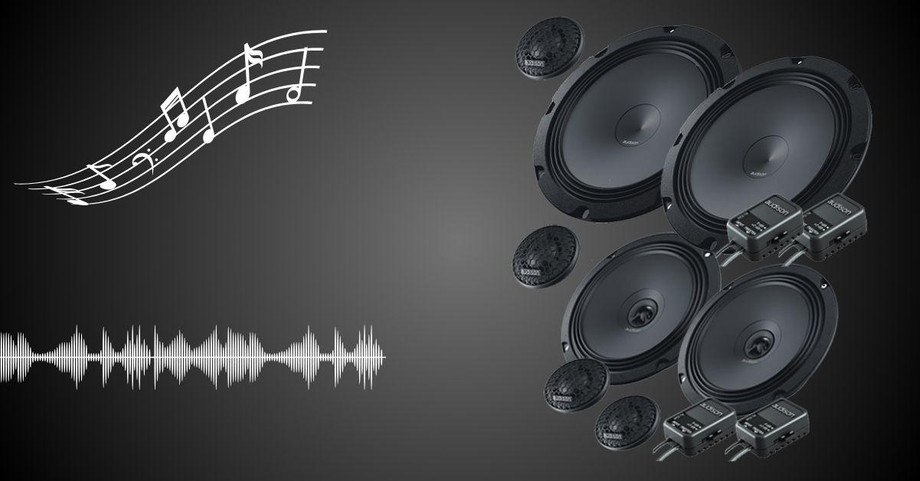
A Digital Signal Processor (DSP) can significantly improve your car audio system by providing precise control over sound settings, allowing you to fine-tune your audio experience to perfection. This guide will explain the benefits of a DSP, discuss different types of DSPs, provide recommendations for high-quality models, and offer a step-by-step installation guide.
Benefits of a Digital Signal Processor
1. Precise Audio Control
- Equalization: Adjust the frequency response to tailor the sound to your preferences and correct any imbalances.
- Time Alignment: Ensure that sound from all speakers reaches your ears simultaneously for a more cohesive audio experience.
2. Improved Sound Quality
- Clarity: Reduces distortion and improves clarity by optimizing the signal path.
- Balance: Provides a more balanced and accurate soundstage.
3. Customization
- Multiple Presets: Create and save multiple sound profiles for different types of music or listening environments.
- Advanced Tuning: Offers advanced tuning options for enthusiasts who want to get the most out of their audio system.
4. Integration
- Factory Systems: Can be integrated with factory audio systems to enhance their performance without replacing the head unit.
- Aftermarket Systems: Works seamlessly with aftermarket head units and amplifiers for maximum performance.
Types of Digital Signal Processors
1. Standalone DSPs
- Description: Separate units that connect to your audio system.
- Benefits: Offers the most flexibility and control.
2. DSP Amplifiers
- Description: Amplifiers with built-in DSP functionality.
- Benefits: Combines amplification and processing in one unit for a compact and efficient solution.
3. DSP Head Units
- Description: Head units with integrated DSP capabilities.
- Benefits: Simplifies installation and provides easy access to DSP features.
Recommended Digital Signal Processors
Budget-Friendly Options
1. Dayton Audio DSP-408
- Type: Standalone DSP
- Features: 4 inputs, 8 outputs, 31-band EQ.
- Benefits: Affordable with comprehensive tuning options.
- Price Range: Under $150
2. AudioControl LC7i
- Type: Standalone DSP
- Features: 6-channel line output converter with DSP.
- Benefits: Easy integration with factory systems, high-quality sound processing.
- Price Range: Under $200
Mid-Range Options
3. Helix DSP Mini
- Type: Standalone DSP
- Features: 6 inputs, 8 outputs, 10-band EQ.
- Benefits: Compact size with powerful processing capabilities.
- Price Range: $300-$400
4. Rockford Fosgate DSR1
- Type: Standalone DSP
- Features: 6 inputs, 8 outputs, 32-band EQ, Bluetooth connectivity.
- Benefits: Advanced tuning options with convenient Bluetooth control.
- Price Range: $300-$400
High-End Options
5. Audison bit One HD Virtuoso
- Type: Standalone DSP
- Features: 12 inputs, 13 outputs, 32-bit/192kHz processing.
- Benefits: Professional-grade sound quality with extensive tuning options.
- Price Range: $1000-$1200
6. JL Audio TwK 88
- Type: Standalone DSP
- Features: 8 inputs, 8 outputs, 10-band EQ.
- Benefits: High-quality processing with flexible tuning capabilities.
- Price Range: $500-$600
Step-by-Step Installation Guide
For those looking to install a DSP themselves, auto-lautsprecher.eu provides detailed guides and expert tips. Visit their Auto Lautsprecher Einbautipps for step-by-step instructions and expert advice.
1. Gather Necessary Tools and Materials
- Tools Needed: Screwdrivers, panel removal tools, wire strippers, crimping tools, multimeter.
- Materials Needed: DSP, RCA cables, speaker wire, power and ground wire, remote turn-on wire, connectors.
2. Prepare Your Workspace
- Safety First: Park your car in a well-lit, flat area. Disconnect the negative terminal of the battery to prevent any electrical shorts.
3. Plan the Installation
- Location: Choose a suitable location for the DSP, such as under a seat or in the trunk.
- Ventilation: Ensure there is adequate ventilation to prevent overheating.
4. Install the DSP
- Mounting: Secure the DSP in the chosen location using screws or mounting brackets.
- Power and Ground Wires: Run power and ground wires from the battery to the DSP location, installing a fuse holder near the battery for protection.
- Remote Turn-On Wire: Connect the remote turn-on wire from the head unit to the DSP.
5. Connect the DSP to the Audio System
- RCA Cables: Run RCA cables from the head unit to the DSP inputs.
- Speaker Wires: Connect the DSP outputs to the amplifiers or speakers using the appropriate gauge speaker wire.
6. Test the System
- Reconnect Battery: Reconnect the negative terminal of the car battery.
- Check Functionality: Power on the audio system and test the DSP to ensure it is functioning correctly. Use the DSP software to adjust settings and optimize sound quality.
7. Secure and Insulate
- Final Check: Ensure all connections are secure and properly insulated with electrical tape or heat shrink tubing.
- Secure Wires: Use zip ties to secure all wires and prevent them from moving or coming into contact with sharp edges.
Conclusion
A Digital Signal Processor (DSP) can significantly enhance the sound quality and customization options of your car audio system. By selecting a high-quality DSP and following proper installation procedures, you can enjoy precise audio control and a more immersive listening experience. For all your car audio needs, including DSPs, installation accessories, and detailed guides, visit auto-lautsprecher. Upgrade your car audio system today and experience the benefits of advanced digital signal processing.

