
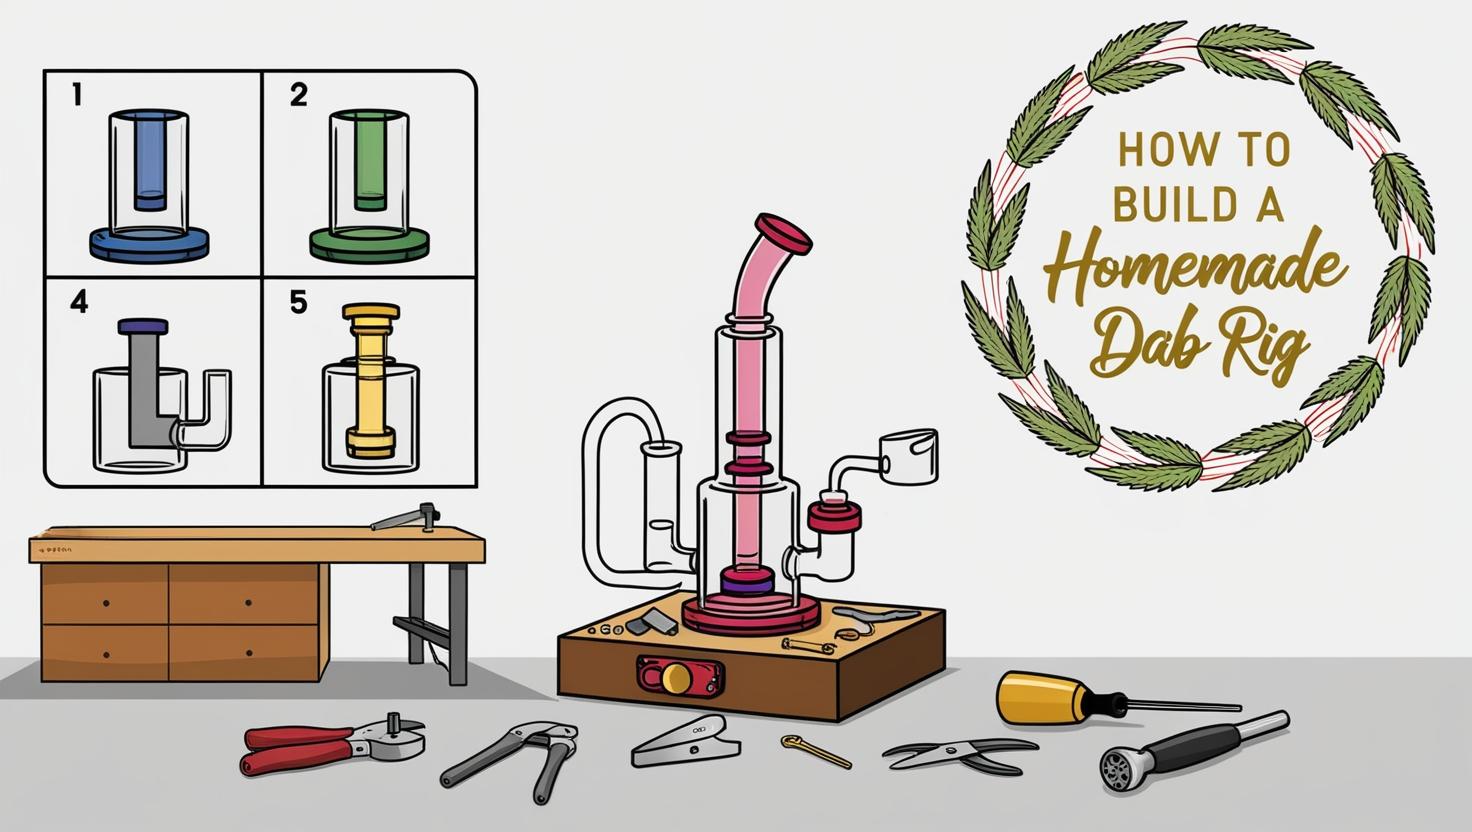
Are you interested in dabbing but don’t want to spend a fortune on a fancy rig? You’re in luck! Crafting your own dab rig at home is a fun and cost-effective way to enjoy concentrates. Whether you're a seasoned cannabis enthusiast or new to dabbing, this DIY guide will show you how to create an effective and budget-friendly dab rig using materials you likely already have around the house.
Quick Tips Before You Start
- Choose Safe Materials: Make sure all materials that come into contact with heat or your mouth are non-toxic and heat-resistant.
- Keep It Tight: Airtight connections are essential for a smooth, effective draw.
- Be Patient: Your first rig might not be perfect, but there's plenty of room for improvement!
- Safety First: Always handle tools and heat with care to avoid accidents.
What You’ll Need
Before you begin, gather the materials for your homemade dab rig. Here's a list of what you’ll need:
- A small glass bottle (like one for soda or water)
- A metal pen (preferably one that can be fully disassembled)
- A nail or small heat-proof bowl that fits the pen tube
- A butane torch or lighter
- A drill or tool for making holes in glass
- Sealant or gum (such as silicone or beeswax) for sealing gaps
- Safety gear, like gloves and eye protection
Building Your Dab Rig: Step by Step
Step 1: Prepare the Bottle
-
Pick the Right Bottle: Choose a small, sturdy glass bottle that’s easy to work with. Clean it thoroughly to remove any residue or labels.
-
Drill the Hole: Carefully drill a hole on the side of the bottle, about halfway up. The hole should be slightly smaller than the pen tube to ensure a tight fit.
Step 2: Modify the Metal Pen
-
Disassemble the Pen: Take apart the metal pen by removing the ink and any plastic parts, leaving you with just the metal outer casing.
-
Insert the Pen Tube: Insert the pen tube into the hole in the glass bottle. Seal around the edges with your chosen sealant to create an airtight fit.
Step 3: Attach the Nail or Bowl
- Prepare the Nail: Attach your dab nail or heat-proof bowl to the top of the pen tube. If it's loose, use your sealant to ensure it’s securely attached and airtight.
Step 4: Test and Tweak
- Check Airflow: Before using the rig, test the airflow. Make sure air flows freely when you inhale. If there are any leaks or blockages, adjust accordingly.
Step 5: Add Water (Optional)
- For Water Filtration: If you prefer to cool the vapor for a smoother hit, add a small amount of water to the glass bottle. Keep the water level below the pen’s entry point to avoid splashing.
How to Use Your Homemade Dab Rig
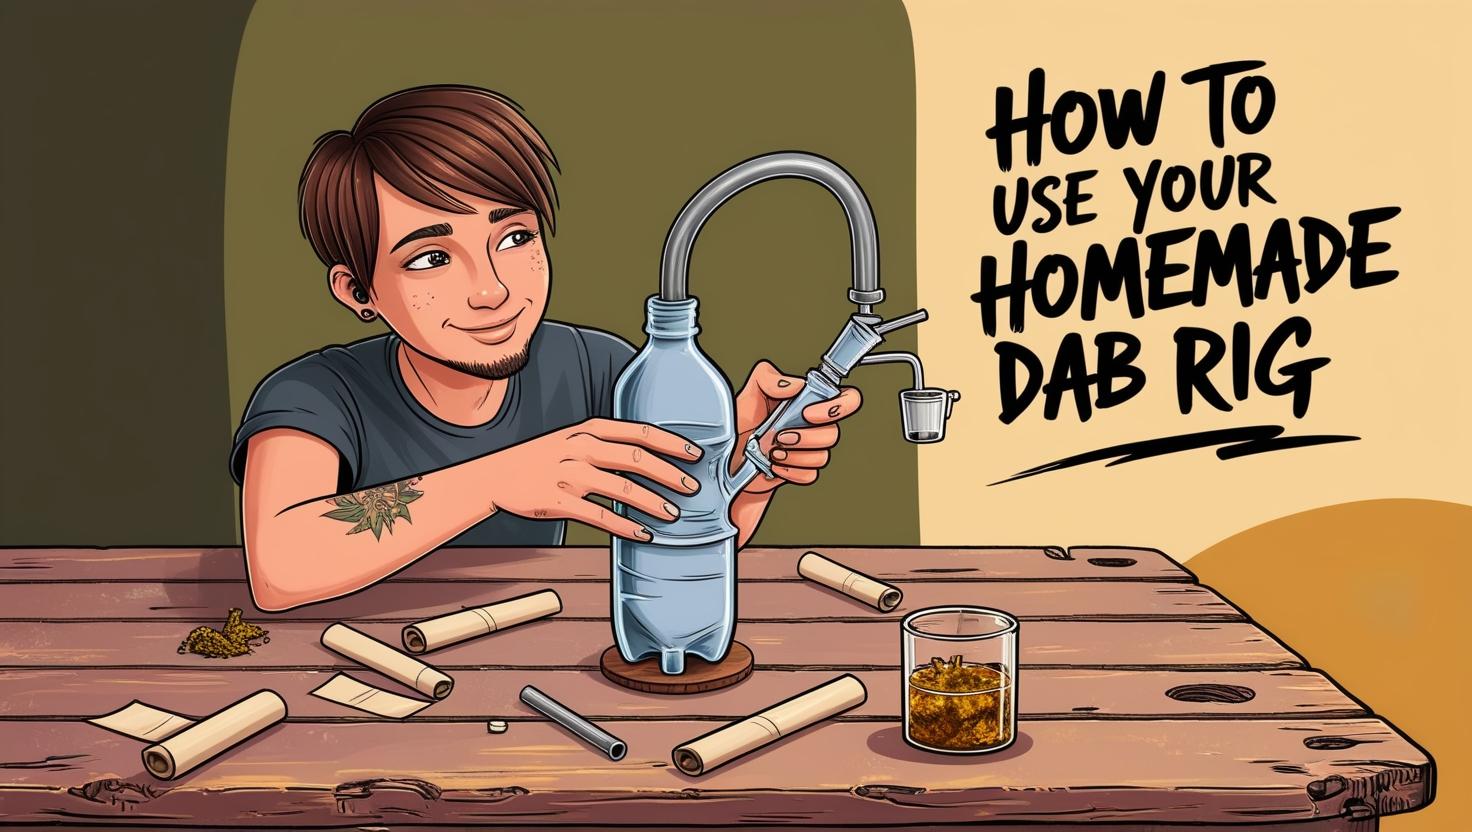
Heating the Nail
- Apply Heat: Use your butane torch to heat the nail until it turns glowing red. This ensures proper vaporization of your concentrate.
Dabbing the Concentrate
- Apply the Concentrate: Using a dab tool or a small, heat-resistant implement, carefully place your concentrate onto the hot nail.
Inhale and Enjoy
- Take a Hit: Inhale slowly through the top of the pen tube. If you’ve added water, enjoy the bubbling sound as the vapor passes through the water, cooling down before it hits your lungs.
Maintaining Your Dab Rig
-
Keep It Clean: Regular cleaning is essential for maintaining your dab rig and ensuring that it continues to deliver smooth, tasty hits.
-
Stay Safe: Always be cautious when handling hot components or making adjustments to your rig. Ensure the safety of yourself and others while using your rig.
Wrapping Up
Building your own dab rig is a rewarding experience that enhances your understanding of dabbing and saves you money. With just a few materials and some creativity, you can have your own rig ready in no time. While it may not be perfect on your first try, remember that you can always tweak and improve the design. Stay safe and enjoy crafting your very own dab rig!
For premium cannabis products like concentrates and accessories, be sure to visit GetICGlass.com for everything you need to take your dabbing experience to the next level.
FAQs
What materials do I need to make a homemade dab rig?
- To create a homemade dab rig, you will need a glass bottle or water pipe, a metal or glass nail that can withstand high temperatures, a dome or cap (optional), and a butane torch for heating the nail.
How do I prepare the glass bottle or water pipe for use as a dab rig?
- Clean the glass bottle or water pipe thoroughly to remove any residues. If necessary, modify it by creating an opening where you can insert the nail securely. Ensure it is stable and has no air leaks.
How do I set up the nail on my homemade dab rig?
- Insert the nail into the opening of your glass bottle or water pipe. It should fit snugly without wobbling. If using a dome, place it over the nail after insertion. Some nails come with a built-in dome or are domeless designs that don’t require one.
How do I heat the nail properly with a butane torch?
- Using your butane torch, apply heat directly to the nail until it becomes red-hot. This usually takes about 20-30 seconds depending on the thickness of the nail. Allow it to cool down for about 10 seconds before applying your cannabis concentrate to avoid burning it excessively.
What safety precautions should I take when using my homemade dab rig?
- Always handle your butane torch carefully and keep flammable materials away from your workspace. Use tongs or heat-resistant gloves when handling hot components like nails. Never leave an open flame unattended, and ensure proper ventilation in your area to prevent inhalation of excess fumes from both concentrates and fuel gases.