
The weather in Hobart can be unpredictable. An awning can provide much-needed shade in the summer and protection in the rainy season. Installing a awnings in Hobart is not too difficult if you follow the right steps. This guide will walk you through the process in a simple and easy to understand way.
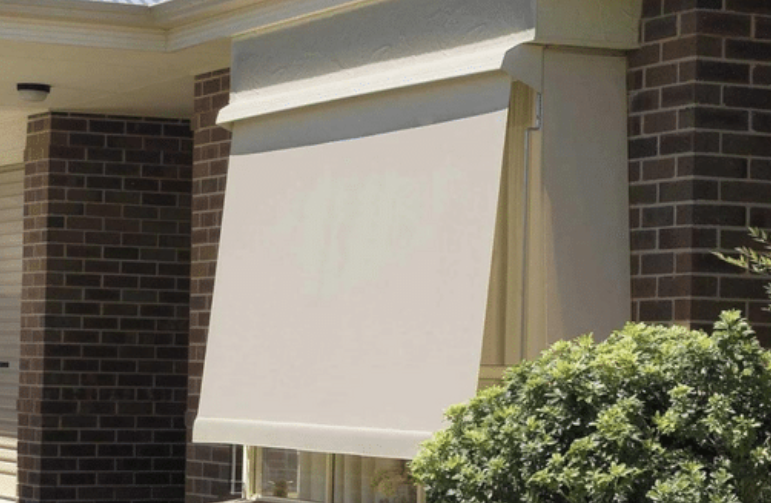
Choose the right awnings
First, choose the type of awnings that suits your needs. There are different styles such as retractable, fixed and freestanding awnings. Each type has its advantages. Retractable awnings are flexible, so you can choose when you want shade. Fixed awnings are strong and permanent. Free standing awnings can be moved and used wherever they are needed. Think about your space and what you want from your tent.
Measure your space
Accurate measurements are crucial. Measure the width and height of the area where you want to install the awnings. Check your measurements to make sure they are correct. This will help you buy the perfect awnings. Be aware of any obstructions such as windows, doors or gutters that may interfere with installation.
Buy an awning
If you have the measurements, buy an awning. You can buy awnings from local Hobart stores or online. Look for a quality product that can withstand Hobart's weather conditions. It's also a good idea to check reviews and ratings before making a purchase. Make sure all the necessary fixings are included with your awnings.
Prepare the tools
Before starting the installation, collect all the necessary tools. Common tools for installing a awnings include a drill, screws, a scale, a tape measure, and a ladder. When everything is ready, the process will be smoother and faster.
Mark the fixing points
Mark with a pencil the places where you will attach the closures of the awnings. Make sure the marks are even and evenly spaced. This is an important step to ensure that the awnings is installed straight and securely. Use a level to check that your marks are perfectly horizontal.
Attach the clips
Drill holes in the marked places. Then attach the brackets to the wall with the screws provided. Make sure the fasteners are tight to support the weight of the awning. Before proceeding to the next step, check that the brackets are vertical.
Install the awnings
Lift the awnings into place with the help of a friend. Press it into the brackets and fasten it according to the manufacturer's instructions. Make sure all bolts and screws are properly tightened. The awning should feel stable and secure when there is room.
Test the Awning
After the awning is installed, test it to make sure it is working properly. If it is a retractable awning, extend and retract it a few times to ensure smooth operation. Make the necessary changes to make sure it works perfectly.
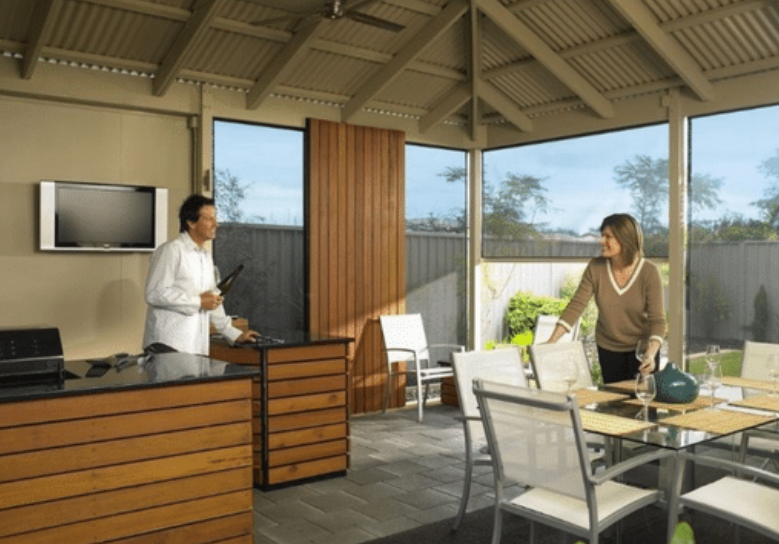
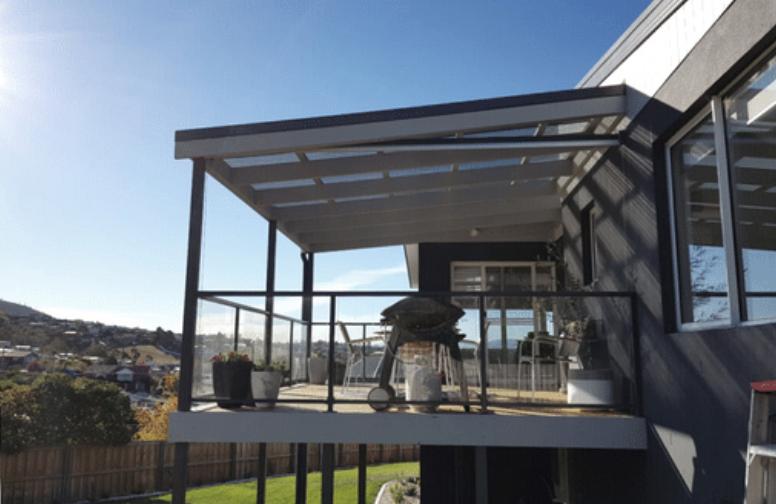
Enjoy your new awning
After installation, the awning is ready for use. Enjoy extra shade and protection from the Hobart weather. A new awning can make your outdoor space more comfortable and enjoyable, no matter the season.
Maintenance tips
Regular maintenance is important to keep your awning in good condition. Clean the fabric regularly to prevent mold and mildew. Check the clamps and screws regularly to make sure they are tight and securely in place. In strong winds or heavy rain, retract the awnings to prevent damage.
Solving Common Problems
If you are having problems with your awning, there are some common problems to check for. If the awning does not retract properly, check the mechanism for obstructions or dirt. If the fabric weakens, this may be a sign that the fasteners need tightening. Addressing these problems quickly can extend the life of your awning.
Final Thoughts
Installing an awning Hobart-wide is a great way to enhance your outdoor space. With the right tools and a little effort, you can enjoy the benefits of shading and protection. Remember to choose the right awnings, measure accurately and follow the installation steps carefully. Regular maintenance will keep your awning looking and performing well for years. Enjoy your new outdoor holiday in beautiful Hobart!