# reason to this: You want a remote desktop connection to your Linux computer(s) and you have tried "x11rdp" server and other VNC and RDP servers but you found that those didn't work right.
# VNC remote desktop server for Linux, using "x11vnc" software
# a graphical desktop environment such as GNOME or KDE needs to be already installed
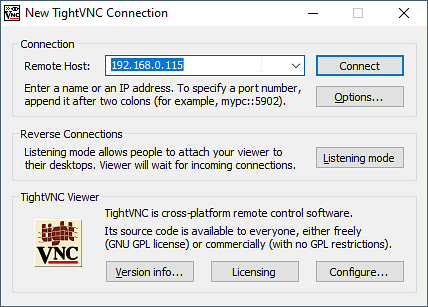
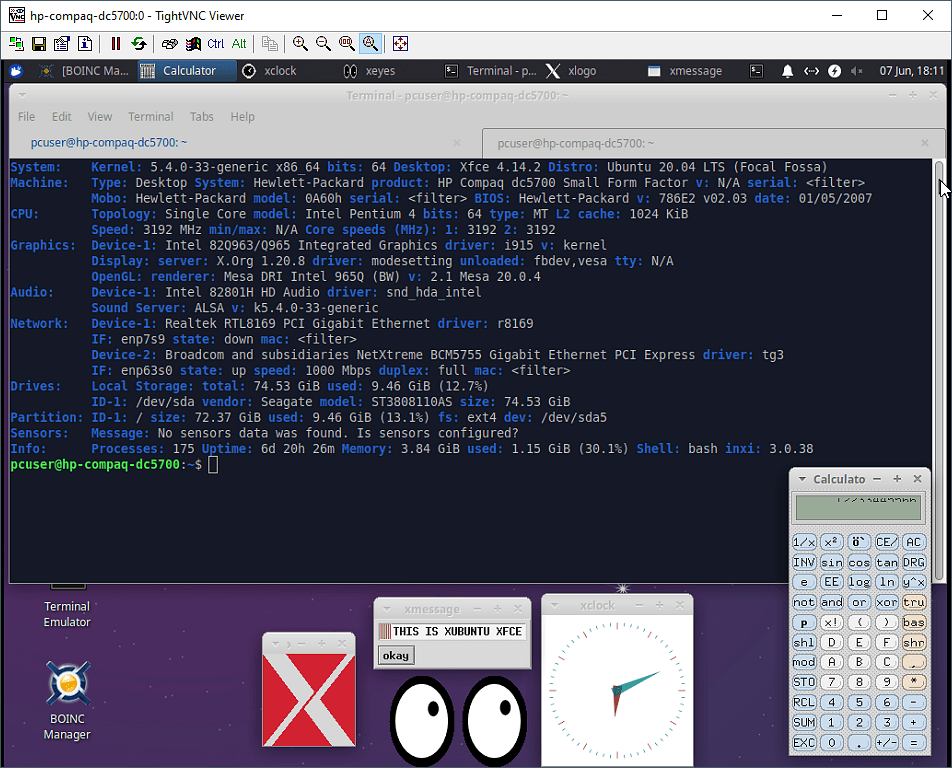
# any VNC compatible client such as TightVNC viewer can connect to this x11vnc server
# more info about x11vnc is on the github website https://github.com/LibVNC/x11vnc
# get more info about usage of x11vnc from the manual page: man x11vnc
# should work in most Linux distributions that are similar to Ubuntu or Debian
# tested in Xubuntu (Ubuntu) 20.04 with XFCE desktop environment
# first install Avahi (zeroconf mDNS) service discovery software
sudo apt install -y avahi-daemon avahi-autoipd
# optionally install an Avahi (zeroconf mDNS) client called Bonjour in Windows
# click here https://support.apple.com/kb/DL999?locale=en_US
# more information about this is on the zeroconf website http://zeroconf.org
# and on wikipedia https://en.wikipedia.org/wiki/Zero-configuration_networking
# install x11vnc
sudo apt install -y x11vnc
# create a VNC password file
# change "password" to another word or numbers that you want to use as a sign-in password
mkdir $HOME/.vnc
x11vnc -storepasswd password $HOME/.vnc/passwd
# manually start x11vnc server in the background as a regular user, enable Avahi (zeroconf mDNS) service discovery, allow only one client connection, continue running & listening after client disconnection
# the file "/var/run/lightdm/root/:0" is for LightDM in XFCE desktop environment
# if you don't use XFCE, change "/var/run/lightdm/root/:0" to another path for the file of your desktop environment manager
x11vnc -mdns -nevershared -forever -wf -wcr always -rfbauth $HOME/.vnc/passwd -auth /var/run/lightdm/root/:0 -bg -display :0
# also you can use "systemd" to have x11vnc automatically run at system boot-up and restart itself if it crashes
# create a new text file "x11vnc.service" in the directory "/lib/systemd/system"
sudo pico /lib/systemd/system/x11vnc.service
# add this text to the "x11vnc.service" file and save it. but write the regular user name in the place of CHANGE_THIS_USER
[Unit]
Description=X11 VNC server
Documentation=man:x11vnc(1)
After=network.target dbus.service
[Service]
Type=forking
User=CHANGE_THIS_USER
ExecStart=/usr/bin/x11vnc -quiet -mdns -nevershared -forever -tightfilexfer \
-wf -wcr always -rfbauth /home/CHANGE_THIS_USER/.vnc/passwd \
-auth /var/run/lightdm/root/:0 -bg -logfile /home/CHANGE_THIS_USER/x11vnc.log \
-display :0
ExecReload=/bin/kill -HUP $MAINPID
ExecStop=/usr/bin/pkill x11vnc
Restart=on-failure
RestartSec=2
[Install]
WantedBy=multi-user.target
Alias=vnc.service
# reload systemd configuration files
sudo systemctl daemon-reload
# start and optionally enable the x11vnc service in systemd
sudo systemctl start x11vnc
sudo systemctl enable x11vnc
# check the status of running x11vnc using "ps" and "pgrep"
ps u $(pgrep x11vnc)
# check the status of running x11vnc using systemd "systemctl"
sudo systemctl status x11vnc
# get the IP (internet protocol) address of your Linux computer that is running x11vnc. use "ifconfig" or use "ip" command
ifconfig | grep inet
ip -4 addr show | grep inet
# install a VNC viewer such as TightVNC, UltraVNC or TigerVNC, or another
# run the VNC viewer, type in the IP address of the Linux computer (server)
# change Options if you wish to do that, click Connect, and enter the password you had setup