Handmade Vape Coils and the Chuck Norris Effect
Handmade Vape coil business is growing over time. Making the genuine single micro coil or the dual micro coils is not as difficult as it is perceived. Yes, there are certain risks associated regarding short circuits, pretty much like any other electrical device. One should practice these things in the presence of an expert, being the beginners especially. But, upon observing the process, one can easily avoid such mishaps.
Making the needful elements ready
Before starting to prepare handmade vape coils, it is important to have the ohms reader ready. Next thing to ensure is about the number of wraps your coil is going to have. The number of desired wraps is dependent upon the level of resistance you wish. However, for one ohm or 1.2 ohms, one may go with eight complete wraps to get the desired resistance effect.
Make the wire oxidized
The first step of preparing the handmade vape coils is about oxidizing the wire. One needs to cut the kanthal resistance wire into three inches pieces; one may go for four or five-inch pieces as well. Now hold the terminal of wire through any tool like pliers. Next step is to lighten the torch and heat the wire unless it turns orange, and gradually take the torch down. Cool the wire down and repeat the same step for the other end.
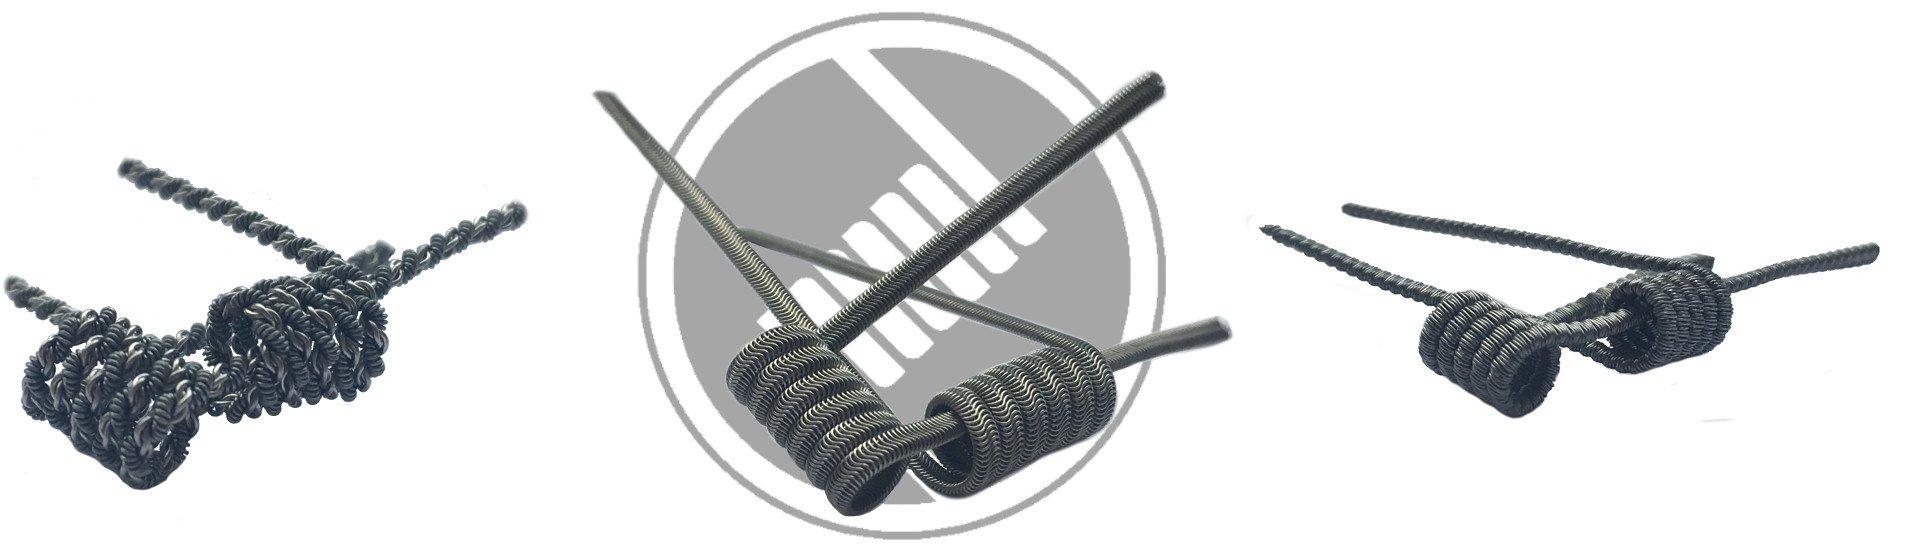
Wrap the coil properly
Here you have to keep your wire over the screwdriver, and very near to its handle. So, clutch the terminal of the wire closest the screwdriver strongly with your thumb. Now you can wrap the wire across the screwdriver, up to the desired number of wraps. You should keep the coils very close to each other, but those should not overlap. Hold the wire tighter as possible. In this case, after eight wraps, both the leads should be heading in the same direction. After ensuring the desired numbers of wraps are there, one can hold one end strongly and drag the other lead through tweezers, and then repeat the process for the other end. But, make sure that the coils are not removed from the screwdriver. There are other methods of wrapping as well, like using the Kuro coilers.
Installation of coils
The next step of preparing the handmade vape coils is about the installation of the coils. Here one should not remove the screws completely. This is so as the screws often get loose easily. Hence, it is also easy to put these back, especially when the hands are filled. Now take the coil on the screwdriver and put one end within the positive hole, and the other within negative. You can direct the coil towards the center through the help of screwdriver presently within your coil. Once it has got placed manually, the post screws can be tightened. But, make sure these don’t get tightened excessively. One may cut the wire within the post and prepare another coil. After the coil gets placed properly, you can cut the leads closer as possible to the posts. After these three steps, you should properly test for the shorts, eliminate the hot spots, and wrap the coils, prior testing again. Finally, you can Vape and get your product ready.