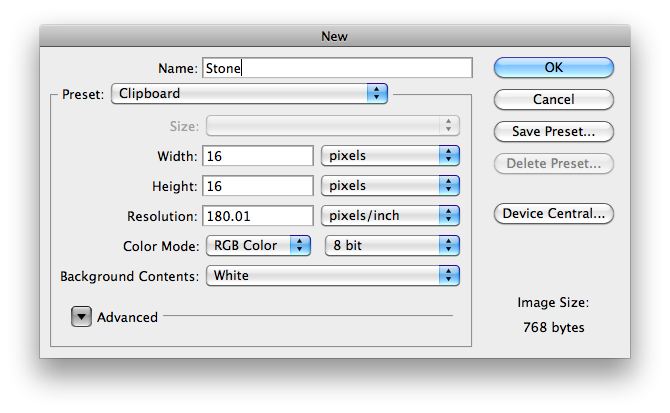
To start this tutorial off, we will make a stone texture. Using this texture, we can also achieve ores as well. The first step to making a stone block is opening a new file of 16 x 16 pixels, or your preferred resolution. Just keep in mind that all the textures created on this guide are in a 16 pixel resolution. Select File>New and set your stone size. This image size will be the resolution of your texture pack. Name the file stone to make things easier.
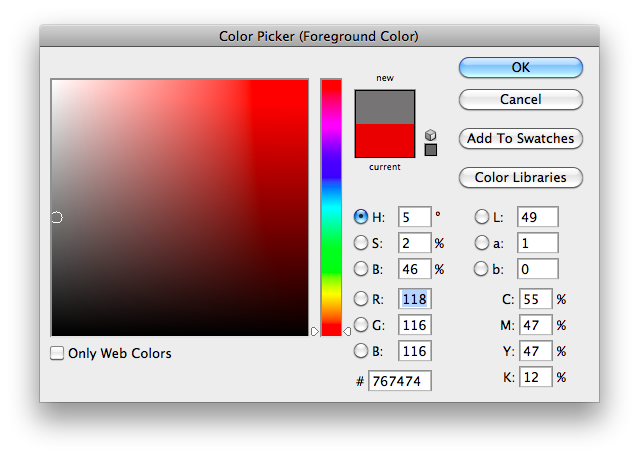
Ok, we have a blank canvas in front of us. We will start off by filling everything in with a mid-tone grey, right in the middle of black and white. Don't worry, this won't be the final look of our stone, this is only the first layer of creation. Pick a grey of this tone, or near it.
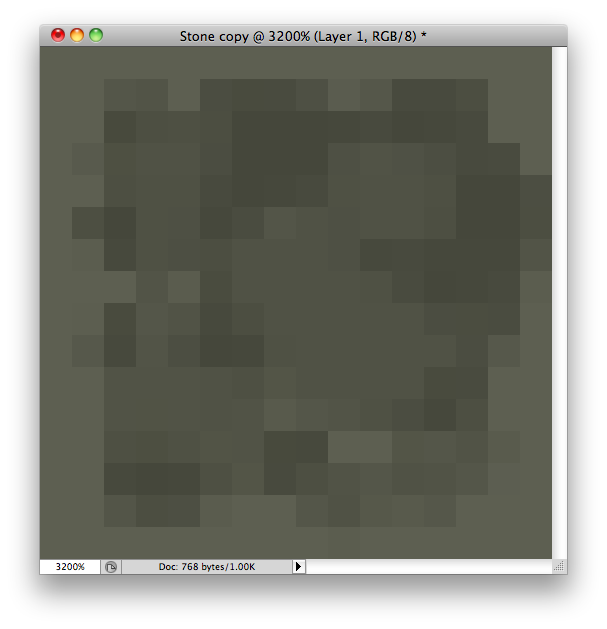
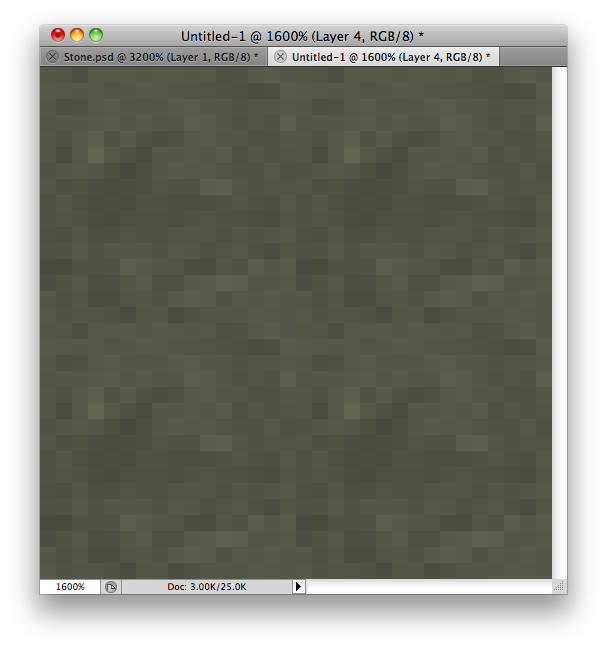
After filling in the blank canvas, your stone texture should look similar to this. This image has been zoomed in by 3200%.

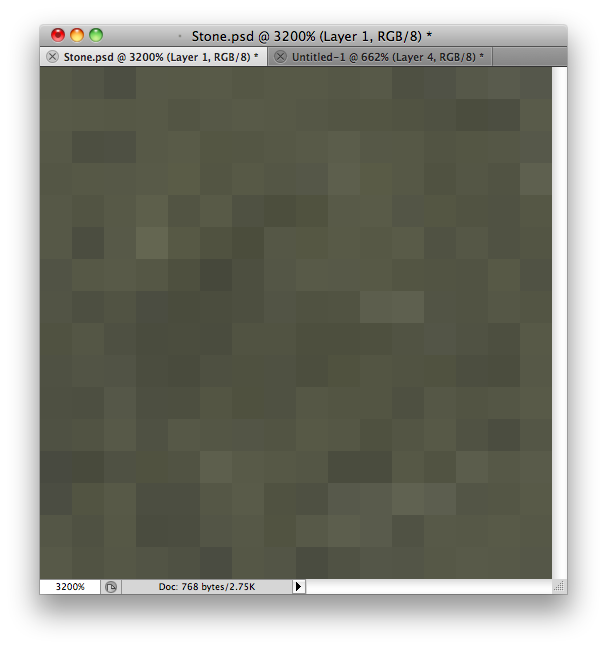
Ok, now you've got your base layer for the stone, but to get a nicer, more realistic look, we will want to add a light yellowish tone over this layer. Try not to make it look like a gold block, that is.

The next step is to give depth to our stone. This is obtainable by using a slightly darker tone of yellow-grey on the texture. Make sure you make a new layer first. Use the brush tool but make sure the brush is soft because that adds a better effect to the stone. Play around with colours to get the right look that you want. After a bit of fooling around with tones, this is what I achieved. Keep in mind that making these textures can be time costly, be patient and don't flame if it doesn't look good, it will get better.
This step is a little more important; To achieve a more realistic stone look, add a variety of different tones within the same range of colour. Make sure you make new layers every time you colour more so that you can erase it if you don't like it, without erasing your stone texture. You can use the burn tool or the dodge tool to darken or lighten your image. After about 5 minutes of messing around with colors and the dodge tool, I achieved this texture;
So far, I think it looks good up to this point. Our stone texture is nearly complete. The last two steps to making a texture is brushing up your stone and checking the tiling. After you complete your stone and it looks how you want it to, make a new file of 32x32 (or 2x your resolution) and copy and paste your stone texture 4 times. Move them to each corner and check it's tiling. If your stone is not tiling correctly, make sure the edges are nearly the same colour, this is the main problem in texture packs. If it tiles well enough, you're ready to move on!
Ok, tiling is looking good. We can move on to our next block, Ores, but first, save your stone texture as a .png file. This can be achieved in two ways, either go to File>Save As>Select .PNG or go to File>Save for Web & Devices and save as PNG-24. Below is an image of this stone in-game.