Well I was reading around the net today and saw this article by a fellow Gimp (he may be on the forums, not sure) and figured I might give it shot (really to kind of beat him to a tut :P) http://blog.patdavid.net/2012/05/on-little-planets.html
This one is very simple, uses only one filter and is pretty easy to follow; but for the additional Touchup and Bonus steps you do need Resynthesizer and the Heal Transparency script that should come with it from here (note this is windows 32bit version only, except if you have Windows Gimp 2.8 than your fine either way):
http://gimpchat.com/download/file.php?mode=view&id=5159&sid=76f96e52b93dacb5902122e96b0fdf41
First Step: Find you panoramic pictures.
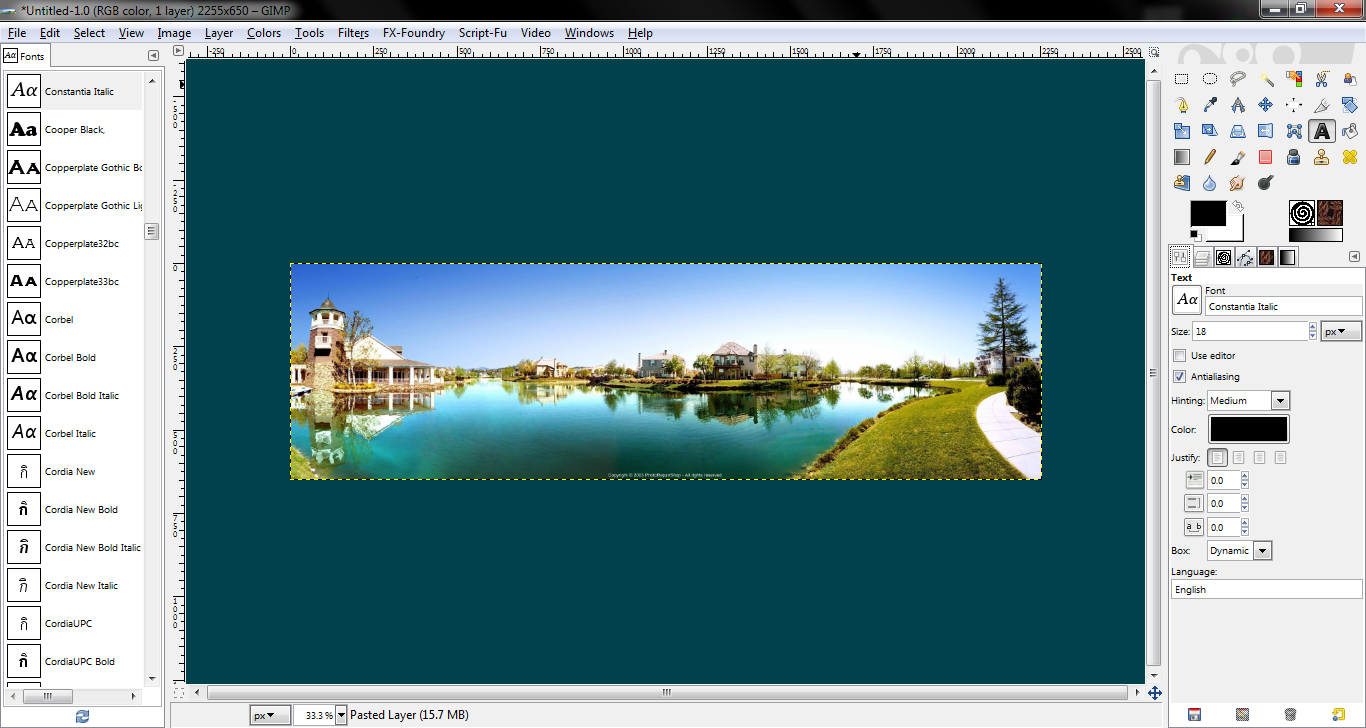
For the TUT I will use this one:
From: http://photorepairshop.com/Images/Panoramic_Photo3.jpg
Copyright by Photorepairshop-All Rights Reserved.
To assist here you go: https://www.google.com/search?q=panoramic+pictures
As you can see I just used a couple from around the net for demonstration purposes.
Tip: Try and find one where the city is pretty seamless from each side, meaning that the sky is relatively the same color on both sides. The best way to possibly do this is to take one yourself so that you can make sure of this yourself.
Second Step:
Load up GIMP (either 2.6 or 2.8 will do) and open the file from above using any method that you know.
A direct way is to use the File->Open Location… command and use the URL above in the photo credits.
Third Step:
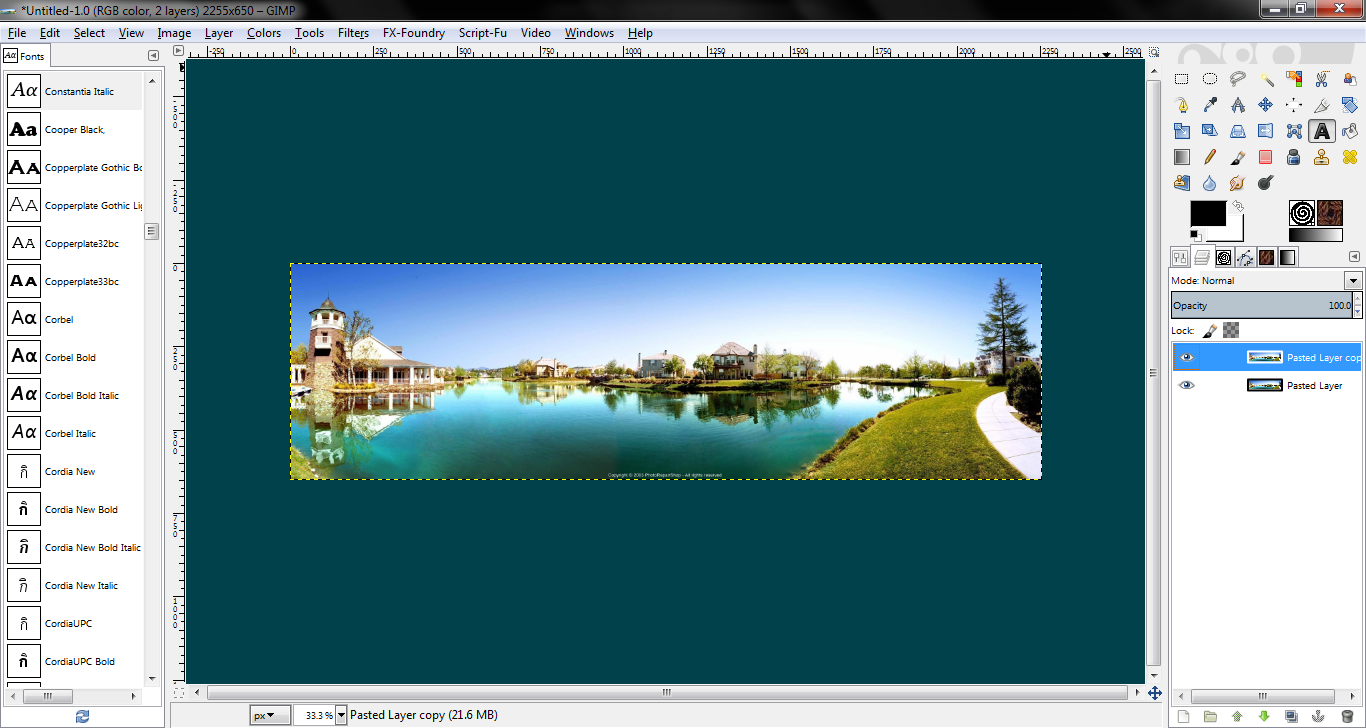
Now duplicate the layer. (This is a great habit to get into as it prevents damage to the original layer and allows you to go back in case of errors or a script prevents you from undoing a mistake)
On the duplicated layer Run this filter: Polar Coordinates (found under Filters->Distorts->Polar Coordinates)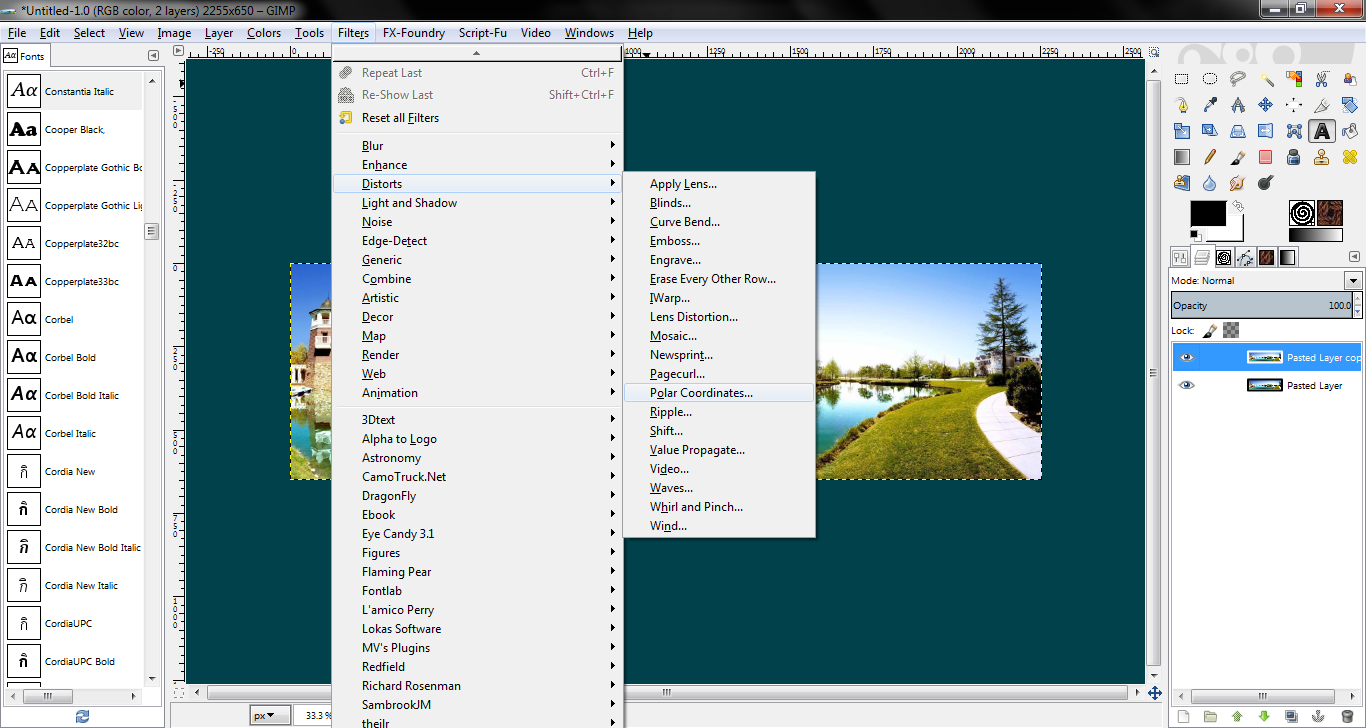
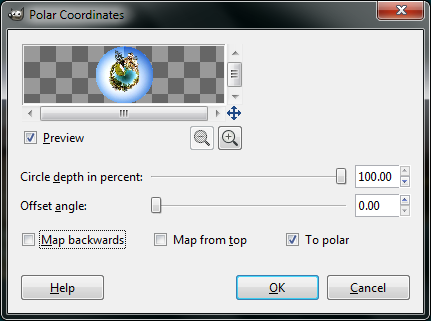
IMPORTANT NOTE:
Make sure you use these settings only if the objects are pointed up! If they are pointed down such as Stalactites in cave, than use the Map From Top option.
Now you will notice a seam most panoramas’ are not true panoramas’ and are not seamless which results in the seam.
For some though you can blur and heal the edges in the sky regions and no one will notice; look below. You can hardly tell. See?
![]() BEFORE
BEFORE![]() AFTER
AFTER

If you are satisfied than don’t continue, but to get some cool effects/better backgrounds continue full steam ahead.
OPTIONAL STEPS:
Without Resynthesizer, Better Backgrounds!
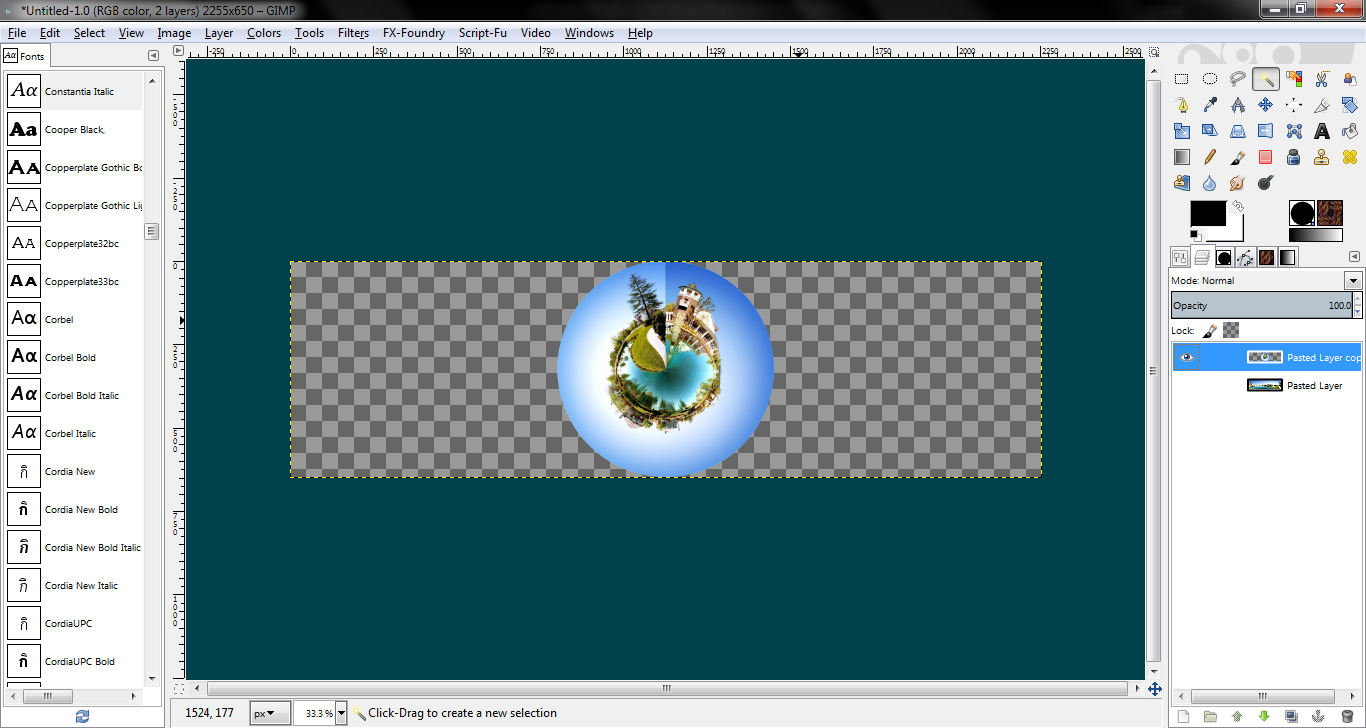
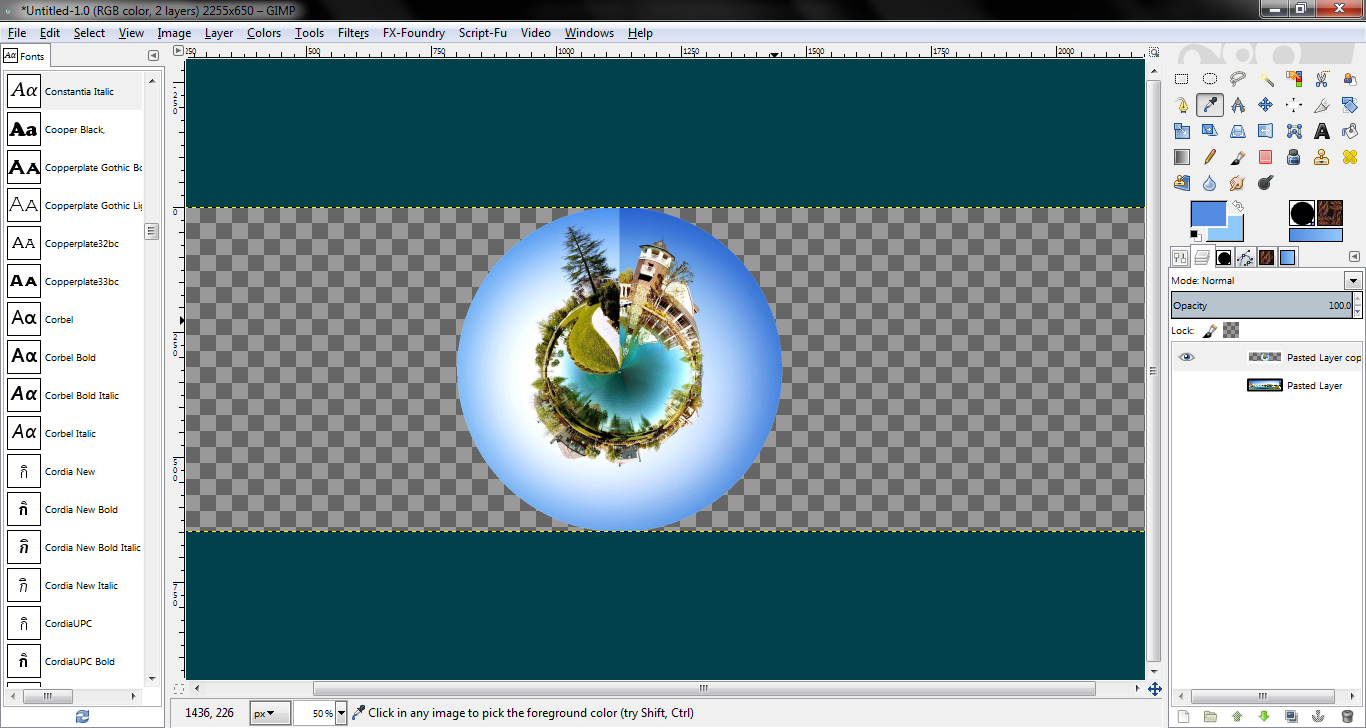
Using the Color Dropper tool select the outermost color on the right side of the “Wee Planet” than holding control select the outermost color on the left side. This will set your foreground and background colors (respectively) to the outermost colors of your “Wee Planet”
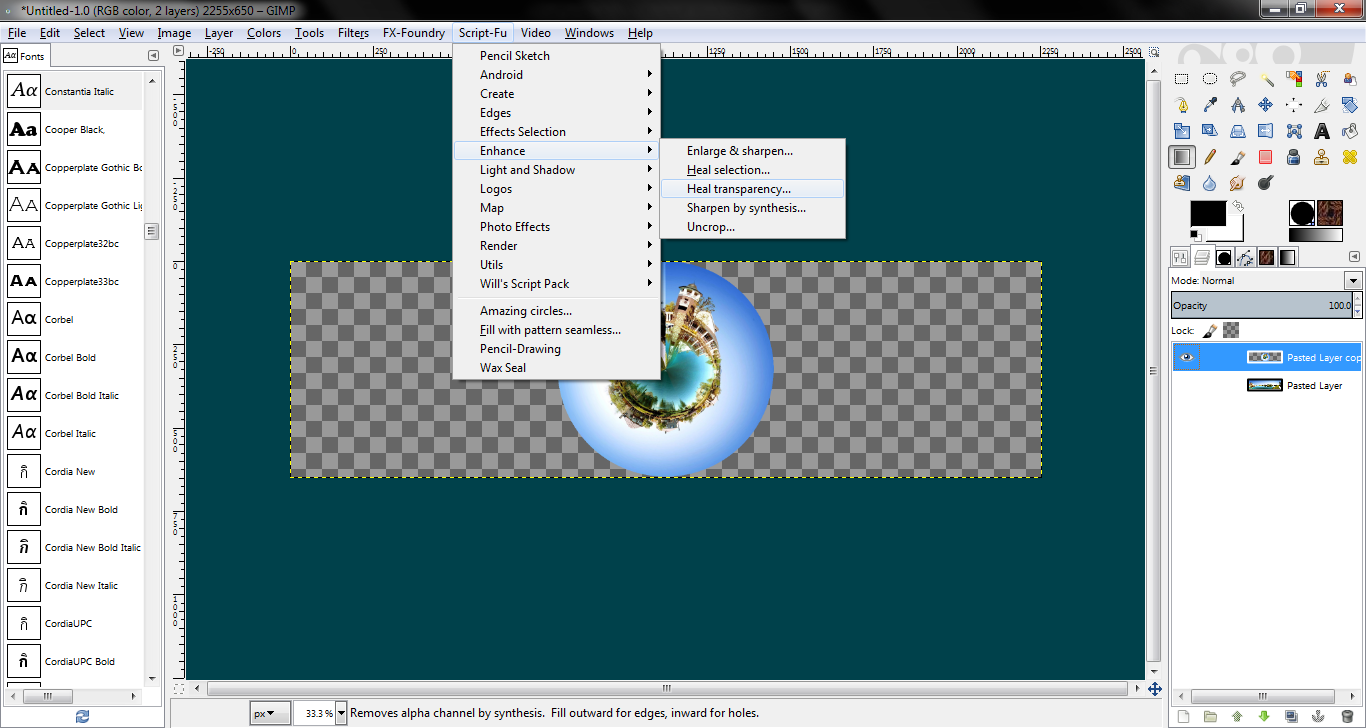
WITH Resynthesizer, Even Better Backgrounds!
Using the package of scripts I have attached Navigate to:
Script-Fu->Enhance->Heal Transparency
NOTE: Before running it may be necessary to crop your image dependent on your machine and whether or not it can handle it. Mine could so I left in un-cropped.
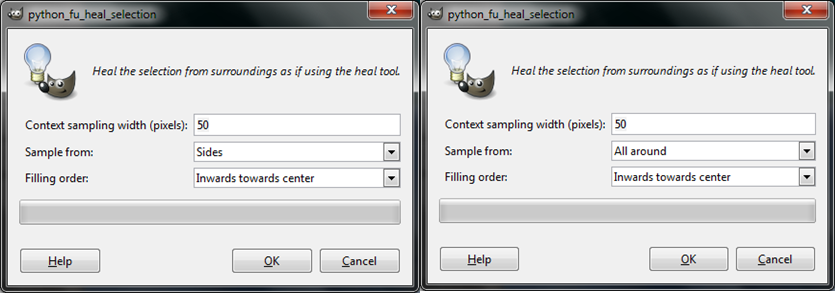
Now you can use either one of the settings, it’s your choice. They both give some similar results and are equally useful depending on the image.
Below is something similar to what you should get. I drew a guide at 50% of the height to allow for easier cropping.
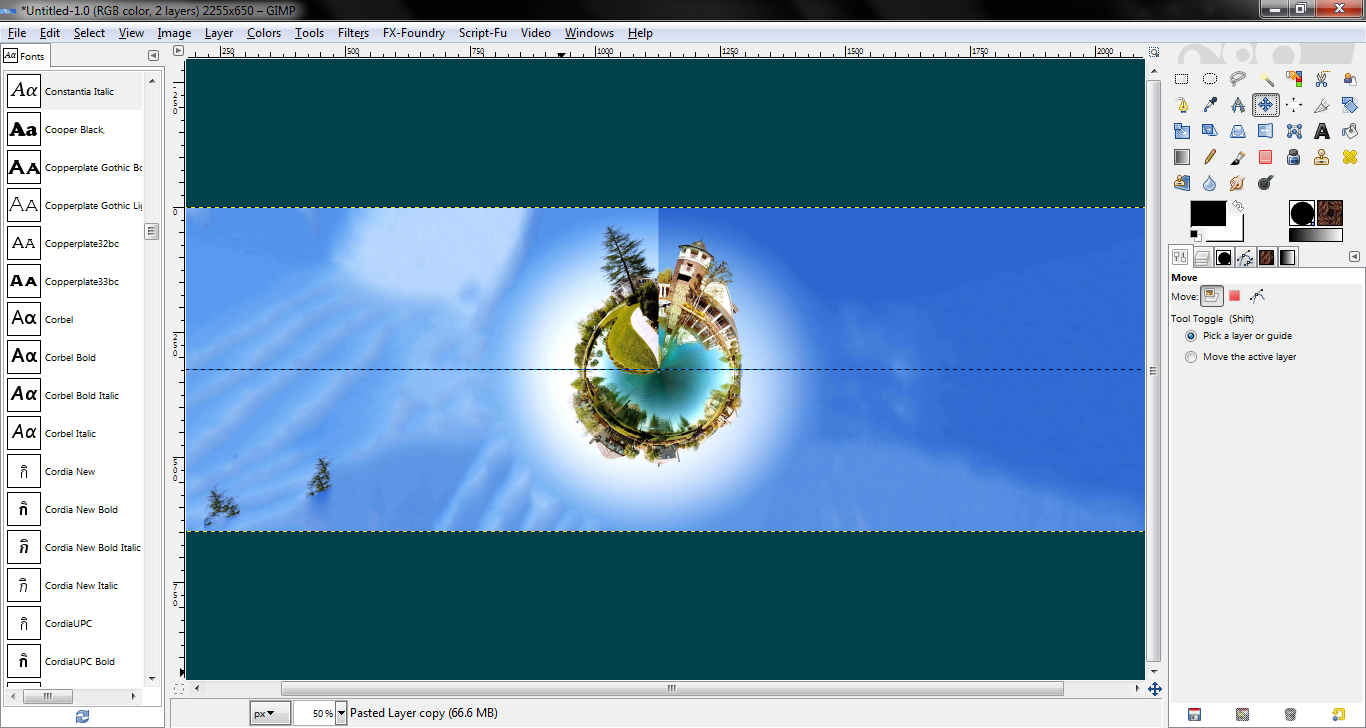
Now go get the Rectangle selection and Draw a selection around your “Wee Planet” (making all of your wanted adjustments along the way) and select Image-> Crop to selection.

Now you can export it in any format you want, and your done!